| Up to this point you've only briefly worked with sprites, but Director considers everything that you place on the Stage a sprite. On any given frame, each sprite must occupy a unique channel. There are a maximum of 1000 sprite channels, as you learned in the section on the Score, in Lesson 1. A sprite can be animated or it can remain static, as in the case of a background graphic. You'll animate sprites within the interface later in the lesson. For now, let's begin to build the interface. Before you do there's one more point to consider. There are two ways you can place a member from the cast onto the Stage. You can drag the member from the cast directly to the Stage, or you can drag it into the Score. If you drag it to the Stage the sprite that is created will be placed wherever you drop it. If you drag it into the Score, on the other hand, Director will place the sprite at the center of the Stage. For a background image, which is what we are going to be placing, having it appear at the center of the Stage is exactly what you want. 1. | In the internal cast, choose the first cast member (bg_lines) and drag it into channel 1 of the Score. An outline representation of the sprite span will appear as you drag it in the Score. Release it so that the span begins at frame 1.
As soon as you drop the sprite in the Score, it will appear centered on the Stage, which is what you want.
The next step is to place the other piece of the background over the sprite you just created. This image is cast member 2, interface_alpha. It contains a cut-out middle section that will serve as a space to place the portfolio images. You'll animate "curtains" that will reveal these images later on in the lesson.
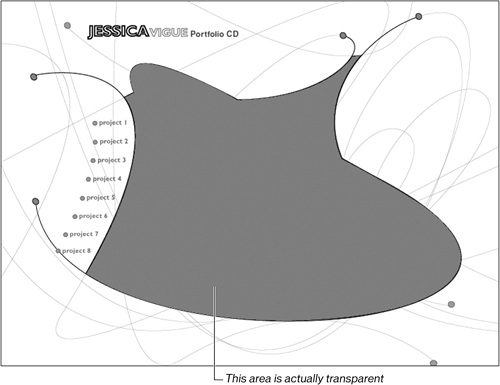 | 2. | Drag cast member 2 (interface_alpha) from the cast and drop it into channel 8 of the Score.
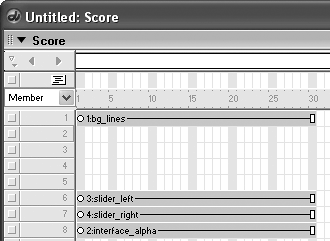
Your Score now contains sprites in channels 1 and 8. You placed the second sprite in channel 8 because you'll be placing other sprites behind this interface element.
| 3. | Drag cast member 3 (slider_left) from the cast and drop it into channel 6 of the Score.
This sprite will serve as the left half of the curtain that will slide over to reveal the portfolio images below.
| 4. | Single-click the sprite in the Score to choose it. The Property inspector should be showing the Sprite tab; if it isn't, click the Sprite tab in the PI.
You can use the Property inspector to quickly place sprites exactly where you need them.
| 5. | In the PI, change the sprite's X value to 255 and its Y value to 273.
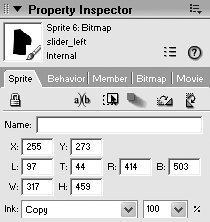
The left curtain is now positioned exactly where it should be in the interface. You can now do the right curtain.
| 6. | Drag cast member 4 (slider_right) from the cast and drop it into channel 7 of the Score. Then, using the Property inspector, set the sprite's X value to 519 and its Y value to 301.
Both curtains are now in their correct locations. If everything is going according to plan, the Stage should now appear like this:
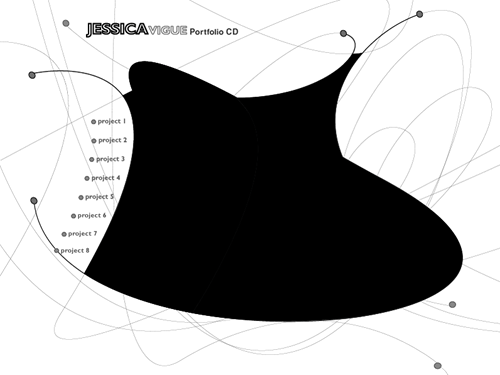 Your Score should appear like this: Your Score should appear like this:

The interface is looking pretty good, but the stark black curtains should be made a little bit transparent so that the interesting background lines appear behind them.
| 7. | In the Score choose the curtain sprites in channels 6 and 7. You do this by first clicking the sprite in channel 6, and then holding Ctrl/Command and clicking the sprite in channel 7.
You can use the Property inspector to change the properties of multiple selected objects at once. In this case, you want to change their blend value.
| 8. | In the Sprite tab of the Property inspector, change the blend value to 70%. You can either type it in, or choose if from the drop-down list. Note that the Blend selector isn't labeled as such, but is directly to the right of the Ink selector as shown.

After the blend is changed the two sprites look noticeable better, with the background lines showing through them.
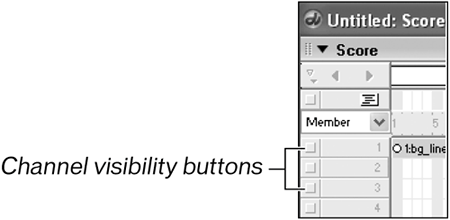
Before continuing, let's have one more look at alpha channels. In the Score, just to the left of the channel number, is a small square toggle button for every channel available. This is the Channel Visibility button, and it allows you to show or hide the contents of a channel. By default all channels are visible.

| 9. | Click the Channel Visibility buttons for channels 1, 6, and 7 to hide everything but the sprite in channel 8.
Because the movie's background color is black (like the curtain sprites, for the time being), nothing seemed to change when you hid the sprites in the other three channels.
| 10. | In the Property inspector, choose the Movie tab and then select a color for the movie background other than black. Red is a fine choice.
As soon as you choose the new color, you should see the effect of an alpha channel. The background color is now showing through the "hole" that the alpha channel is cutting in the image.
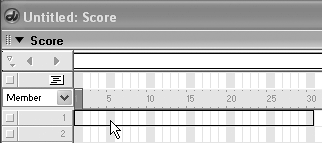
Tip Remember, the Property inspector is context sensitiveif you click an empty spot on the Stage the PI will automatically switch to the Movie tab. Sometimes, however (like now) when the Stage has no empty spots you can click an empty spot in the Score. Since the Score is just a frame-by-frame representation of the Stage, clicking an empty spot in the Score is the same as clicking an empty spot on the Stage, and it has the same effect of switching the PI to the Movie tab. 
| 11. | Switch the background color back to black and then toggle the visibility for the three hidden channels.
With the basic interface elements in place, you can now begin the process of animating the curtains.
|
|


 Your Score should appear like this: