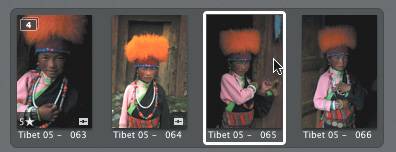
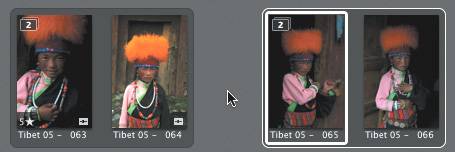
Stacking Images by Timestamp


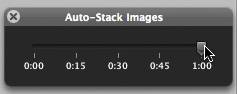
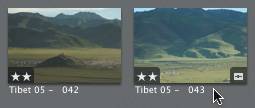
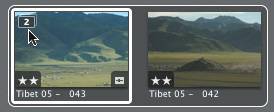
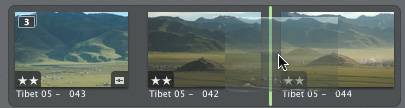
Another great use of stacks is the auto-stack feature, which gives you a quick way to organize a project by grouping images that were taken within a specified amount of time of one another. Often this is the fastest way to group images with a similar subject matter, since images taken in the same timeframe tend to be of the same subject. It's remarkable to watch a grid of 30 images magically resolve itself into six or seven distinct shots.

1.

Choose Stacks > Auto-Stack (or press Command-Option-A) to bring up the Auto-Stack slider.

2.

Drag the Auto-Stack slider to the right until you reach 1 minute.

You will notice in the Browser that most of the images are now neatly organized into stacks according to when the photographer shot them.

Before

After

A few, however, were not grouped with any of the others, because their timestamp was not within a minute of any other image's timestamp.

You can always add images to an existing stack if you choose. Let's add to the stacked images named Tibet 05 043 and Tibet 05 042.

3.

In your Browser, drag the image Tibet 05 044 to the right and release the Thumbnail when you see a green position indicator to the right of Tibet 05 042.

4.

Now drag Tibet 05 045 and drop it between Tibet 05 042 and Tibet 05 044.

You have just manually added to an existing stack. You can just as easily drag an image out of a stack or split a stack.

5.

Select Tibet 05 065 from the Browser.

6.

Choose Stacks > Split Stack.

The stack is split to the left of your selection.


Apple Pro Training Series. Getting Started with Aperture
Apple Pro Training Series: Getting Started with Aperture
ISBN: 0321422759
EAN: 2147483647
Year: 2003
Pages: 110

flylib.com © 2008-2017.
If you may any questions please contact us: flylib@qtcs.net