| As you have seen, you can zoom in on images in the Light Table and use the Loupe to evaluate images. Another good way to evaluate images is to use Aperture's Full Screen mode. The Full Screen mode displays images that are in a folder, project, album, or book on a black background. In Full Screen mode, you can view, sort, and stack your images. You can also apply adjustments and keywords. When you've finished working with your images, you can use Full Screen mode to preview and proof your images. Let's switch to it to decide on our hero images. 1. | Select the favorite images from the tropical shots.
| | | 2. | Press F to switch to Full Screen mode.
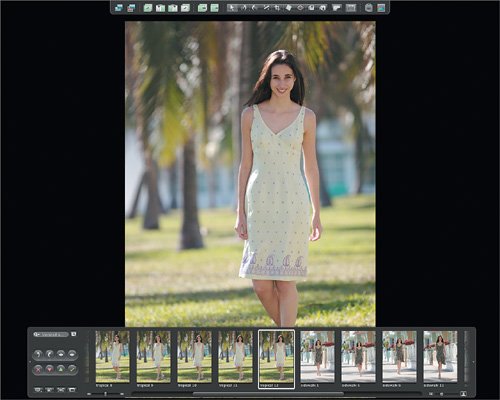
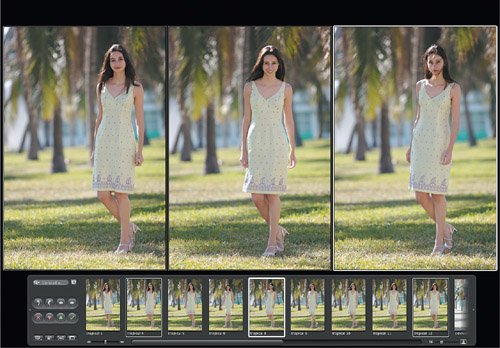 The three favorite tropical shots appear against a black background, and a filmstrip appears at the bottom of the screen. The filmstrip in Full Screen mode is similar to the control bar in the Aperture main window. You can use the filmstrip's controls to move through, rotate, view, and rate your images. Full Screen mode also has its own toolbar, although you might not see it yet. The three favorite tropical shots appear against a black background, and a filmstrip appears at the bottom of the screen. The filmstrip in Full Screen mode is similar to the control bar in the Aperture main window. You can use the filmstrip's controls to move through, rotate, view, and rate your images. Full Screen mode also has its own toolbar, although you might not see it yet.
| | | 3. | Position the cursor in the black area at the top of the screen. The toolbar appears. Click the Always Show Toolbar button.
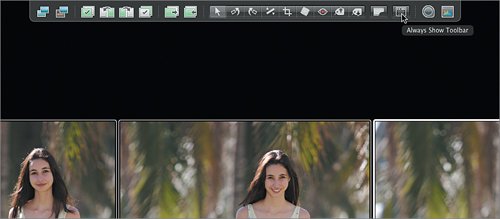 The toolbar is now a fixture on the screen and will not hide when you move your cursor away from it. You do not have to activate the Always Show Toolbar button to use the toolbar. The Full Screen toolbar contains many of the same buttons as the regular Aperture toolbar; however, it cannot be customized. The toolbar is now a fixture on the screen and will not hide when you move your cursor away from it. You do not have to activate the Always Show Toolbar button to use the toolbar. The Full Screen toolbar contains many of the same buttons as the regular Aperture toolbar; however, it cannot be customized.
Tip Tools that are in the regular toolbar but not visible on the Full Screen toolbar are still accessible via their usual keyboard shortcuts. | | | 4. | If necessary, press T to display the metadata overlay so that you can see the image filenames. Then, look at the image tropical 8.
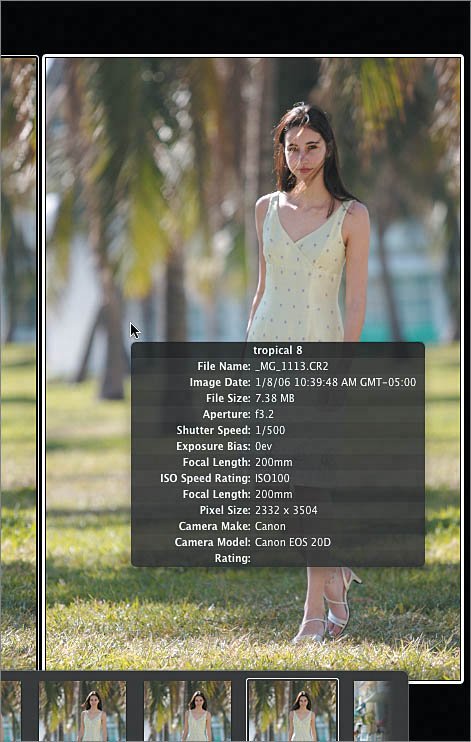 The dress shape looks nice in this shot, but the model's strands of hair across her face are a concern. Let's take a closer look.
| 5. | Select the Loupe or press the accent grave (`) key, then press ShiftCommandaccent grave (`) to switch to the Centered Loupe. Drag in the center of the Loupe and position the small white highlighted circle over the model's face in the tropical 8 image.
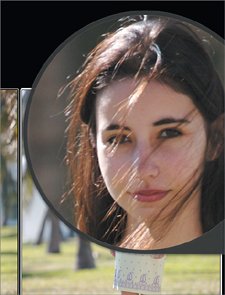 On closer inspection, you can see there are quite a few strands of hair streaming across her face. That won't do.
| | | 6. | Command-click tropical 8 to deselect the image. Then, click the Loupe button to turn it off, or press accent grave (`).
The image disappears from the Full Screen mode display area but is still in the filmstrip.
| 7. | Click the image tropical 12 to make it the primary selection.
Let's see it close up.
| 8. | Press Option-R to switch the view to Primary.
 All images except the primary selection close. The filmstrip now covers up part of the primary image, but the bottom is an important part of this image. A quick adjustment to the filmstrip is in order. All images except the primary selection close. The filmstrip now covers up part of the primary image, but the bottom is an important part of this image. A quick adjustment to the filmstrip is in order.
| | | 9. | Click the Viewer Mode button on the filmstrip and choose Avoid from the pop-up menu, or press Control-V.
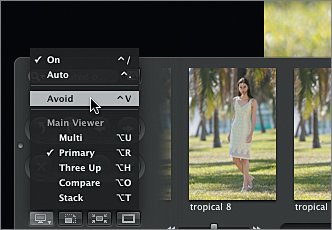 The image shrinks slightly so that it is not covered by the filmstrip.
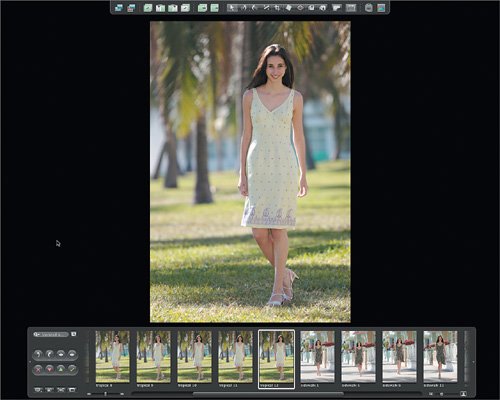 Switching to the Primary view is a great way of focusing on one image. And this one looks excellent. It conveys emotion and shows off the garment nicelya good combination. This is our first hero image. Let's just double-check for focus using the Centered Loupe. Switching to the Primary view is a great way of focusing on one image. And this one looks excellent. It conveys emotion and shows off the garment nicelya good combination. This is our first hero image. Let's just double-check for focus using the Centered Loupe.
| | | 10. | Press accent grave (`) to activate the Loupe, then drag it to the left side of the screen.
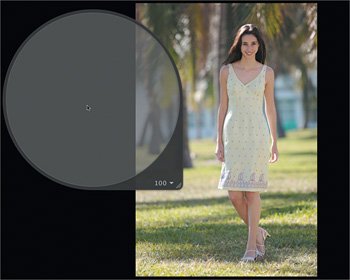 | 11. | From the pop-up menu on the lower right of the Loupe, select "Focus on Cursor."
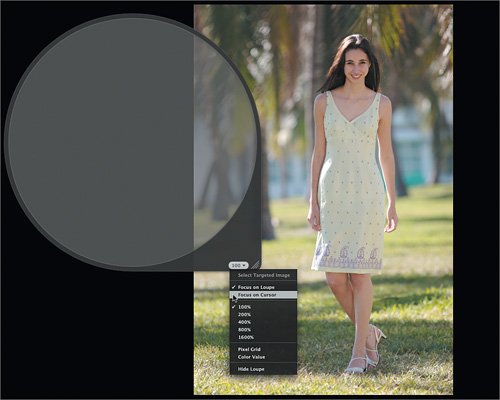 | | | 12. | Position the cursor over the model's face, then on the garment, to check for focus.
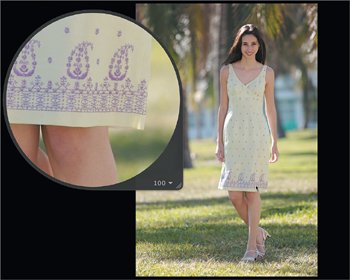 | 13. | Press accent grave (`) to hide the Loupe.
|
That looked pretty sharp. Let's move back to our Light Table view. |