Working with Stacked Images


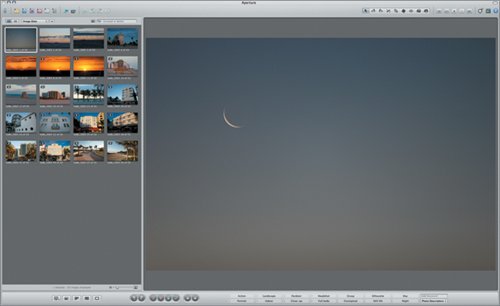
In Lesson 2, you auto-stacked the images of South Beach as you imported them. Aperture gives you many more stacking options and controls after images are imported.

1.

Double-click the Aperture icon in the Applications folder to open Aperture. The Jackson Hole, Colonia, and South Beach images are part of your Library and appear in the Projects panel as shown in the following image.

2.

Select the South Beach project.

3.

Choose the Ratings and Keywords layout (Command-Option-R), which offers a terrific view for working with stacks in the Browser while still keeping the Viewer open.

The stacked images appear in the Browser, and the pick image of the first stack is displayed in the Viewer.

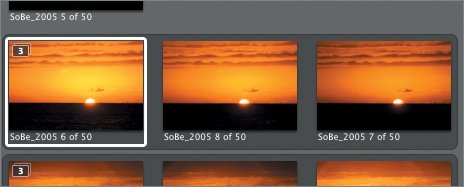
Currently, the stacks are closed, because we closed them in the Import dialog. You can open and close stacks in the Aperture main window just as you can in the Import dialog.
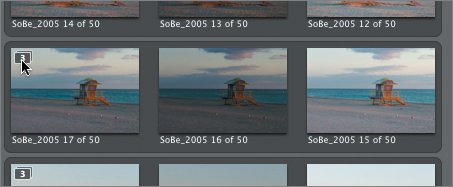
4.

Choose Stacks > Open All Stacks (Option-') to open the stacks in the main window.

Tip

Press Option-; to close all stacks, and press Shift-K to open or close selected stacks.

In addition to opening or closing the all stacks at once, you can open and close stacks individually by clicking the appropriate Stack button. Let's try that now.

5.

Click the Stack button on the stack of SoBe_2005 17 of 50 in the Browser.

Great. The other useful stacking feature that you need to know is how to choose a pick. When you auto-stack images during the import process, Aperture by default sets the first image of the sequence as the pick. Quite often, however, this won't be the image that you think should be the pick. Now you'll choose different picks for some of the South Beach stacks.

6.

Select the SoBe_2005 6 of 50 imagethe last of the first set of three sunset imagesin the Browser. It offers a little bit more detail in the shadow areas over the water than the other two images in the stack.

7.

Choose Stacks > Pick, or press Command-backslash ( \ ) to make it the pick of the stack.

Aperture updates the stack with the new pick at left. You can also define a pick by dragging an image to this location.

8.

Drag the image SoBe_2005 40 of 50 from the center to the left of the stack. When you see a green bar appear, release the mouse button. This image is the new pick.

Now that you have a better understanding of how to control stacks and choose picks, let's organize the three collections of images we imported in Lesson 2.

Note

You'll learn more about stacking in Lesson 8, "Advanced Organization and Rating."


Apple Pro Training Series(c) Aperture
Apple Pro Training Series: Aperture
ISBN: 0321422767
EAN: 2147483647
Year: 2004
Pages: 185

flylib.com © 2008-2017.
If you may any questions please contact us: flylib@qtcs.net