Linking Content
Linking is a way of retaining a connection between the copied material and its source file, such that when the source changes, the copied material will change too. For example, you could link to an Excel chart. Then, whenever that chart changed in Excel, it would change in PowerPoint too.
| Note | The link will be updated when the PowerPoint file is opened only if the file to which it is linked is available. Otherwise, the last update will appear. |
Linking Part of a File
You can link just a part of another file, such as the chart from an Excel workbook, or you can link an entire file.
-
Open the file containing the object to be linked. It can be in any application that supports linking. (That includes all Microsoft Office applications.)
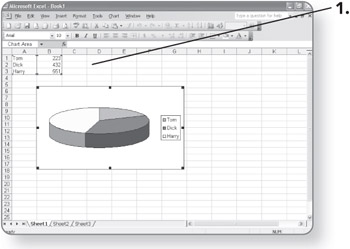
Note The file in step 1 must have been saved. That is, it must have a name. Otherwise, there will be no file name to link to.
-
Select the portion of the file to be copied. This could be a single object, a range of text or cells, or any other amount of data.
-
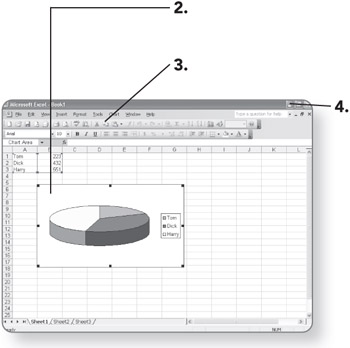
Click on the Copy button, or press Ctrl+C. The data will be copied to the Clipboard.
-
Minimize the source application.
-
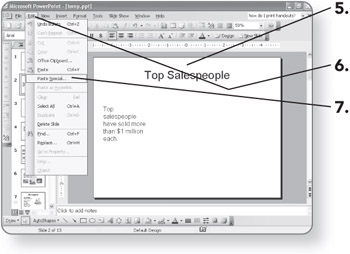
Display, in PowerPoint, the slide on which the linked object should appear.
-
Click on Edit. The Edit menu will appear.
-
Click on Paste Special. The Paste Special dialog box will open.
-
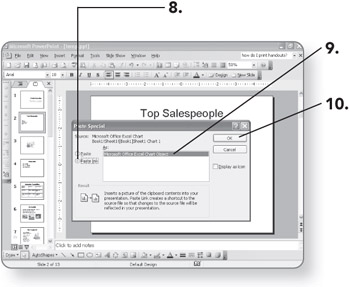
Click on Paste Link. The As list will change to show only linkable object types.
-
Click on the desired object type. In most cases, there will be only one choice.
-
Click on OK. The link will be pasted, and the object will appear on the slide.
| Note | If you want to test the link, restore the source application's window and make a change to the data. Then restore PowerPoint and observe that the change has been made in PowerPoint too. |
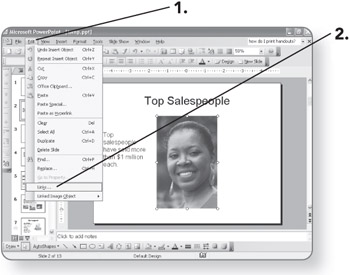
Linking an Entire File
This method is useful if the content you want to link to is an entire file by itself, such as a graphic file.
-
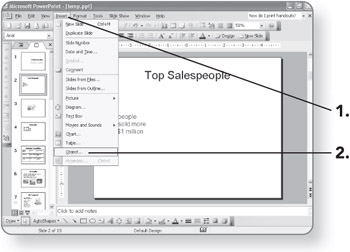
Click on Insert. The Insert menu will appear.
-
Click on Object. The Insert Object dialog box will open.
-
Click on Create from file. The File text box and Browse button will appear.
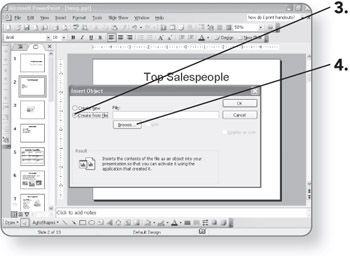
-
Click on Browse. The Browse dialog box will open.
-
Choose the folder in the Look in box. The folder's contents will appear.
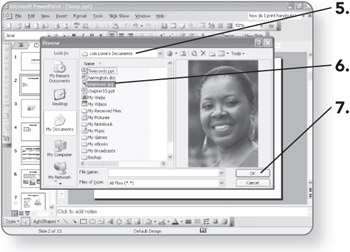
-
Click on the file you want. A preview of it will appear.
-
Click on OK. The file's name and path will appear in the Insert Object dialog box.
-
Click on the Link check box. A check will be placed in it.
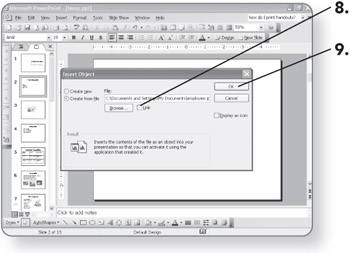
-
Click on OK. The file will appear as slide content, and a link to the original will be maintained.
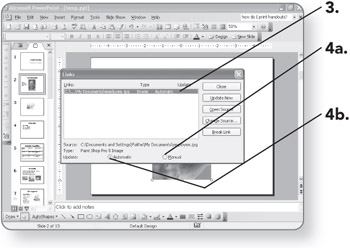
Changing the Link Update Method
You can change a link's properties so it can be updated either manually or automatically. Updating manually is a good choice when the source file is not always available.
-
Click on Edit. The Edit menu will appear.
-
Click on Links. The Links dialog box will open.
-
Click on the link you want to change. It will be highlighted.
-
-
Click on Manual to set it to manual updating.
OR
-
Click on Automatic to set it to automatic updating.
-
-
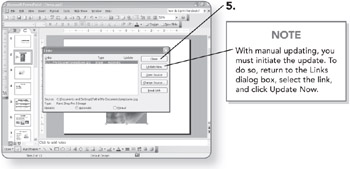
Click on Close.
EAN: 2147483647
Pages: 158