Enhancing Digital Photographs
After you've inserted a picture into a presentation slide, you may want the picture to look different. If you have simple image enhancements to make, you'll find a number of tools on the Picture toolbar.
Displaying the Picture Toolbar
The Picture toolbar should be displayed automatically when a picture is selected. If it doesn't, you can force it to appear.
-
Click on View. The View menu will appear.
-
Move the mouse pointer to Toolbars. The Toolbars menu will appear.

-
Click on Picture. The Picture toolbar will appear.
Cropping Pictures
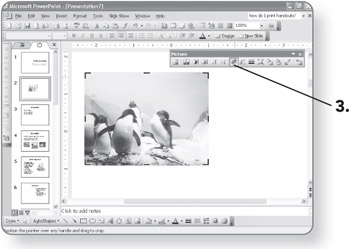
You can remove unwanted parts of an image easily with the Crop button.
-
Click on the Crop button to display the crop marks.

-
Click and drag the crop handles until the part of the picture that you want to keep is inside the crop marks.
The crop handles are the black lines in the corners and sides of the image.
Tip To reset cropping, drag the crop handles back out again.
-
Click on the Crop button again or press Esc to apply the changes to the image.
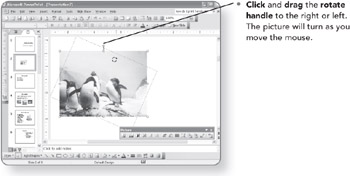
Rotating the Picture
There are several ways to rotate a picture.

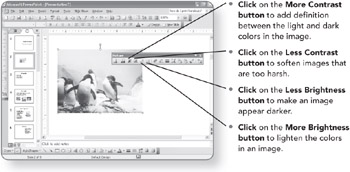
Adjusting Brightness and Contrast
Sometimes all you need to make a picture look better is a little image enhancement. When an adjustment to the brightness or contrast is in order:
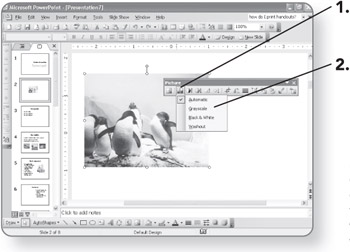
Changing the Image Mode
The default mode for an image is Automatic. It shows in color. To convert the image to grayscale, black-and-white, or a watermark, select one of those modes instead.
-
Click on the Color button on the Picture toolbar. A menu will appear.
-
Click on the desired mode.
-
To give images an elegant, old-fashioned look, use the Grayscale command.
-
Give images a faded look by selecting Washout. This command creates a lightcolored, almost transparent version of the image. The washout effect works well when you don't want an image to stand out on a page, or if you want to place text over the image.
EAN: 2147483647
Pages: 158