Deployment Options in Visual Studio
| 1. | Open Solution Explorer (View, Solution Explorer). |
| 2. | 2. Right-click on the project and select Properties. |
| 3. | You should have a screen that looks similar to Figure 17.1. Figure 17.1. Deployment properties for the AdventureWorks project.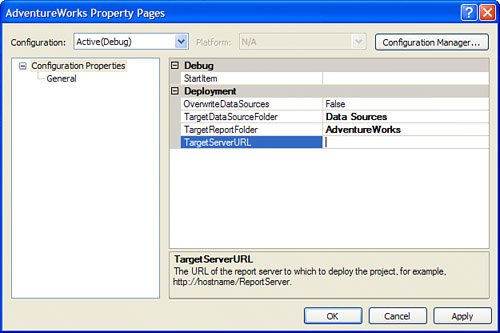 |
Now all you have to do is set the server name. The server name and virtual directory have to be placed in the TargetServerURL property. The format is http://{ServerName}/{VirtualDirectory} . By default, if you have installed the server locally, its property is filled in as http://localhost/ReportServer
Report Folder Location
TargetReportFolder is another major property.
By default, it sets itself to the project name. The folder name is the name of the folder created on the Report Server to house your reports. You can leave it blank and reports will deploy on the root folder.
Overwriting Data Sources
One of the most important properties is OverwriteDataSource as it will change the location of the data source on the Report Server.
By default, when Visual Studio deploys, it creates the data source for your reports. The key here is it creates the data source, but never updates it even if you have updated the data source in your project. The exception to this is when the report has an embedded data source in its data sets.
The purpose of this switch is to force the upgrade of shared data sources. If you need to overwrite the data sources, set this to true, and you will be on your way.
Target Folder for Data Source NEW in 1005
This property (TargetDataSourceFolder) is similar to the folder for reports. This is actually new in SSRS 2005. The previous version had no such option. Remember this only applies to shared data sources.
Building and Deploying Reports
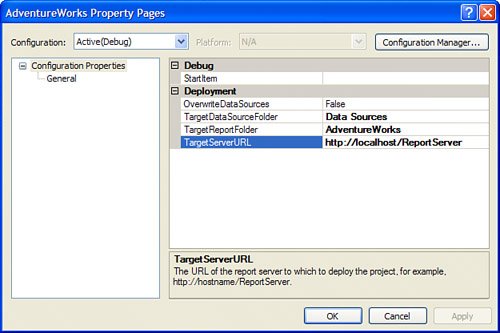
When you set all the properties, you should have a screen that looks similar to Figure 17.2.
Figure 17.2. Completed deployment properties for the AdventureWorks project.
When you are ready to deploy the reports and data sources, complete the following steps:
| 1. | From Solution Explorer, right-click on the project. |
| 2. | Select Deploy. |
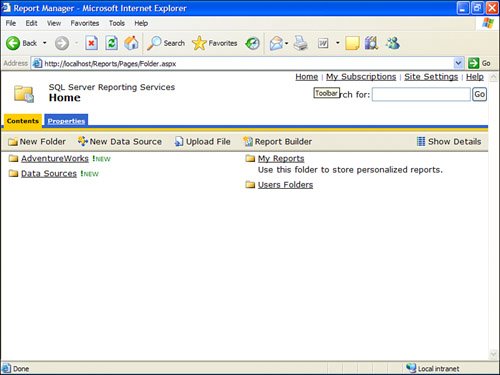
After a quick permissions check with the chosen Report Server, Visual Studio should allow you to deploy the project. At this point, you should see the folders created in Report Manager. See Figure 17.3.
Figure 17.3. Deployed AdventureWorks project.
EAN: 2147483647
Pages: 254