Flylib.com

Books Software


Chapter 1. Features of the iPod Photo


Chapter 1. Features of the iPod Photo

Apple has recently released the iPod photo (see Figure 1-1), a fourth generation (4G) iPod capable of displaying color photos. With its new enhanced color screen, you could now do more with your iPod, other than using it just as a music player.

If you are the proud owner of the new iPod photo, congratulations! I know you are eager to know what are the cool things you could do with your new toy. In this book, I will share with you some tips and tricks for using your iPod photo. If you have yet to make the purchase, hopefully this book will do the work of convincing you to buy the iPod photo.

Figure 1-1. The iPod photo packaging
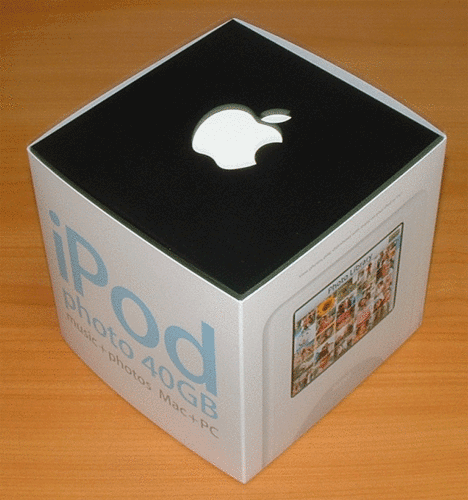

1.1. Inside the Package

When you open the package, you should find the following (see Figure 1-2):

  1. iPod photo

  2. iPod power adapter

  3. iPod photo Dock

  4. iPod Dock Connector to FireWire cable

  5. iPod Dock Connector to USB 2.0 cable

  6. iPod photo AV cable

  7. Apple Earphones

  8. iPod Carrying Case

Figure 1-2. The iPod photo package

In the new iPod photo, Apple has stopped bundling the remote control. You need to buy the remote control separately.


The new iPod photo looks exactly the same as the 4G iPod (see Figure 1-3) except that it is slightly thicker and a bit heavier. Of course, it has a color screen now!

Figure 1-3. The new iPod photo

The iPod photo spots a 2-inch (diagonal) 65,536-color LCD with LED backlight screen (see Figure 1-4).

Figure 1-4. The dimensions and screen resolutions of the iPod photo

Table 1-1 shows the comparison in dimensions and weight of the 4G iPod with that of the iPod photo.

Table 1-1. Comparing the dimensions and weight of the iPod photo with the 4G iPod

iPod

Dimensions

Weight

4G iPod (20GB)

4.1 x 2.4 x 0.57 inches

5.6 ounces

4G iPod (40GB)

4.1 x 2.4 x 0.69 inches

6.2 ounces

iPod photo (40GB and 60GB)

4.1 x 2.4 x 0.75 inches

6.4 ounces


The iPod photo can display images/photos in the following formats: JPEG, BMP, GIF, TIFF and PNG.


1.2. Using FireWire or USB 2.0

The iPod photo comes with two cables:

  • iPod Dock Connector to FireWire cable (see Figure 1-5)

  • iPod Dock Connector to USB 2.0 cable (see Figure 1-6)

Figure 1-5. The Apple's iPod Dock Connector to FireWire cable

Figure 1-6. The Apple's iPod Dock Connector to USB 2.0 cable

If your computer (Mac or PC) has a 6-pin FireWire connector, you should use the iPod Dock Connector to FireWire cable to connect your iPod photo to the computer. Using this cable, you can sync and charge your iPod at the same time.

If your computer (Mac or PC) has a USB 2.0 connector, you can use the iPod Dock Connector to USB 2.0 cable to connect your iPod photo to the computer.

Note that only USB 2.0 ports can charge your iPod. USB 1.1 ports do not have enough power to charge your iPod photo.


If you are a PC user and your computer comes with a 4-pin FireWire port (most commonly found in notebook computers), you need to buy a 6-pin to 4-pin FireWire adapter (see Figure 1-7).

Figure 1-7. The 6-pin to 4-pin FireWire adapter

You cannot charge the iPod photo using a 4-pin FireWire port.


1.3. New Dock

The iPod photo comes with a new Dock. Figure 1-8 shows the old Dock and the new Dock for iPod photo. The new Dock spots an S-video Out port. You can use the S-video cable to connect your iPod photo to an S-video-equipped TV or video device.

Figure 1-8. The old and the new iPod Dock

Due to the increased thickness of the iPod photo, you cannot use the old Dock with the new iPod photo.