| This section walks your through how to share files on your network. The scenario you work with in this section assumes that you have one computer on which your family photographs are stored, and you would like to be able to get to the photos from any computer on the network. In the end, you will be able to not only view these photographs from any computer, but you will be able to edit them as well, assuming that you have the appropriate photo editing software. In your home network, you will be working on the BEDROOM computer, accessing photographs on the FAMILYROOM computer. If you have a digital camera, you will want to read the sidebar on how to transfer your photos from your digital camera to your computer. To share photos on your home network, follow these steps: 1. | On the FAMILYROOM computer, select Start, My Computer. The screen shown in Figure 3.10 appears.
Figure 3.10. The contents of My Computer. 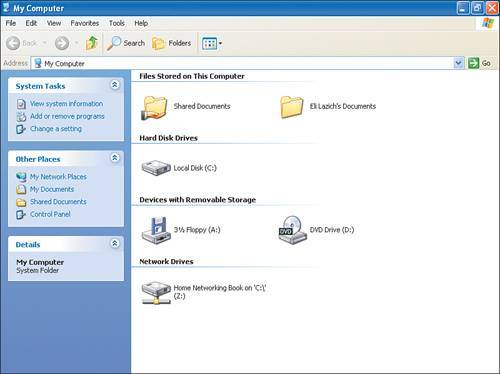
Note If you do not see the My Computer menu item, you need to right-click the Start menu and then click Properties. You then see the Taskbar and Start Menu Properties page. On the Start Menu tab, click Customize and then click Advanced. Scroll through the Start menu items until you come to the entry for My Computer. Ensure that this option is set to something other than Don't Display This Item. Note You'll notice that under Files Stored on This Computer, the Shared Documents folder shows a hand underneath the folder name. This indicates that the folder is being shared. The Shared Documents folder is intended to be a location where files can be placed and shared by all users of a particular computer. When you run the Network Setup Wizard, this folder automatically becomes shared. You can also use the Shared Documents folder as a repository for the items you want to share with other computers on your network, but that would involve copying files between folders on your computer. You can do that instead by sharing individual folders. | 2. | Under Other Places, select My Documents.
| 3. | Right-click the My Pictures folder and then click Sharing and Security. The My Pictures Properties page appears.
| 4. | Select Share This Folder on the Network and then click OK.
|
Note Notice that the My Pictures folder displays a hand underneath it, indicating that it is now being shared. For this scenario to work as expected, you need to double-click the Sample Pictures folder and then select Edit, Select All. You then need to click the Back button to move up to the My Pictures folder once again and then select Edit, Paste. The pictures then appear in the proper place for this exercise.
|