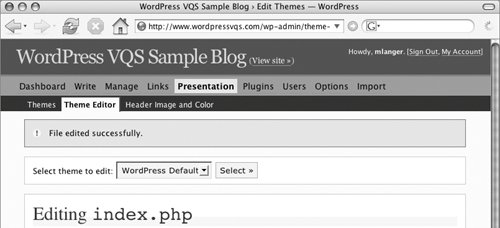
Modifying Theme Files


Once you've chosen your tool to modify a theme file, you can make changes as desired to customize the appearance and functionality of your site. In general, this is a four-step process:

1.

Open the file you want to change.

2.

Make changes as desired.

3.

Save your changes.

4.

Test to be sure your changes resulted in the desired effect.

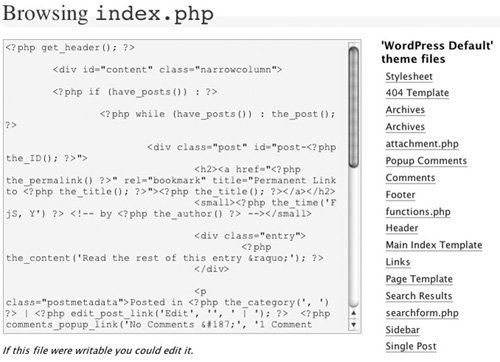
This section explains how to use the Theme Editor or a text file to modify theme template files. We provide suggestions for specific modifications later in this chapter.

Tips

  • Before making any changes to a file that already works, copy all the text and paste it into a plain text file stored on your computer. If the changes you make break your blog you can retrieve the original text and paste it back in.

  • You can test your changes by merely viewing the pages of your blog that will be affected by the change.

  • Be sure to refresh or reload your browser window when viewing your blog after making any changes.

  • If you cannot see the effect of your change, try restarting your browser, switching to another browser, or adding a ? (question mark character) at the end of the page address when loading the page. Any of these techniques should force a refresh.


To use the Theme Editor

1.

If necessary, log into your WordPress blog and navigate to the Dashboard administration panel.

2.

Click the Presentation button.

3.

Click the Theme Editor button to display the Theme Editor (Figure 20).

4.

Use the Select theme to edit drop-down list to choose the theme whose files you wish to edit and click Select.

5.

In the list of theme files on the right side of the window, click the link for the file you want to edit. The file's name appears near the top of the window and its contents appear in the scrollling list.

6.

Edit the file as you wish.

7.

Click the Update File button near the bottom of the window to save your changes. A message near the top of the window confirms that the file has been edited successfully (Figure 22).

Figure 22. A message appears at the top of the Web browser window to indicate that your change has been saved.


8.

View your blog to confirm that your changes appear as intended.

Tip

  • If a theme file is not writable, a message appears near the bottom of the Theme Editor window (Figure 23). Follow the instructions earlier in this chapter to change the permissions for the file to 666 so it is writable, then reload the Theme Editor page and try again.

    Figure 23. If you can't edit a file, the Theme Editor tells you.


To use a text editor

1.

Use FTP client software to download the file to your computer and open it with your text editor.

or

Use your text editor to open the file directly from the server.

2.

Edit the file as you wish.

3.

Use your text editor to save the file to your computer and then use your FTP client software to upload the file to the server.

or

Use your text editor to save the file directly back to the server.

4.

View your blog to confirm that your changes appear as intended.

Tip

  • Make backups of files before editing themit's easy to make disastrous changes. If you mess up you can simply replace the broken file with a known working copy.


WordPress 2. Visual QuickStart Guide
WordPress 2
ISBN: 0321450191
EAN: 2147483647
Year: 2004
Pages: 142

flylib.com © 2008-2017.
If you may any questions please contact us: flylib@qtcs.net