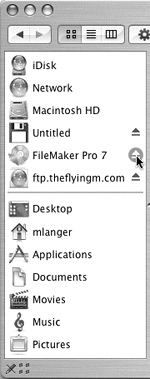
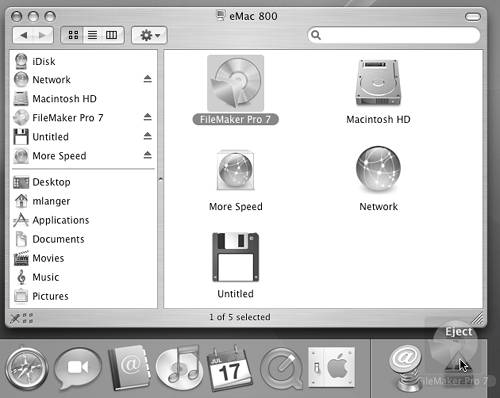
Ejecting Disks
| When you eject a disk, the disk is physically removed from the disk drive and its icon disappears from the top-level computer window.
To eject a disk
Or
Or
Or Press the Media Eject key on the keyboard.
|
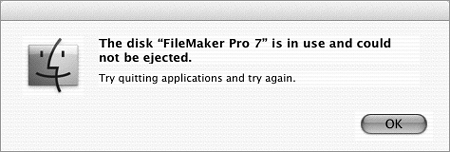
 Tip
Tip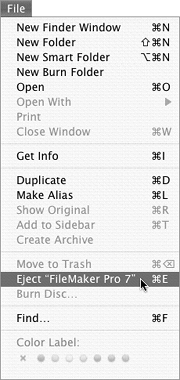
EAN: 2147483647
Pages: 301
| When you eject a disk, the disk is physically removed from the disk drive and its icon disappears from the top-level computer window.
To eject a disk
Or
Or
Or Press the Media Eject key on the keyboard.
|