| When you are editing images, there are many times when you might want to draw a flat geometric shape, such as a box or circle. Whether you want to create a screened area to add text, build a Web interface, or create an image composite, graphic shapes play a central role in the process. Adobe has made this function even more useful in Photoshop 7 because you can now draw and edit graphics in the image as if they were vector objects. Open File Choose File, Open and select the file you want to modify with a graphic shape. 
Choose Shape Color Click the Foreground color swatch in the toolbox to open the Color Picker. Select the color you want for the shape you will draw and click OK. 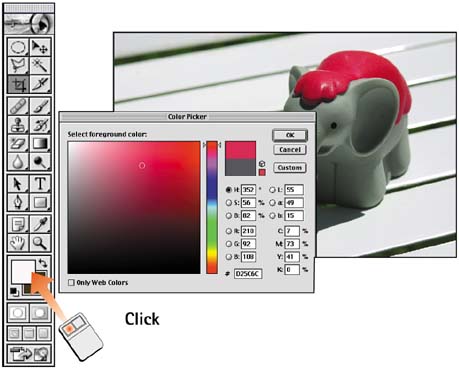
Select the Shape Tool Choose the desired shape tool from the toolbox. Click and hold the graphic shape button to see a menu of all the shape options: Rectangle, Ellipse, Polygon, Line, and Custom. When you drag the selected shape, remember that the Shift key constrains rectangles and ellipses into squares and circles. 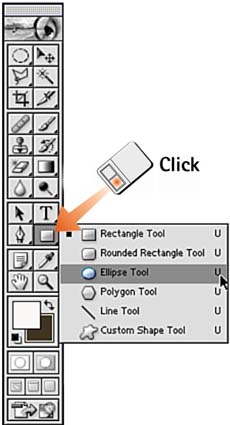
Set the Shape Type In the Options bar for the selected shape tool, select the method for drawing the shape. Choose the Fill Pixels icon to create a flat filled region on the current active layer. The Paths icon creates a separate shape layer with a clipping path. The Shape Layers icon creates an unfilled work path. 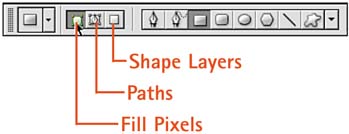
Draw the Shape Click and drag in the image to draw the desired shape. Remember to use the Opacity slider and blending modes in the Options bar if necessary. If you selected the Paths option in Step 4, a new layer will appear in the Layers palette. If you selected the Shape Layers option, an active path will appear onscreen. 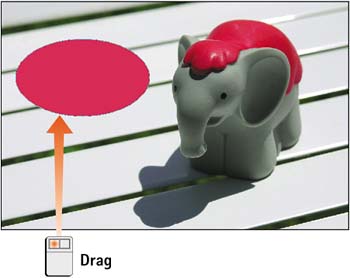
Edit the Shape If you started with the Paths or Shape Layers option in Step 4, you can edit the shape you've drawn; after you draw the first shape, the edit options are activated, which allow you to add to, subtract from, restrict, or invert the path. Drag subsequent shapes using these options. 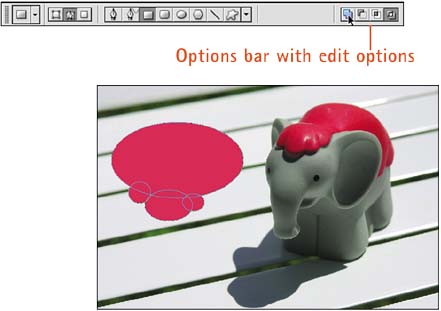
How-To Hints Setting Shape Options Each shape tool includes a menu of shape options for specifying how the shapes are drawn. Click the arrow at the end of the second group of icons in the Options bar to open the Geometry Options menu; select from parameters such as rounded corners and fixed shape sizes. Using the Custom Shape Tool The Custom Shape tool allows you to draw unique shapes as selected from a predefined shapes palette. To create a custom shape, create a shape using the path or shape tools. Choose Edit, Define Custom Shape and enter a name for the shape. It will now appear in the list of shapes in the Options bar. Be sure to select Fixed Size in the Geometry Options menu of the Options bar to draw the shape with its original proportions. |
|