Task 2 How to Make Global Color Corrections

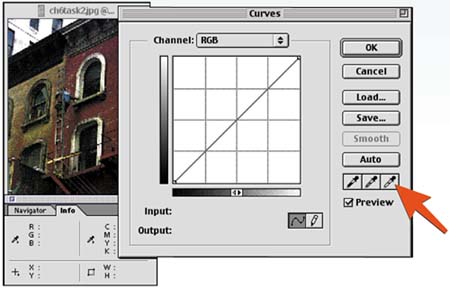
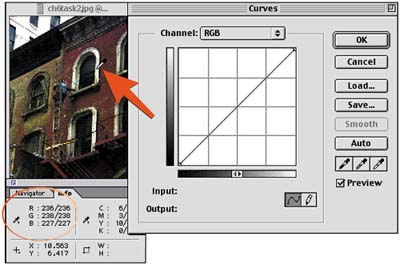
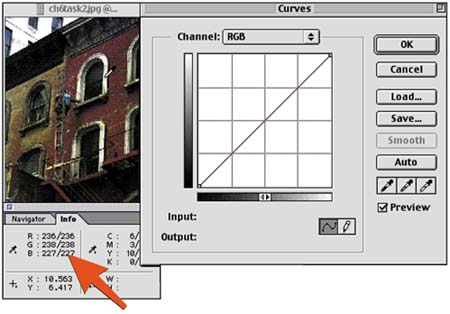
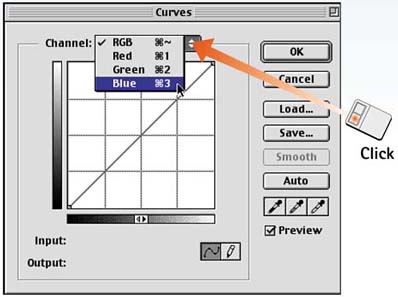
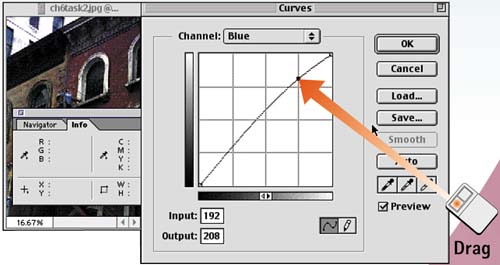
Global color corrections can fix an image that appears to have a color cast or overall tint. This color cast could have been caused by an input device (such as a scanner or digital camera) or by a light source (such as fluorescent lighting). This task shows you how to correct the tint of an image so that the image appears natural to the eye. You can apply this technique to images of natural subjects (such as trees and sky) as well as to more abstract projects.

  1. Open the File

    Choose File, Open and select the image file you want to edit.

    graphics/p6_02fig01.jpg

  2. Open the Info Palette

    Choose Window, Info to display the Info palette.

    graphics/p6_02fig02.jpg

  3. Set the Black and White Points

    If you haven't done so already, set the black point and white point, as explained in Part 5, Task 3, "How to Improve Contrast with Curves." In brief, open the Curves dialog box by selecting Image, Adjustments, Curves and use the black and white eyedroppers in the Curves dialog box to set the points. Click OK to apply the effect.

    graphics/p6_02fig03.jpg

  4. Measure Values

    Look at the image onscreen and search for areas that appear to have a color cast. A cast is especially evident in parts of the image that you know are supposed to be white or gray. With the Curves dialog box still open, move your mouse pointer over these areas and measure the results in the Info palette.

    graphics/p6_02fig04.jpg

  5. Evaluate the Results

    In comparing the numbers, look for a number that is much higher or lower than the other two. In this case, the red and green are close in value, but the blue is low, indicating that the sample area is a bit yellow (the inverse of blue). If a number is low, its inverse is dominant; you must add the low color to balance the color cast. (Red's inverse is cyan, green's inverse is magenta, and blue's inverse is yellow.)

    graphics/p6_02fig05.jpg

  6. Select a Channel Color

    This step corrects a specific color channel based on the evaluations made in the previous step. In the Curves dialog box, click the arrow next to the Channel box and select the color you want to modify, based on your readings in Steps 4 and 5. This action launches a curve that corresponds to that color channel only.

    graphics/p6_02fig06.jpg

  7. Modify the Color

    Click and drag the curve up or down, adding or subtracting the target color to eliminate the color cast from the image. Click OK to apply the change.

    graphics/p6_02fig07.jpg


How to Use Adobe Photoshop 7
ISBN: 0789727706
EAN: 2147483647
Year: 2005
Pages: 144

flylib.com © 2008-2017.
If you may any questions please contact us: flylib@qtcs.net