Task 7 How to Use the Healing Brush
| The Healing Brush is built on the concept and functionality of the Clone Stamp tool: It paints using sampled data from a user-specified point. Instead of just moving the pixel information from one spot to the other as the Clone Stamp tool does, however, the Healing Brush actually blends the two data sets together, blurring information and smoothing the results. The Healing Brush does a great job of eliminating spots and scratches from scanned photographs, and it's also superb at touching up blemishes and wrinkles on faces. If you work with portraiture or photo restoration, you'll use this tool a lot. 1. Open the ImageOpen the image you want to touch up using the Healing Brush.
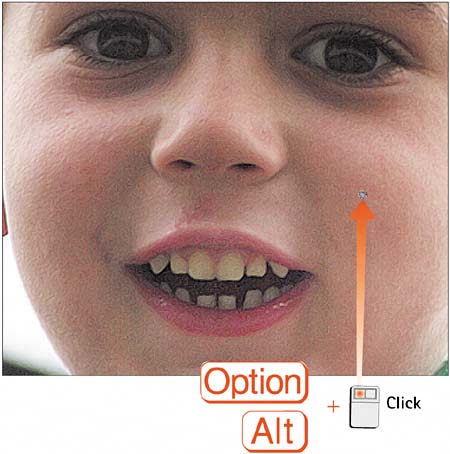
2. Select the Healing Brush ToolSelect the Healing Brush tool from the toolbox. You'll find it grouped with the Spot Healing Brush, Patch, and Red Eye tools. 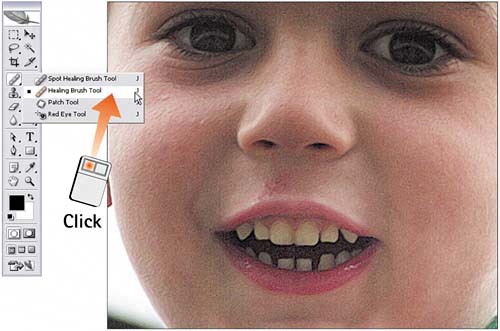 3. Set the Tool ParametersIn the Options bar for the Healing Brush, set the brush size and blending mode. A hard brush (100% Hardness) is recommended. For the Source, select either Sampled or a preset Pattern. If you want the source point to move as you move the mouse pointer, enable the Aligned check box. If you're editing a multilayer file, enable the Sample All Layers check box so you can sample the composite image.  4. Set the Sample PointHold down the Alt key (Windows users) or Option key (Mac users) and click to set the source point for the brush. If your goal is to smooth a blemish or scratch, select a source point that resembles the area you want to repair.
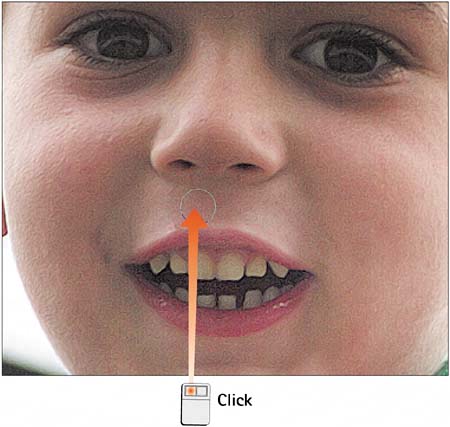
5. Paint the CorrectionsPosition the cursor over the area to be repaired and click to paint the corrections. Photoshop briefly displays the sampled information before blending it with the target image. Here, I've eliminated a slight blemish on the boy's lip by sampling a spot an inch or so away from the blemish.
|

EAN: 2147483647
Pages: 184