Problem : Solution Restore lost highlight detail Problem: Highlights appear washed out in a high-contrast image. 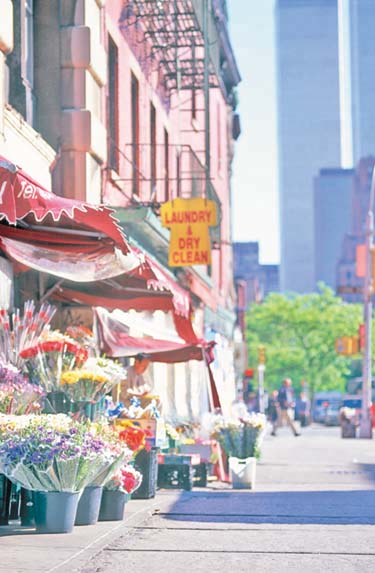
Solution: Use a luminosity mask. 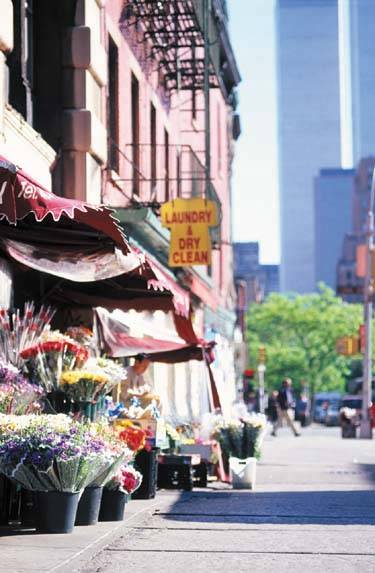
| As we all know, it can be challenging to take the perfect picture, especially when dealing with high-contrast scenes, such as that in our Problem image. Usually in this situation highlights appear washed out, and it can be difficult to bring back detail into these areas without affecting the entire image. However, with the help of a luminosity mask, you can select highlight areas separately to recover the highlight detail. You can use a luminosity mask to adjust the shadow areas of an image as well. |
What's a luminosity mask? Generally speaking, a luminosity mask is a grayscale selection that's made up of the light values within an image. When you press a specific combination of keys, Photoshop automatically selects the highlights of the contents within an active layer. The white areas are selected, the gray areas are partially selected, and the black areas are unselected, creating a luminosity mask. To see how it works: 1. | Open an RGB image in Photoshop.
| 2. | Press [Ctrl][Alt][~] ( [option][~] on the Mac). Upon doing so, all of your highlight areas are selected. [option][~] on the Mac). Upon doing so, all of your highlight areas are selected.
| 3. | Choose Select  Save Selection. Save Selection.
| 4. | Choose New from the Channel dropdown list and name your channel Luminosity Mask.
| 5. | Click OK.
| 6. | Deselect your image at this point by pressing [Ctrl]D (D on the Mac). Your mask will now be stored in the Channels palette. To access it, all you have to do is select it in the Channels palette.
|
Focusing on highlights Now that you have a basic understanding of what a luminosity mask is, it's time to use it for photo retouching. 1. | Open an RGB image in Photoshop that has overly strong highlights.
| 2. | Create a luminosity mask by pressing ([Ctrl][Alt][~] ([option][~] on the Mac).
| 3. | Copy the selected area so that it's on its own layer by pressing [Ctrl]J (J on the Mac).
| 4. | Change the luminosity mask layer's blending mode to Multiply in the Layers palette. This enhances the highlights in your image, making them appear clearer.
|
Working with shadows A luminosity mask is also perfect for selecting shadows in an image. All you have to do is invert your original selection. To see how it works: 1. | Create a luminosity mask as we did before.
| 2. | Press [Ctrl][Shift]I ([shift]I on the Mac) to select the inverse.
| 3. | Press [Ctrl]J (J on the Mac) to place the selected area onto a new layer. Then, to darken your shadow areas, change the layer's blending mode to Overlay, and to lighten the shadows, change the blending mode to Screen.
|
Taking it a step further We've just touched on how a luminosity mask can help keep your images looking good. However, you can take this a step further by experimenting with all of the different blending modes Photoshop has to offer and by adjusting the Opacity of the layer that contains your luminosity mask. Also, if necessary, adjust the original selection Photoshop makes by switching to Quick Mask Mode and painting out areas you don't want adjusted. Because every image is different, we provided you with the core of the technique; the rest is up to you. |