16.3 Creating Dynamic Flash Movies
| Up to now you have seen how to generate static images or documents. However, for highly professional Web sites it can be interesting to generate Flash movies on-the-fly. Dynamic movies can be an impressive feature and will help you to sell your products easily. 16.3.1 InstallationTo work with dynamic Flash movies, you can use PHP's Ming interface, which can be downloaded from http://www.opaque.net/ming/. In this book we used Ming 0.2a. This module is still in an early stage of development, but developers are working hard to improve the module. It is already possible to implement good-looking movies, and you can expect even better versions of Ming in the future. To install the module, you can either download a precompiled binary or the source code of the module. After you have downloaded the binaries, you can extract them using tar xvfz (for Linux machines). In the next step you can copy the shared object to the directory containing the other extensions of PHP: [root@duron flash]# cp php_ming.so /usr/lib/php4/ -v »php_ming.so« -> »/usr/lib/php4/php_ming.so« Now you can start working with the module. With the help of the dl command, you can load the module dynamically. If you want to use the module as a permanent extension, you have to edit php.ini. One line has to be added to the file: extension=php_ming.so After this change has been made, you can run Ming safely. However, keep in mind that Ming is still marked as experimental. Therefore the Ming module won't be covered in full detail. 16.3.2 Getting StartedBefore you get to some more practical stuff, here's a simple yet useless example. The next listing generates an empty Flash movie, and it shows you what basic things have to be done to create a Flash movie: <?php dl('php_ming.so'); header('Content-type: application/x-shockwave-flash'); $m = new SWFMovie(); $m->setDimension(320, 240); $m->setRate(12.0); $m->nextFrame(); $m->output(); ?> In the first line the module for running Ming has to be included at runtime. This is necessary if you have not included Ming as an permanent extension to PHP. In the next step the header is sent to the browser. This header will tell the browser that the data sent to it has to be treated as a flash movie. In the next step the movie is generated and a handle to the movie called $m is returned. In the next step the size of the movie is defined. In this example it has a total size of 320x240 pixels. The number of pictures displayed per second is set to 12. With the help of nextFrame, a frame is added to the movie. Now that you have seen what basic operations have to be performed, we can go on to a more impressive example. Let's take a look: <?php dl('php_ming.so'); header('Content-type: application/x-shockwave-flash'); # creating movie $m = new SWFMovie(); $m->setDimension(320, 240); $m->setRate(12.0); # creating shape $s = new SWFShape(); $s->setLine(5, 0xaa, 0xaa, 0xaa); $s->movePenTo(30, 210); $s->drawLineTo(290, 30); $m->add($s); # displaying output $m->nextFrame(); $m->output(); ?> After creating the movie and defining the attributes of the movie, a shape is created. With the help of shapes you can perform some basic operations such as drawing lines, which is the target of this example. After defining the shape, the attributes of the line are defined. The first parameter of the setline function defines how thick the line should be. The next three parameters define the color of the line you are going to draw. Before the line is drawn, the position of the pen is defined. In this scenario it is located near the lower edge on the left side of the movie. In the next step a line is drawn from the current position to the point (290, 30), which is near the upper edge of the movie on the right side. Drawing the shape is not enough. To display the shape it has to be added to the scenery using the add method. Then the movie is sent to the browser. Figure 16.13 contains a screenshot of the movie. Figure 16.13. A line.
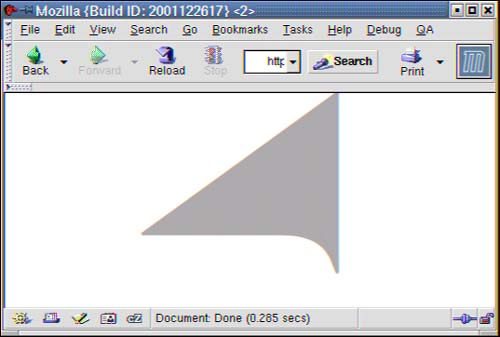
Up to now we have created static images instead of real movies. The next example shows how to create a real movie. In the next step you will see how to build a basic animation: <?php dl('php_ming.so'); header('Content-type: application/x-shockwave-flash'); # creating movie $m = new SWFMovie(); $m->setDimension(320, 320); $m->setRate(12.0); # creating shape for ($i = 0; $i < 320; $i++) { $s = new SWFShape(); $s->setLine(5, 0xaa, 0xaa, 0xaa); $s->movePenTo($i, 210); $s->drawLineTo(290, $i); $m->add($s); $m->nextFrame(); } # displaying output $m->nextFrame(); $m->output(); ?> The script in the listing generated a set of shapes and adds them to the scenery. After adding one object to the movie, the script switches to the next frame. Finally all objects are displayed. If you execute the script, an artistic image will occur step by step. Figure 16.14 shows a snapshot taken during the execution of the script. Figure 16.14. Building a short animation.
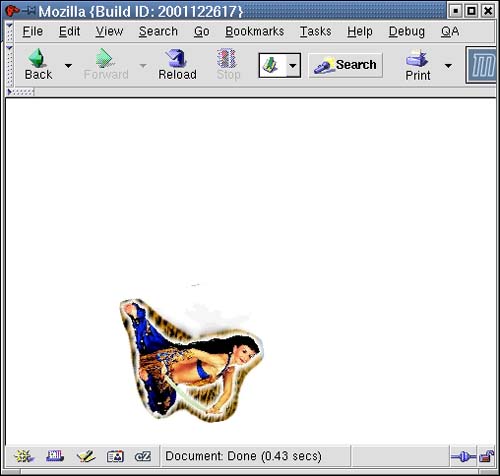
When building Flash movies, it is essential to know how you can work with images. In the next example you will see how an image can be loaded, modified, and moved around: <?php dl('php_ming.so'); header('Content-type: application/x-shockwave-flash'); $m = new SWFMovie(); $m->setDimension(1024, 768); # adding picture to the scenery $pic = new SWFBitmap(fopen("beautiful.jpg", "rb")); $i = $m->add($pic); $i->moveto(512, 393); $m->nextFrame(); # moving the picture for($j = 0; $j < 71; ++$j) { $m->nextFrame(); $i->rotate(5); } $m->nextFrame(); # modifying the color of an image for($n = 0; $n < 20; $n++) { $i->multColor(1.0 - $n /10, 0.5, 1.0); $i->addColor(0xff * $n /20, 0, 0); $m->nextFrame(); } for($n = 20; $n > 0; --$n) { $i->multColor(1.0 - $n / 10, 0.5, 2.0); $i->addColor(0xff* $n /20, 0, 0); $m->nextFrame(); } $m->output(); ?> By creating an SWFBitmap object, it is possible to load an image and to add it to the scenery. After adding the image to the movie, you have to put it into the right position. In this example the image will be located at the center of the movie. To rotate the image, you can use the rotate function. After every movement of the image, a new frame is started. In the next step the colors of the image are modified before the movie starts again. MultColor multiplies the item's color transform, and addColor adds the given color to this item's color transform. Finally the movie is sent to the browser. Figure 16.15 contains a snapshot of the browser window. Figure 16.15. Moving the wonderful belly dancer.
In addition to moving images, changing colors, and drawing objects, Ming provides a set of functions for working with text, MP3s, and many other objects. There is also an interface for working with action scripts. With the help of action scripts, it is possible to build interactive Flash applications. However, the module is not that stable yet, so it is not possible to use it for building business-critical applications. |
EAN: N/A
Pages: 201