Adding Controls to a Form Using the Toolbox
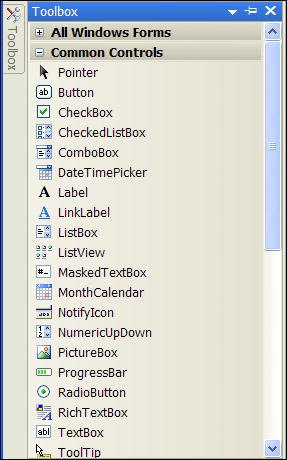
| The IDE offers some fantastic tools for building a graphical user interface (GUI) for your applications. Most GUIs consist of one or more forms (Windows) with various elements on the forms, such as text boxes and list boxes. The toolbox is used to place controls onto a form. Figure 2.7 shows the default toolbox you see when you first open or create a Visual C# project. These controls are discussed in detail in Hour 7, "Working with Traditional Controls," and Hour 8, "Using Advanced Controls." Figure 2.7. The standard toolbox contains many useful controls you can use to build robust interfaces. You can add a control to a form in one of four ways:
Did you Know? If you prefer to draw controls on your forms by clicking and dragging, I strongly suggest that you dock the toolbox to the right or bottom edge of the design environment or float it. The toolbar tends to interfere with drawing controls when it's docked to the left edge because it covers part of the form. The first item in each category in the toolbox, titled Pointer, isn't actually a control. When the pointer item is selected, the design environment is placed in a select mode rather than in a mode to create a new control. With the pointer item selected, you can click a control on the form to display all its properties in the Properties window. |
EAN: 2147483647
Pages: 248