Using The Page Header
| The page header is visible at the top of every page and subpage. The page header contains two default features, the page title and the time and date stamp. A page header is shown in Figure 4.3. Figure 4.3. The page header contains the title field and date stamp.
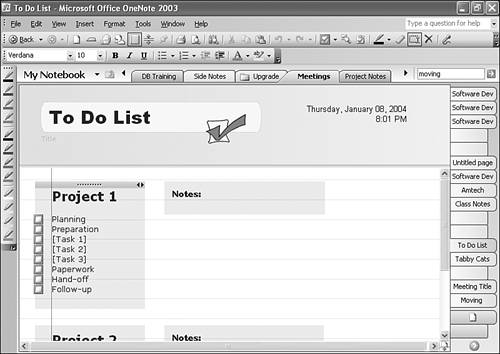
Adding or Changing the Page TitleTo add a page title to a page, position your cursor or pen in the Title box and just start typing. The size of the page title will grow with the amount of information you add to it. After the page title box grows to approximately half way across the OneNote page, it will expand to a second line. If you type too many characters in the page title, you won't be able to see the entire page title in the page tab on the right side of the screen. This can cause multiple pages to look identical. For example, in Figure 4.4, the first three pages look like they have the same name. However, the pages are actually named Meeting Notes 1, Meeting Notes 2, and Meeting Notes 3. Figure 4.4. Using long page titles can cause confusion in the page tabs.
If you need to differentiate between page names in the page tabs, try to keep your page titles to no more than 10 or 12 characters.
Within the page header, you can customize the font of the page title. To change the font of an existing page title, use your mouse to select the text of the page title. You can then use the Font and Font Size drop-downs on the Formatting toolbar to change the title font. The Page Header's Date and Time StampOn the right side of the page header, OneNote inserts the date and time the page was created. By default, OneNote uses the long date format specified in Windows Control Panel. To change the date format, use the following steps.
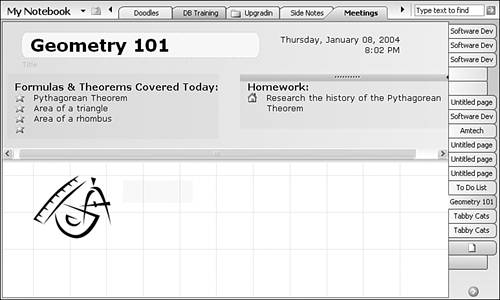
An often-requested feature of OneNote is the ability to change an existing date stamp on a page header. Once you create a new page, you cannot change the time and date stamp. If you click either the time or the date, you can highlight the entire line, but you can't change what's there. You can, however, delete the date stamp and replace it with your own custom note container. To remove the date and time from the page header, click the date or time once to select it. Press the Delete key on the keyboard to delete the selection. Once you've deleted the date and time, you can create a new note container in your page header and type the current date and time yourself. However, this date and time will look slightly different. It's contained in a note container and behaves exactly like any other note container on your page or in your page header. This means that you can move, delete, format, flag, highlight, and change the text within the note container. Storing Information in the Page HeaderAs the last section alluded to, you can store a variety of information in the page header. Any information that can be stored in a note container on the page can also be stored in the page header. You can create a new note container in the page header by clicking with your mouse (or tapping with your pen) anywhere in the header. Figure 4.5 shows a page header with several different note containers. Figure 4.5. You can add note containers to any page header.
When adding notes to the page header, creating multiple lines in a note container will cause the page header to scroll. You can resize the page header by positioning your mouse or pen on the solid gray line at the bottom of the page header. Your pointer should change to two horizontal lines with two arrows. A ScreenTip message will also appear instructing you to click or drag to change the size of the header. Clicking automatically increases the size of the header by a preset amount (usually about double the original header height). You can also click, hold, and drag the header to make it any size you need. You can reduce the size of the header using the same method. Hiding the Page HeaderIf you don't want the header taking up space on your OneNote screen, you can hide it entirely. Select Page Header from the View menu to remove the orange check mark next to the menu item and hide the page header. You won't be able to see any of the page header on the screen, allowing you more space to display notes, as shown in Figure 4.6. Figure 4.6. Hiding the page header shows you more of the note page at once.
You can restore the page header at any time by selecting Page Header from the View menu to toggle the option on again. |

EAN: 2147483647
Pages: 182