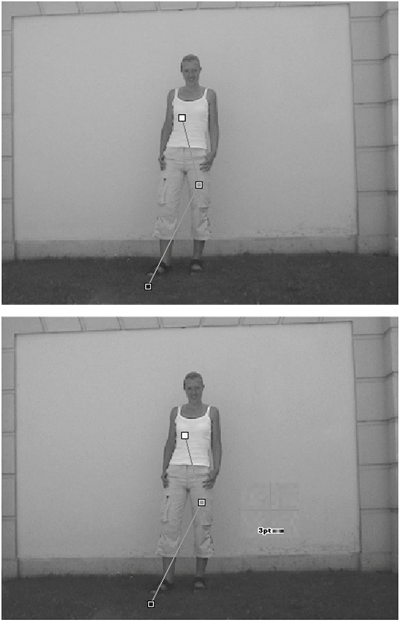
Using the 3-Point Color Balance Tool


Once you select the reference clip, you can adjust the colors of your original clip using the 3-Point Color Balance tool. This tool requires white, black, and gray references points that you set using the reference clip as the baseline.

To use the 3-Point Color Balance tool

1.

Place your reference clip in the left window and your target clip in the right.

2.

Click the 3-Point Color Balance button . This button is located in the one-click tools on the far right of the ColorCorrection interface.

Three points linked by two lines appear on both screens. These are colored white, gray, and black.

3.

Adjust the squares in the reference clip so that the black one is on the darkest area of the screen, the white is on the lightest area, and the gray one is somewhere in between.

4.

Now repeat this for your target clip, dragging each square to the right area.

5.

Once you are happy, right-click the mouse inside the right window to apply the effect.

If you forget to do this, the effect isn't applied (Figure 11.23).

Figure 11.23. A before and after example of correcting a severe white balance problem. (See color insert.)


Tip

  • Use the Zoom tool in the middle of the two windows to get a pixel-sized view of where to place your color balance squares (Figure 11.24).

    Figure 11.24. Use the zoom tool for accuracy. (See color insert.)


Pinnacle Liquid Edition 6 for Windows
ISBN: 0321269160
EAN: 2147483647
Year: 2003
Pages: 245
Authors: Paul Ekert

flylib.com © 2008-2017.
If you may any questions please contact us: flylib@qtcs.net