Matching Color
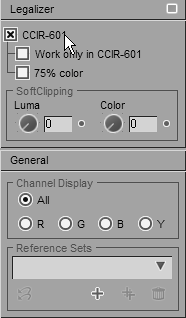
Color matching is the process of taking two video clips and correcting the color so that shades of white and black appear matched in each clip. For example, a scene filmed with two cameras that cuts from person to person must contain the same color tones or it will jar the viewer as the colors shift in each different viewpoint. This process might involve correcting the white balance on a clip that resulted from using two different cameras or accounting for filters used incorrectly on the same camera from shot to shot. To help you perform color matching, you have a veritable army of tools at your disposal. These include a vector scope and a selection of vector color tools that allow you to edit every color element in a clip. How good your results turn out depends greatly on how much you know about color editing. To be honest, unless you're well versed in the technique, you should approach it with caution and never let your mouse wander too far from the Undo key. The one-click toolsIf you find yourself daunted by the vector scope and find no clues in the color selection area, you still don't need to give up. Pinnacle has incorporated a number of tools into the ColorCorrection Editor that are designed to automatically help out with the most common color and lighting problems (Figure 11.19). Figure 11.19. The one-click tools.
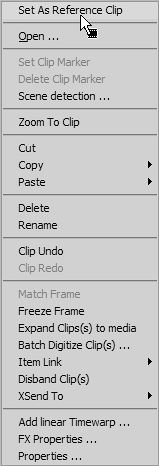
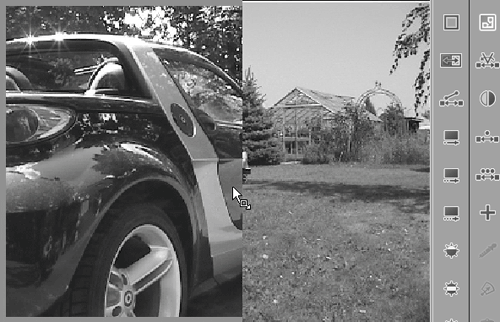
To make it even easier, most of these tools allow you to use a reference clip against which to match the color correction. The reference clipA reference clip must be another clip on the Timeline. Once you select it, you can use the colors it contains to adjust the colors in your target clip. For example, you can take this to extremes by matching the sky from a tropical photograph with the sky from your overcast shot to try creating an instantly improved skyline. To set a reference clip
|
 Tip
Tip
EAN: 2147483647
Pages: 245