Creating a New Group
You may have a number of people that you regularly send e-mails to. Instead of entering each name every time you send an e-mail, create a group. Here you will learn how.
-
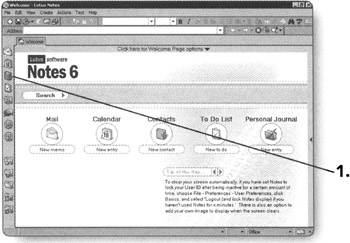
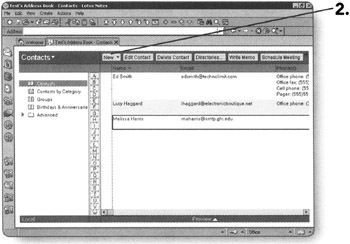
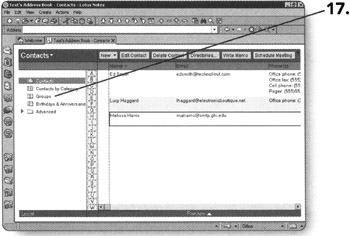
Click on the Address Book Bookmark. The Contact list will open.
-
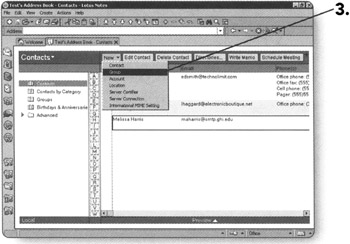
Click on New. The New menu will appear.
-
Click on Group. A new group form will open.
-
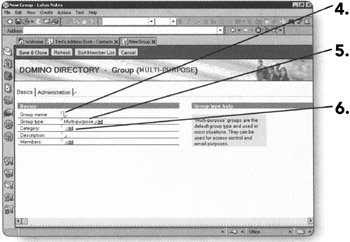
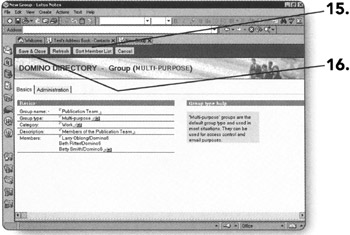
Type a name for the group in Group Name field.
-
Leave the Group Type as Multi-purpose. This allows for full capability of the group.
-
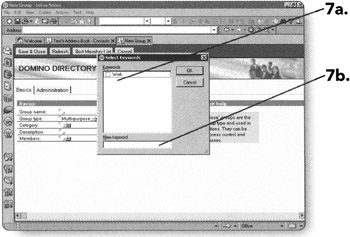
Click on the arrow in the Category field. The Category Keyword list will appear.
-
-
Choose the correct category for the group.
OR
-
Add a new category by typing it in the New Keyword field.
-
-
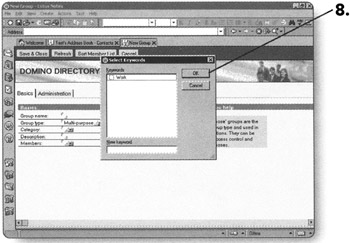
Click on OK to close the Keyword box.
-
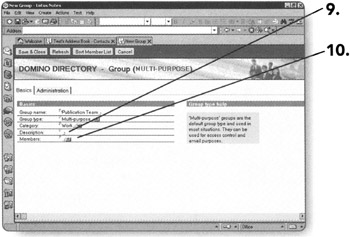
Type a description for the group in the Description field.
-
Click on the arrow in the Members field. The Select Names dialog box will appear.
Tip You can click on the Choose Address Book drop-down menu and change the address book you are using to select names from.
-
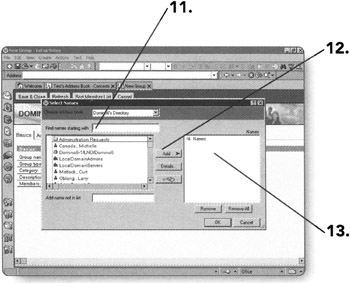
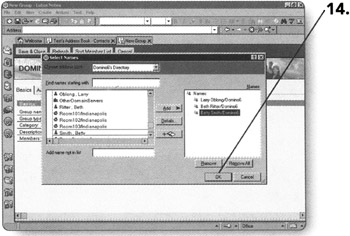
To find someone in this selection box, start typing his or her last name in the Find names starting with box.
-
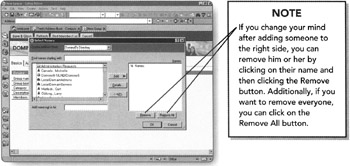
Once you have found the person you are looking for, click on Add to add the person to the right side.
Tip You can also add yourself to the Group. Just choose yourself from the list.
-
Continue in this manner adding all of the people to the Names list.
-
Click on OK when you are finished. You will be returned to the Group form and the names you selected will be in the Members field.
-
Click on the Sort Member List button to sort the Members by first name.
-
Click on Save & Close. You will be returned to the contact list.
-
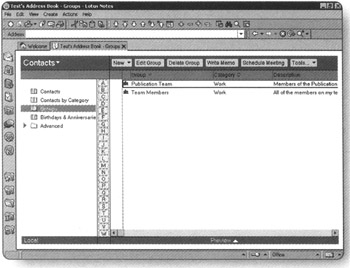
Click on Groups view. You will see the new group that you created on the right side of the screen in the group contact list.
EAN: 2147483647
Pages: 134
- Key #1: Delight Your Customers with Speed and Quality
- Beyond the Basics: The Five Laws of Lean Six Sigma
- Making Improvements That Last: An Illustrated Guide to DMAIC and the Lean Six Sigma Toolkit
- The Experience of Making Improvements: What Its Like to Work on Lean Six Sigma Projects
- Six Things Managers Must Do: How to Support Lean Six Sigma