Understanding Calendar Preferences
Lotus Notes gives you many options to customize how you view and work with it. In this section you will learn what these options are.
-
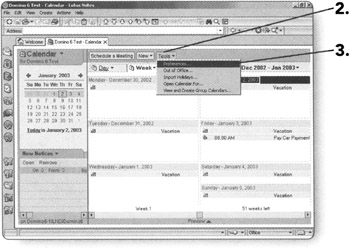
Click on the Calendar Bookmark. Your calendar will open.
-
Click on Tools. The Tools menu will appear.
-
Click on Preferences. The Preferences dialog box will appear on the Calendar & To Do Basics tab.
On the Basics tab, you can change the following items:
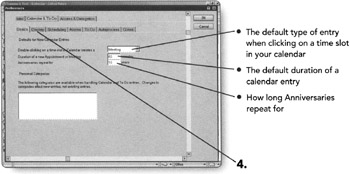
You can also set up Categories by clicking in the Personal Categories box.
-
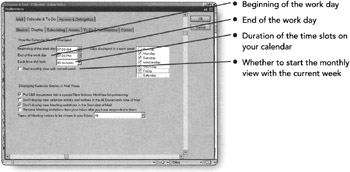
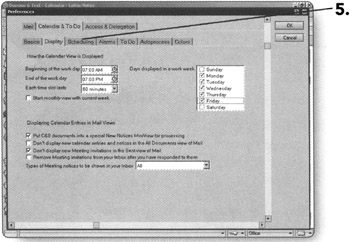
Click on the Display tab.
The Display tab lets you customize how your calendar is displayed.

-
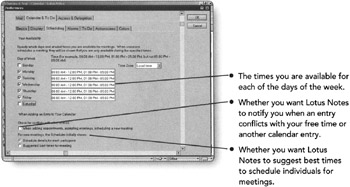
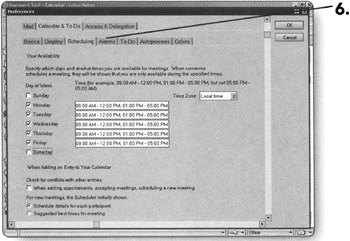
Click on the Scheduling tab.
This tab is where you specify your free time so that others will know when they can schedule you for meetings. The following items can be modified on the Scheduling tab:
-
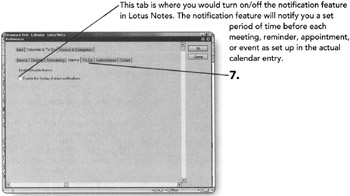
Click on the Alarms tab.
-
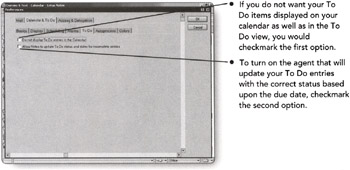
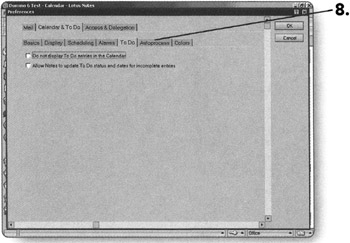
Click on the To Do tab.
The To Do tab gives you just two options.
-
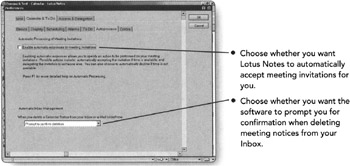
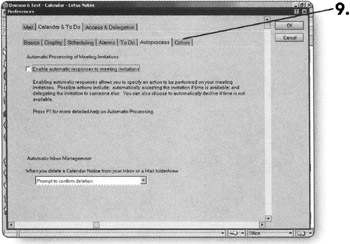
Click on the Autoprocess tab.
This tab regulates how meeting notices are handled when they come in to your Inbox or when you delete them.
-
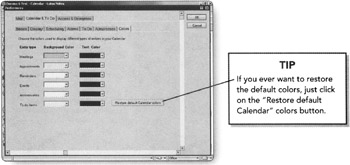
Click on the Colors tab.
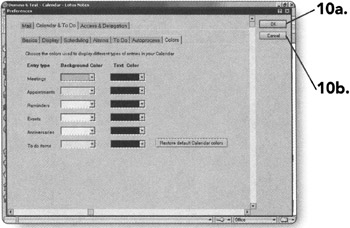
The Colors tab allows you to color code the different types of entries on your calendar for better organization.
-
-
Click on OK to save the changes you have made. You will return to the Calendar.
OR
-
Click on Cancel to close the Preferences dialog box. The changes you made will not be saved and you will return to the Calendar.
-
EAN: 2147483647
Pages: 134