Section 20.2. Publishing Your Site
20.2. Publishing Your SiteNow that you've sorted out what's going and what isn't, you can publish your site. This is a two-part process. First, you connect to your web host from Dreamweaver. Next, you put, or upload, the files of your site from your computer to the host's computer. Two clicks of the mouse will do it, as this section shows. 20.2.1. Connecting to the HostNow that you've sorted out what's going and what isn't, you can connect to your web host. You supplied and tested your connection information when you defined your site in Chapter 7, so you know that everything is working fine.
To connect to your web host, click the Connect button in the Files panel, as Figure 20-2 shows). The Background File Activity dialog box in Figure 20-3 appears and shows you what's happening behind the scenes as Dreamweaver negotiates the connection with your web host. This might take a couple seconds, so be patient. Figure 20-2. The Connect button in the Files panelFigure 20-3. The Background File Activity dialog box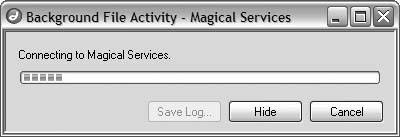 If you're working behind Windows Firewall, you may receive the dialog box in Figure 20-4 when you use Dreamweaver's connectivity features for the first time. Make sure you click the Unblock button, or Dreamweaver won't be able to publish your site to the Web. Figure 20-4. Unblocking Dreamweaver in the Windows Firewall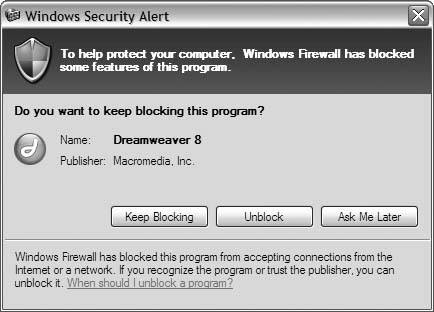 If you're working behind the firewall built into Mac OS X, you may also have trouble connecting to your Web host through Dreamweaver, but for better or worse, you won't get a dialog box warning you about it. Some Mac users solve the connectivity problem by setting Dreamweaver for Passive FTP mode. To do this, choose Site Other Mac users get good results by tweaking the settings of the firewall itself. From Sharing in System Preferences, click the Services button, and check the FTP Access option, as Figure 20-5 shows. Then click the Firewall button, and enable FTP access to and from your ISP's server, as in Figure 20-6. Figure 20-5. First enable FTP Access under Mac OS X Services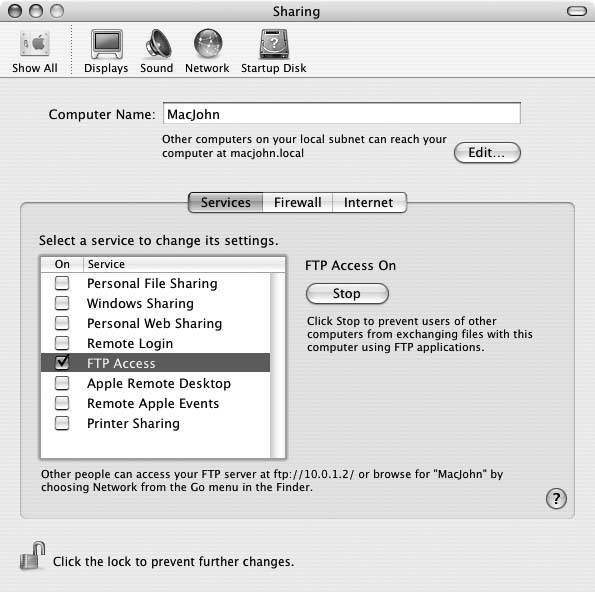 Figure 20-6. Then check FTP Access under Firewall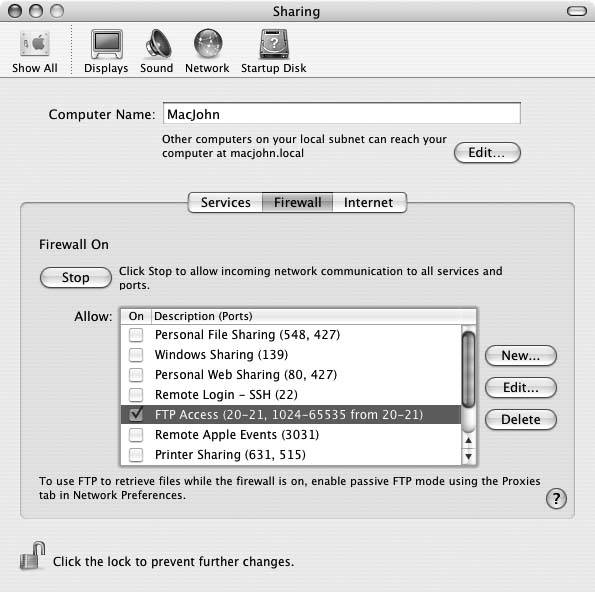 When Dreamweaver makes the connection with your host, the Background File Activity dialog box closes, and the Connect button in the Files panel lights up, as Figure 20-7 shows. Congratulations! You're online. Figure 20-7. The Connect button lights up to show you're connected
20.2.2. Putting Your FilesThe time has come to publish your site's files, or to put them, to use the technical jargon. Select the local root folder in the Files panel, as Figure 20-8 shows, and then click the Put button shown in Figure 20-9. Dreamweaver asks if you're sure about putting the entire site. Of course you are. Click OK. Figure 20-8. Selecting the local root folder in the Files panel Figure 20-9. The Put button on the Files panelThe Background File Activity dialog box returns as Dreamweaver sends your pages to the web host. Click the arrow button next to Details to see exactly what's happening, as Figure 20-10 shows. Figure 20-10. Expanding the Details frame to see what's happening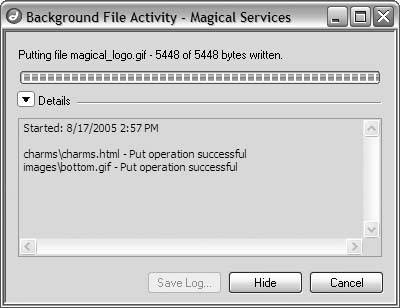 When Dreamweaver finishes, the Background File Activity dialog box closes. Your site is now live! To prove it, switch to Remote view on the Files panel, as in Figure 20-11. You're looking now at your web host's computer, and your folders and files are exactly where you want them. Figure 20-11. Switching to Remote view to see your published site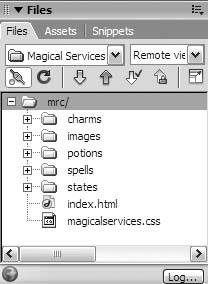
You know what this means: fire up your favorite web browser and point it toward your domain. You are now officially the first visitor to your first published web site. Once again, congratulations! That satisfying taste on your tongue is victory, pure and sweet. Enjoy it. The author of this humble tome wishes you a superabundance of success. |
 Manage Sites, select your site in the Manage Sites dialog box, and click the Edit button.
EAN: 2147483647
Pages: 154
- The Second Wave ERP Market: An Australian Viewpoint
- Enterprise Application Integration: New Solutions for a Solved Problem or a Challenging Research Field?
- Context Management of ERP Processes in Virtual Communities
- Data Mining for Business Process Reengineering
- Intrinsic and Contextual Data Quality: The Effect of Media and Personal Involvement
- Integration Strategies and Tactics for Information Technology Governance
- An Emerging Strategy for E-Business IT Governance
- A View on Knowledge Management: Utilizing a Balanced Scorecard Methodology for Analyzing Knowledge Metrics
- Measuring ROI in E-Commerce Applications: Analysis to Action
- The Evolution of IT Governance at NB Power