Section 18.1. Laying Out the Form
18.1. Laying Out the FormWhenever you build a form, you start by inserting the form container tag, <form>. This element groups all the fields of the form into a logical unit so that the browser doesn't get confused. The form container is very easy to forget, because you don't actually see it in the browser window. It's one of those invisible elements that you run across every now and then. The only thing to do is to remember to insert it, so here's what you do:
Dreamweaver adds the form container to the document window as a red rectangle with a dashed border, as Figure 18-3 shows. The rectangle is for your benefit, so that you can see where the form container appears in your layout, but in a browser window the container is completely invisible. Figure 18-3. Dreamweaver represents the form container as a red rectangle with a dashed border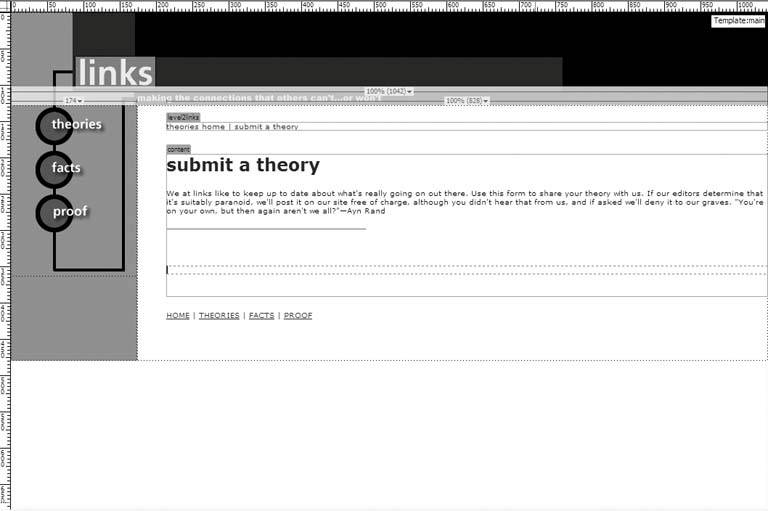 The best way to lay out a form is to use a table, much to the consternation of standards organizations everywhere. So make a quick sketch of the form that you want to build, and divide it into rows and columns, as Figure 18-4 shows. To insert the table, click anywhere inside the form container, and then choose Insert Figure 18-4. Sketch a mockup of your form, and divide it into rows and columns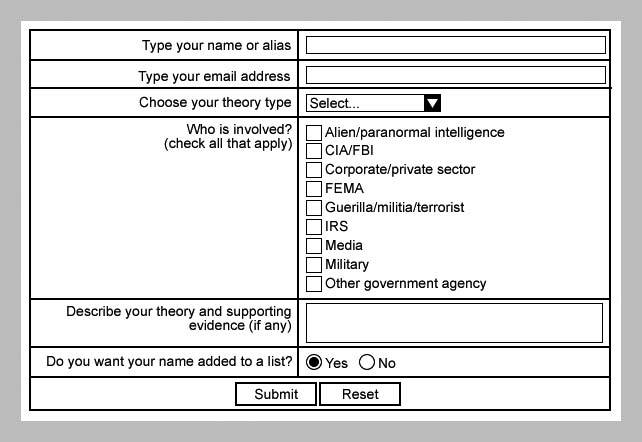 Click OK, and Dreamweaver places the table inside the form container, as Figure 18-6 shows. You're ready now to insert the fields of the form. Figure 18-5. Setting the number of rows and columns for the table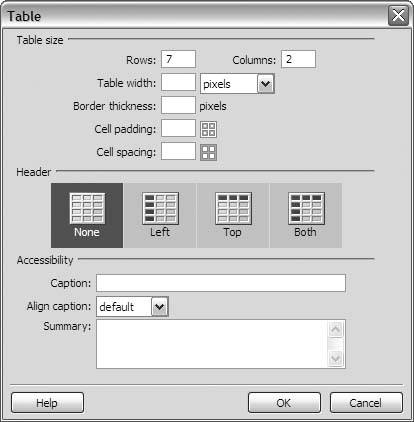 Figure 18-6. Dreamweaver places the table inside the form container
|
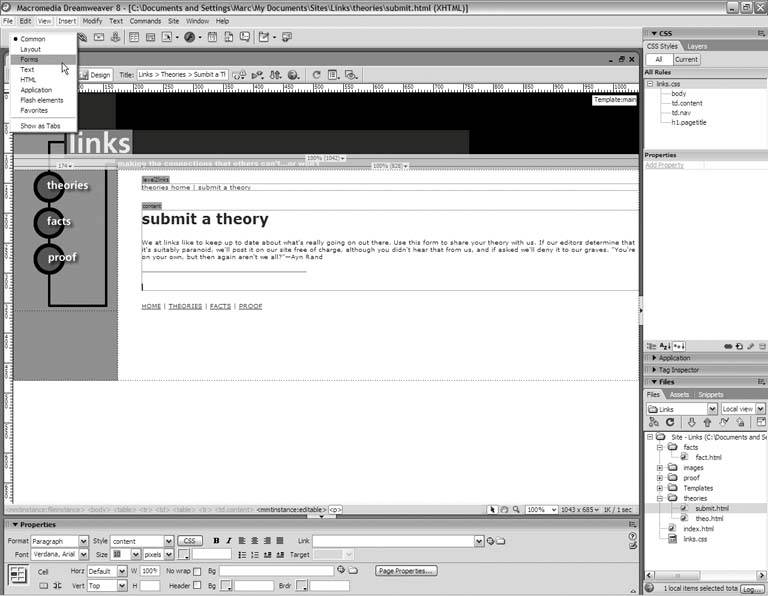
 Table from the main menu. In the Table dialog box, set the number of rows and columns to match the rows and columns in your form sketch, in this case 7 and 2 respectively, as Figure 18-5 shows. If you want a visible border around the table cells, type a value in the Border Thickness field. Otherwise, leave it blank. The Padding and Spacing fields can also be blank, or they can take values depending upon your preference.
EAN: 2147483647
Pages: 154