Chapter 22: Silly Adventure
In the previous chapter, we built a 3D shooter in the 3D Gamemaker (T3DGM), the first of our projects. We’re now going to build our second project, this time an adventure game we’ll call Silly Adventure, which will sum up the game’s content very well.
The Project
To begin this project, open T3DGM and choose Standard from the opening screen. Click the Make Game button and choose Silly from the buttons that are available along the top of screen. At this time, your screen should look something like Figure 22.1.
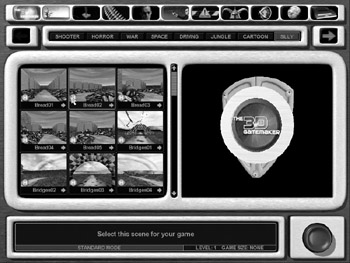
Figure 22.1: Your screen should appear similar to this.
Choose Lolly02 for the level, which will update your project with this level. One of the nice features of T3DGM is the fact that you are instantly updated of any changes you make as you go along. As you can see in Figure 22.2, the level we have chosen is visible in the display immediately.
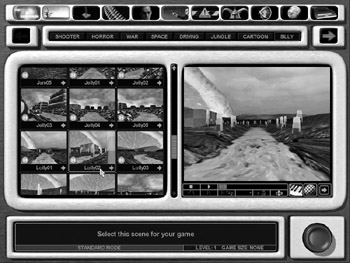
Figure 22.2: The level we have picked is displayed immediately.
The next step is to click the second icon along the top of the screen. This icon, which looks like a joystick, allows you to select the player for the game. When you click this icon, the interface is updated to reflect some of the available players in the currently selected category (see Figure 22.3). Click the Jungle category so that we can choose some of the characters from it (they can be seen in Figure 22.4). The one we are interested in is the tomato. Click it to preview the animation (see Figure 22.5) and then click the next icon in the list. This time it looks like some ammunition and is responsible for the player bullets.
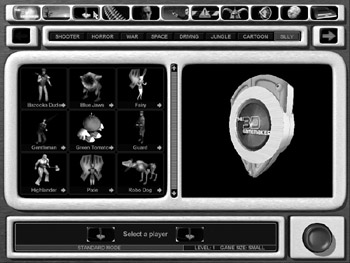
Figure 22.3: Players that are available in the category.

Figure 22.4: Characters specific to the Jungle category.
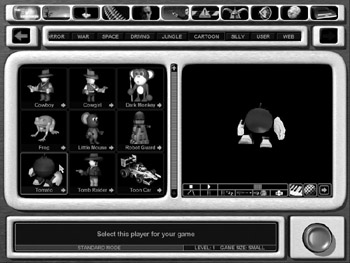
Figure 22.5: The tomato is selected.
At this time, because of the type of project we are creating, we are going to look for some “bullets” for our tomato character. We’ll select the Cartoon category and choose Peas from the items. You can see the selection in Figure 22.6.

Figure 22.6: The selection we have made is visible.
The next step is to choose the icon located directly to the right of the bullets. This one looks like a mug shot and allows us to choose an enemy for our tomato. Click the Silly category and then choose Chick (see Figure 22.7). The next icon is for the enemy bullets. We are not going to allow the enemy to fire any bullets at us, so we’ll move to the next icon, which is the Obstacle icon and looks like a caution sign. Once you have clicked the icon, you can choose Cartoon as a category and Boulder as an item (see Figure 22.8).
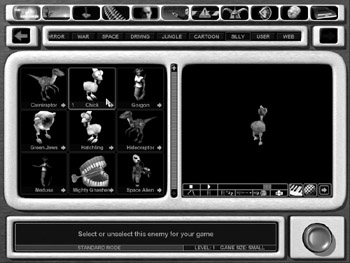
Figure 22.7: Chick has been selected.
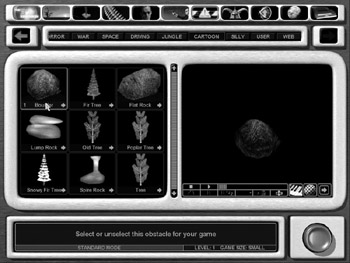
Figure 22.8: Boulders are added to the project.
It’s now time to select the next icon; this one handles the end of level boss and looks like a Viking helmet. Choose the Cartoon category and the Blue Rabbit as the end of level boss (see Figure 22.9).
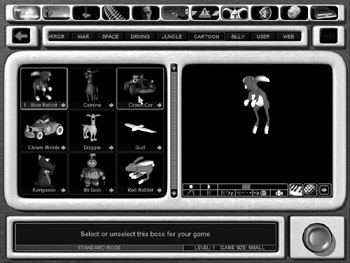
Figure 22.9: The rabbit as displayed in T3DGM.
The next icon is the Game Items icon. It has a green arrow on it pointing upward. We don’t need to set anything for our game, so we can click on the icon to its right that looks like a planet. These are the global game settings (see Figure 22.10).
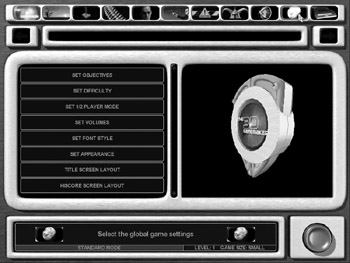
Figure 22.10: The game settings.
There are many items in here, and as its category name suggests, they allow you to change the settings for your game. We are happy with the default settings, so we’ll move to the last icon, which looks like a disc (see Figure 22.11). We can now choose Save Game from the list of available buttons, enter the name Silly Adventure (see Figure 22.12), and click the OK button.
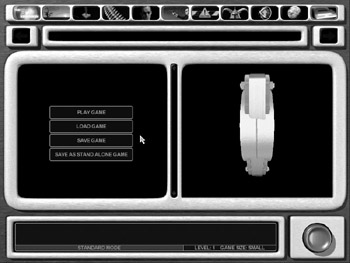
Figure 22.11: The last icon is selected.
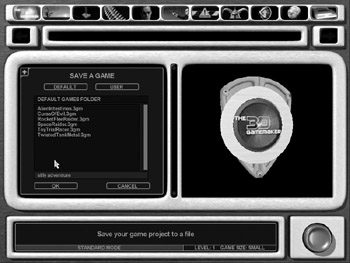
Figure 22.12: Give the game the name Silly Adventure.
Click the Play Game button to start the game. Figures 22.13 to 22.18 display various aspects of our game being played. You can save it to a standalone project if you would like so that it can be distributed to others.
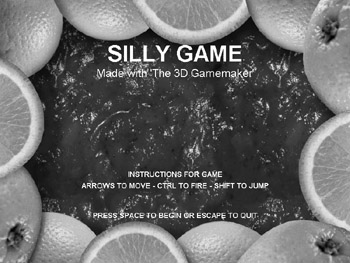
Figure 22.13: The opening screen for our game.

Figure 22.14: The game is loading.
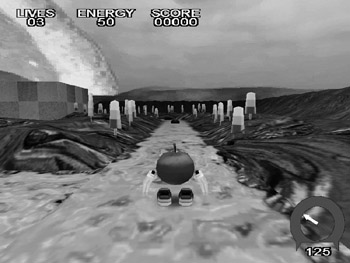
Figure 22.15: Actual game play is started.
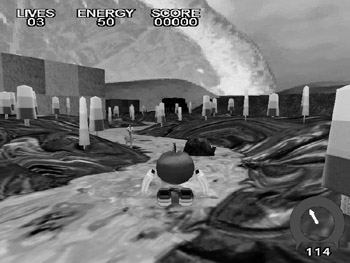
Figure 22.16: The main character encounters the first enemy.
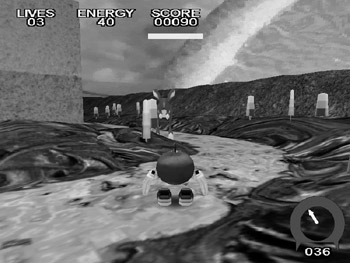
Figure 22.17: Nearing the end but running into the blue bunny.
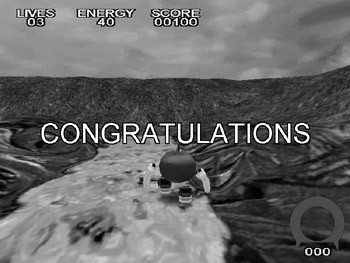
Figure 22.18: Our game has ended.
EAN: 2147483647
Pages: 168