Section 13.2. Student Groups
13.2. Student GroupsMoodle has an unusual, but effective, way of managing small student workgroups. You define your groups then set the group mode for the class or for each tool. The group mode you choose also determines the behavior of each. There are three group mode options:
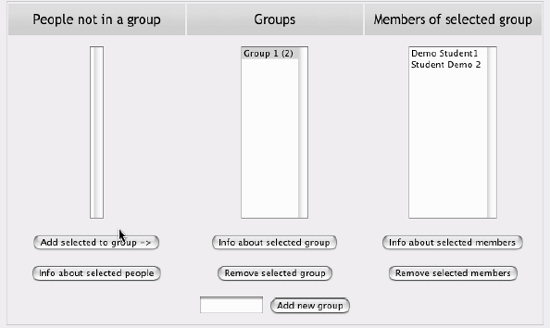
Figure 13-2. Visible groups Once the group mode is set for the course or for the tool, students will interact with your Moodle course as they normally would. The only difference will be the people they meet in the forums, workshops, assignments and other tools. For example, if you set the group mode of a forum to separate groups, Moodle will create a forum for each group. Each student will see the same link to the forum, but they will be able to access only the discussions for their particular group. You need to create the forum only once; Moodle takes care of creating the individual group forums. To utilize the group mode, you first need to create the student groups:
Once you've set up your groups, you can set the group mode for each tool. Once you've added a tool to your course, such as a forum, you can set the group mode on the course's main page. When you look at the page in editing mode, the right-most icon next to each tool toggles between the three possible group modes shown in Table 13-1.
These icons will be visible unless you've forced the group mode in the course settings. |
EAN: 2147483647
Pages: 113