| One of the benefits of using tables instead of tabs is how easy it is to add lines and colors to the table. (The line around a table is called the border. Lines around cells are called strokes. Colors inside the cells are called fills  .) .)
The table border goes around the outside of a table. 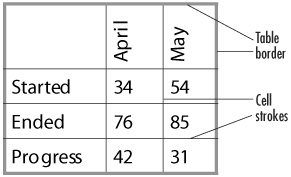 To add a border around the table: 1. | Select at least one cell in the table.
| 2. | Choose Table > Table Options > Table Setup. The Table Options dialog box opens with the Table Setup options selected  . .
The Table Setup dialog box lets you apply a border around the entire table. 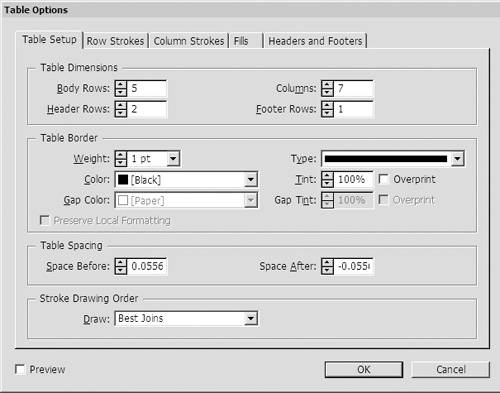 | 3. | In the Table Border category, use the Weight field to set the thickness of the border/line  . .
You can format the line around a table with the Table Border controls. 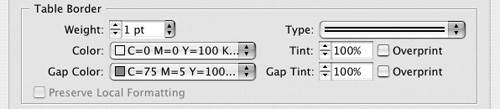 | 4. | Use the Color menu to set the color of the border/line.
| 5. | Use the Tint field to apply a screen to the color.
| 6. | If desired, check overprint for the color (see page 145).
| 7. | Use the Type menu to set a stripe pattern for the border.
|
If you have applied a stroke to a cell that touches the table border, the Preserve Local Formatting checkbox controls how the table border changes the local settings to cells. To preserve the formatting applied to cells: 1. | Apple a stroke to the cells (see the next page for how to apply strokes to cells).
| 2. | In the Table Options dialog box, select Preserve Local Formatting to maintain the appearance of the cell edges that touch the table border  . .
The Preserve Local Formatting option maintains the appearance of cells that touch the table border. 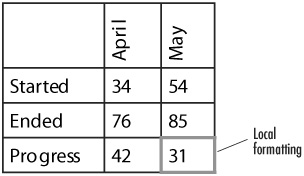 or
Deselect Preserve Local Formatting to allow the table border to override the stroke applied to the cell.
|
Tables are automatically created with strokes around the cells. You can remove those cell strokes, apply new ones, or customize them as you see fit. To customize the strokes around individual cells: 1. | Select the cells you want to modify.
| 2. | Choose Table > Cell Options > Strokes and Fills. The Cell Options dialog box appears with the Strokes and Fills options selected  . .
The Strokes and Fills controls under Cell Options let you format cells in a table. 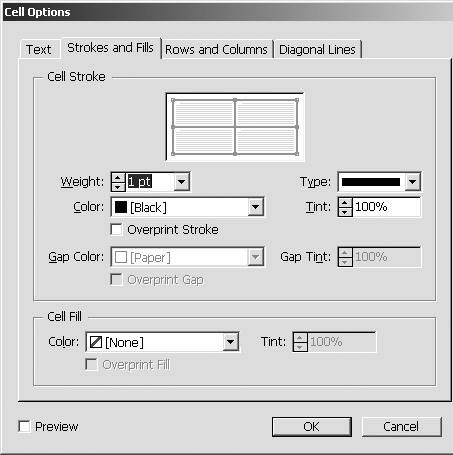 | 3. | Click the proxy lines in the cell preview to select which edges of the selected cells should be formatted  . The top, bottom, left, and right edges of the preview area correspond to the position of the edges in the selected cells. . The top, bottom, left, and right edges of the preview area correspond to the position of the edges in the selected cells.
Click the proxy lines for the cell stroke to control which edges of the cell are stroked. The colored lines indicate the edge is selected. 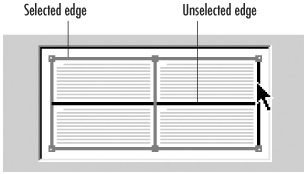 Tip Important! Select and deselect the proxy lines in the cell preview before you change any of the settings in the dialog box. This avoids applying partial settings to the cells. Tip The cell preview area changes depending on the combination of cells, rows, or columns you have selected  . .
The cell preview area changes depending on how many cells, rows, or columns are selected. 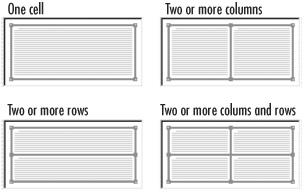 | 4. | Set the controls under Cell Stroke to format the appearance of the selected edges.
| 5. | Click OK to apply the settings.
|
If all your strokes are the same solid color, you don't have to worry about how the table is drawn, But as soon as you mix strokes or use nonsolid strokes, you need to set preferences for how the strokes appear when they cross each other. To set the stacking order for the border and strokes: 1. | Select at least one cell in the table.
| 2. | Choose Table > Table Options > Table Setup. The Table Options dialog box appears.
| 3. | Choose one of the following from the Draw menu  : :
Best Joins lets InDesign create the best possible appearance for how the strokes intersect. Row Strokes in Front moves the strokes for the rows in front of the strokes for the columns. Column Strokes in Front moves the strokes for the columns in front of the strokes for the rows. InDesign 2.0 Compatibility uses a combination of the Best Joins for the table border and the rows in front of the strokes for the interior cells.
Examples of how the Draw menu settings are applied to tables. 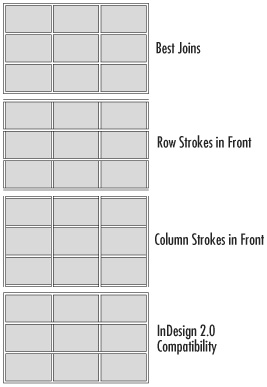 |
You can also fill the inside of a cell with a color or gradient. To customize the fill inside individual cells: 1. | Select the cells you want to modify.
| 2. | Choose Table > Cell Options > Strokes and Fills. The Cell Options dialog box opens set to Strokes and Fills.
| 3. | Set the controls under Cell Fill to format the color inside the selected cells  . .
The Cell Fill controls let you apply colors to individual cells in a table. 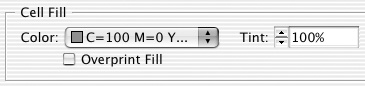 Tip If you have already defined a gradient swatch, you can fill the selected cells with a gradient. |
|