Project 4. Filmstrips This is another project that mimics some sort of film presentation. This time we'll create a digital filmstrip. Filmstrips are what you used to pick up at the pharmacy along with your 4" x 6" prints. They were tucked in a smaller envelope and you probably never even looked at them. You probably called them negatives, and rightly so. Because this project creates positive rather than negative images, I'll stick with the term filmstrips.  For this project, you can find an old filmstrip somewhere and either scan it or take a photo of it. Doing so will likely provide you with only the shape, as with the previous project with the slide mounts. That's fine, though, because we'll provide the images to fill the filmstrip. If you'd like to take an even easier approach, you can have Paint Shop Pro provide the filmstrip template. Yep, it can be that simple. Here's how: 1. | Select File, New. In the Image Dimensions options, set the Units to Inches, the Width to 6, and the Height to 2. Then select an appropriate Resolution setting: 7296 Pixels/Inch for the Web and email and 200300 Pixels/Inch for your inkjet printer. I used 200 Pixels/Inch for the example, so you might want to do so as well to follow along.
While you're looking for the Film frame, take a look at some of the others for ideas. For example, there's a Slide Mount frame that could be used for the previous project, and you might be inspired to use one of the available edge frames on the Vintage Photo project at the beginning of this chapter.
| 2. | Select Image, Picture Frame.
| 3. | In the Picture Frame dialog box, click the small arrow on the right side of the icon and select Film from the menu. Leave the default Orientation settings of Frame Canvas and Frame Outside of Image, and then click OK. You should have something that resembles Figure 11.20.
Figure 11.20. The digital filmstrip frame. 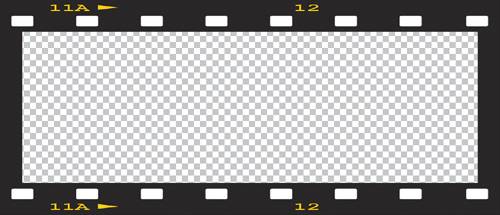
|
Adding Some Images Now that all the work has been completed on the actual filmstrip, it's time to fill it with some images. You have a chance here to use a theme. You could, for example, choose very brightly colored images, stick to black-and-white (moody), or pick several shots of the kids or a favorite vacation spot. Go ahead, have some fun with it. 4. | You will now have two layers: The first (or topmost) layer is the new layer with the filmstrip frame, and the second (or bottommost) layer is the transparent layer that was created when you created the new file. Click the lower layer to make it active.
| 5. | Open several images you'd like to use, and resize them so their height is 2 inches. Make sure they are properly oriented and that you use the same resolution as the filmstrip image.
| 6. | With each image, choose Selections, Select All to select the entire image. Then select Edit, Copy; finally, after making the Filmstrip image active, select Edit, Paste As New Layer.
| 7. | Use the Pick tool to move each image into place with a small gap between each of the images. You should end up with something that resembles Figure 11.21.
Figure 11.21. The digital filmstrip frame with images inserted. 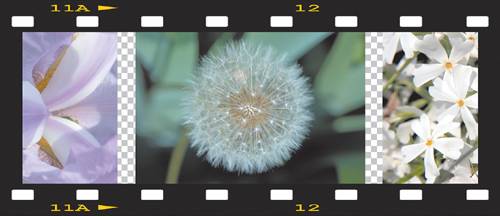
|
Cleaning Up a Little There's only one small detail left to clean up and that's the background. With that final step done, you'll be on your way to the next project-filled chapter, or perhaps out to shoot more images for other filmstrip projects. 8. | All you need to do now is paint the background with black. To do so, set the foreground color to black in the Materials palette, make the bottommost layer active, select the Flood Fill tool, and click anywhere in the image. Your final result should look like a filmstrip. Of course, with the images displayed this way, it resembles a slide filmstrip. My final result is shown in Figure 11.22.
Figure 11.22. The final digital filmstrip. 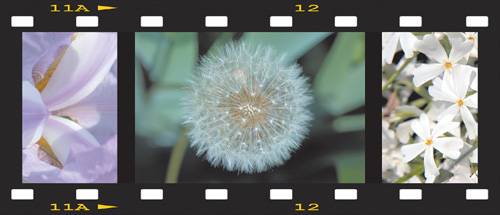
Try playing around with some different sizes when you first create the image. You could, for example, use a square format to mimic medium format film. Whatever you do, have some fun while you're doing it and that will show through in your finished projects.
|
|