Using the Address Book
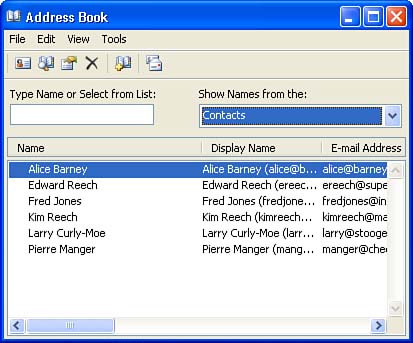
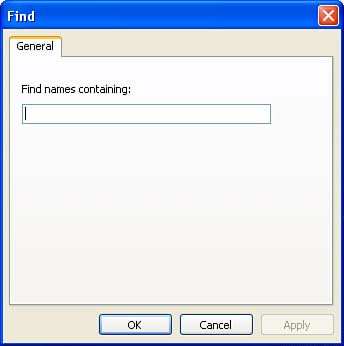
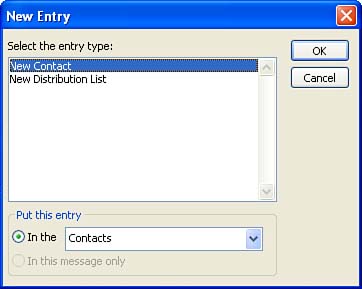
| The Address Book is basically a launch pad that allows you to access information lists (they are all considered address books) that contain e-mail addresses and other contact information. Because you create your own Contacts list, you always have this resource available, even if you aren't connected to a special network server and you access your e-mail by connecting to the Internet. You can find more information about building your Contacts list in Lesson 11, "Creating a Contacts List." As already mentioned, Outlook also has the capability to access a number of different address lists. If Outlook is used as a mail client for the Microsoft Exchange Server mail system, Outlook will be able to access distribution lists as well as the entire Exchange Server e-mail catalog. Figure 10.1. The Address Book provides access to your various e-mail address and contacts lists. Finding Records in an Address BookThe Address Book dialog box also makes it easy for you to search through a particular address book for a particular person. In the Type Name box, begin to type the name of a contact you want to find in the list; as soon as you type enough of the contact's name for Outlook to find that particular contact, it will be highlighted in the list provided. For cases where you want to search for a record or records by a particular character string (such as all records in the address book that have the last name of Smith), the Address Book provides you with a Find dialog box. Figure 10.2. You can search a particular address book by keywords or text strings using the Find dialog box. Type your search string into the Find Names Containing box. Then, click OK to run the search. The search results appear in the Address Book dialog box. Only the records that match your search parameters appear in the list. Adding Records to an Address BookYou can also add records to any of the address books that you have access to. For example, you can add records to your Personal Address book or to your Contacts list directly in the Address Book window. Keep in mind that in a corporate environment, your network administrator probably controls some address books, such as the Global Address Book. This means that you won't be able to add information to these address books; you can use them only as resources to find information such as e-mail addresses. To add a record to an address book that you do control:
The blank records that open for your new entries look slightly different, depending on the address book in which you are creating the new record. In the case of new contacts (which is discussed in the next chapter), you can enter information for the new entry that includes the person's address, phone number, fax number, and even a Web page address. Some address books may allow you to enter only the name and e-mail address of the person.
|
EAN: N/A
Pages: 660