Creating Your Own Bridge Workspace
| When I first saw Bridge I thought, "This is just a facelift of the File Browser." Once I really started using it my thoughts quickly changed to "This rocks!" One thing I found myself doing a lot was moving and resizing all of the panels to suit my needs at the moment. When I first downloaded photos onto my computer, I wanted Bridge to have one view while I reviewed them, and then when I was going through trying to pick my favorites, I wanted another view. That's where workspaces come in. They're easy to create and they help speed things up when you're working in Bridge. Step OneFirst, let's all start from the same place. Launch Bridge from Photoshop by choosing File>Browse, pressing Command-Option-O (PC: Control-Alt-O), or clicking the Go to Bridge button on the Options Bar. You can also launch Bridge without even having Photoshop open. Once you're in Bridge, if the Favorites palette is open (at the top of the Panel area to the left), choose View>Favorites Panel to remove the checkmark and close it.  ©MATT KLOSKOWSKI Step TwoDo the same and close all other palettes with a checkmark next to them, except for the Preview palette. This will now only leave your thumbnail preview in the main Bridge window and in the Preview palette on the left. 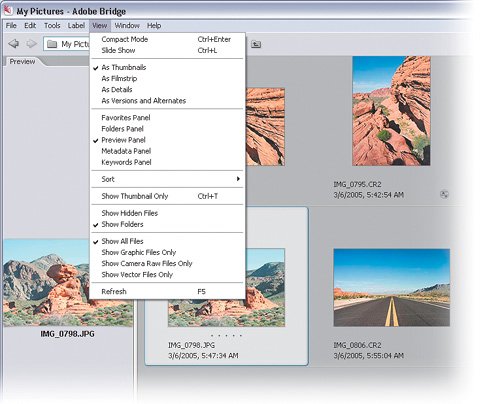
Step ThreeNow, expand your Preview palette so it takes up nearly the entire screen. Also, decrease the size of the thumbnails to make them smaller by sliding the Thumbnail Size slider (near the bottom right of the Bridge window) to the left. We're only trying to concentrate on getting the largest preview possible right now. 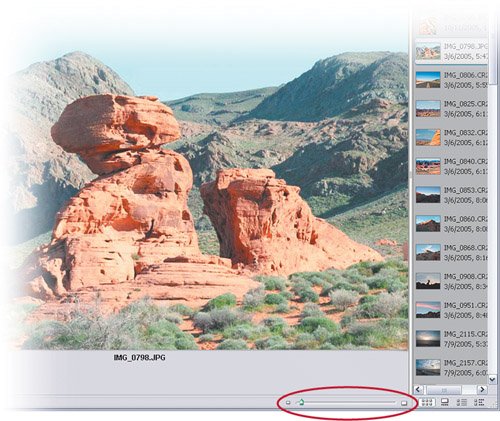 Step FourOnce you're happy with the way this view looks, choose Window>Workspace>Save Workspace. Enter "Large Preview" in the Name field. Make sure the Save Window Location as Part of Workspace checkbox is turned on to save the exact location of this Bridge window on your screen. Note that you can assign a keyboard shortcut, too. 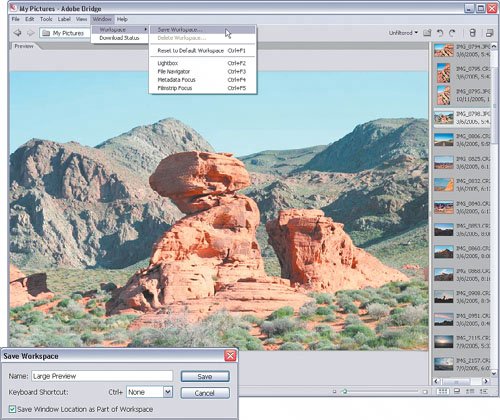
Step FiveWhen you're done, click Save and this workspace will be saved. Now you can always change over to this saved workspace by choosing it from Window>Workspace. (Note: Your saved workspaces will appear at the bottom of the menu.) 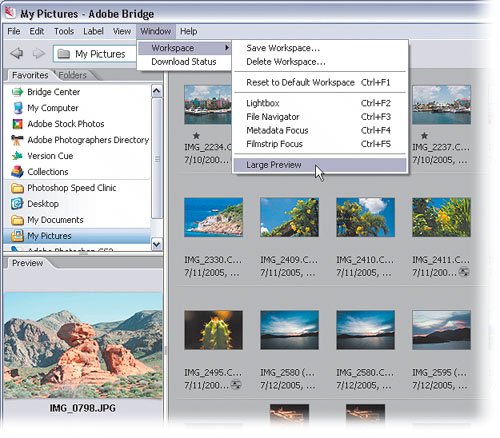 ©MATT KLOSKOWSKI 
|


EAN: 2147483647
Pages: 113