Section 33. Add or Move a Clip on the Timeline
33. Add or Move a Clip on the Timeline
10 Capture to the Timeline or Media Panel 13 About the Media Panel 14 Add Media with the Adobe Media Downloader 29 About the Timeline and Video Tracks
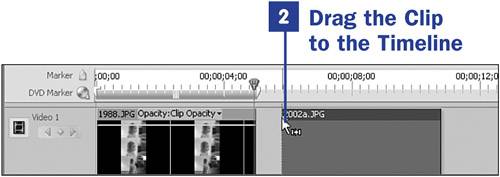
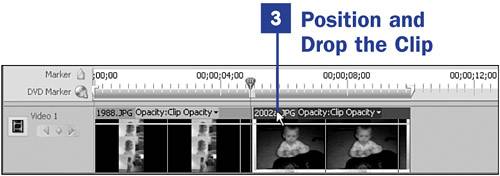
35 Delete and Close Gaps in the Timeline 41 Move Several Clips at Once 43 About Rendering the Timeline Now it's time to really get down to business: getting clips onto the Timeline. Although you can trim clips while they are still in the Media panel (as explained in 19 Trim Clips in the Media Panel), you can do nothing beyond that without getting those clips onto the Timeline, where editing begins (and when you're finished editing, what is on the Timeline is what gets burned to DVD). Before we begin this task, you must have a few clips in the Media panel that can be added to the Timeline (see 13 About the Media Panel, 14 Add Media with the Adobe Media Downloader, and 4 About Video Capture). Of course, if you have captured your clips and used the default Capture to Timeline option, your clips are already there. The sooner you get the clips down there, the sooner you can start your editing process and burn that DVD. Note that there are two ways a clip can be added to the Timeline: with the Insert or Overlay option. The Insert option places the new clip on the Timeline, splitting an existing clip, or (if positioned at the beginning, end, or between video clips), inserting the new clip and moving all clips to the right to make room for the new clip. The Overlay option places the new video over existing video, removing any of the existing video it is placed over.
You can capture clips directly to the Timeline as explained in 10 Capture to the Timeline or Media Panel.
|
 BEFORE YOU BEGIN
 SEE ALSO
 NOTE
NOTE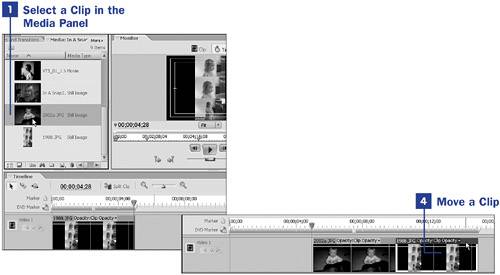
EAN: 2147483647
Pages: 199