123. Burn Multiple Copies of a DVD  BEFORE YOU BEGIN BEFORE YOU BEGIN
111 About Burning to DVDs 112 Create an Auto-Play DVD 117 Customize a DVD Menu Screen Template
 SEE ALSO SEE ALSO
122 Preview and Test Drive a DVD Movie 124 About Troubleshooting DVD Output
Although this task creates a set of DVD files on your hard drive that ostensibly you can use and re-use to burn several DVD copies, it's often the preferred way to produce even one copy of a DVD. DVD burning actually combines several processrendering and encoding, creating and linking menus, and the actual burning of the disc. Of these, the step most prone to problems is the burning of the DVD itself (an issue related to driver compatibility). Burning to a folder rather than directly to a disc removes one poten-tially problematic step, increasing the likelihood of producing a successful DVD. 1. | Click Burn DVD
If you aren't already in the DVD workspace, click the DVD button in the upper-right corner of any workspace. Open the project you want to burn to multiple DVDs.
After you've selected and customized your menu screens (see 117 Customize a DVD Menu Screen Template) or chosen the option to create an auto-play DVD (see 112 Create an Auto-Play DVD), click the Burn DVD button in the DVD Layout panel. The Burn DVD dialog box opens.
| 2. | Select the Burn to Folder Option
In the Burn DVD dialog box, you'll have the option to burn directly to a DVD or to burn to a folder. At the bottom of the dialog box, you can choose which TV format you plan to play the disc inNTSC or PAL.
You have a choice between saving your files for a standard 4.7BG DVD or an 8.5GB dual-layer disc. Select the Burn to Folder option that is compatible with your DVD burner and media.
| 3. | Select the Quality Level
The Burn DVD dialog box also indicates the approximate size of your final DVD output in the Space Required area in the middle of the dialog box.
123. Burn Multiple Copies of a DVD 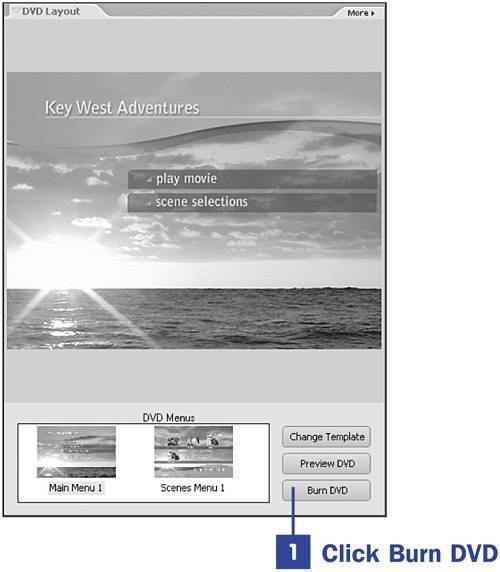
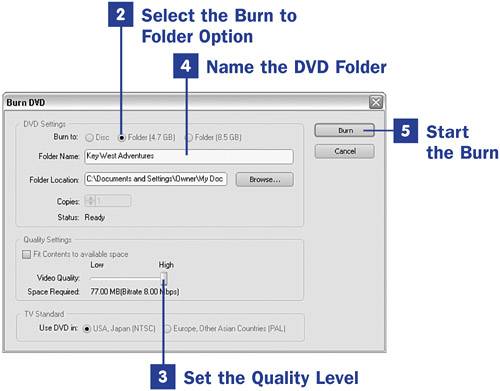
A 4.7GB DVD can hold approximately one hour of standard-quality video (see 111 About Burning to DVDs). If the estimated output size is greater than your disc capacity, you can reduce the quality level of your video to accommodate the video.
Enable the Fit Contents to Available Space check box to force your movie project to fit on the selected media type.
| 4. | Name the DVD Folder
Type a name for your DVD folder and browse to the folder location to which you want to save your video files. If you don't name your folder, the program automatically generates a default name based on the date and time of your burn.
| 5. | Start the Burn
Click the Burn button. The program will render and encode your video project and save the menu and video files in two subfolders within the folder you specified in step 4.
To produce a DVD, use the software that came with your DVD burner or your system to burn the two subfolders and all their contents to a disc.
|
|