Opening Up Shadow Areas (Digital Fill Flash)
|
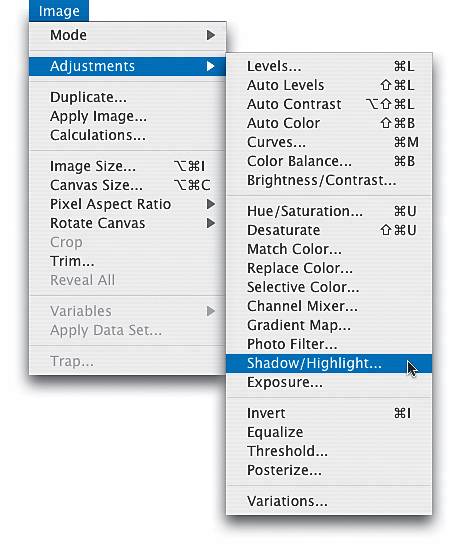
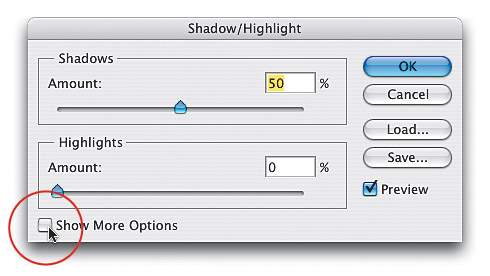
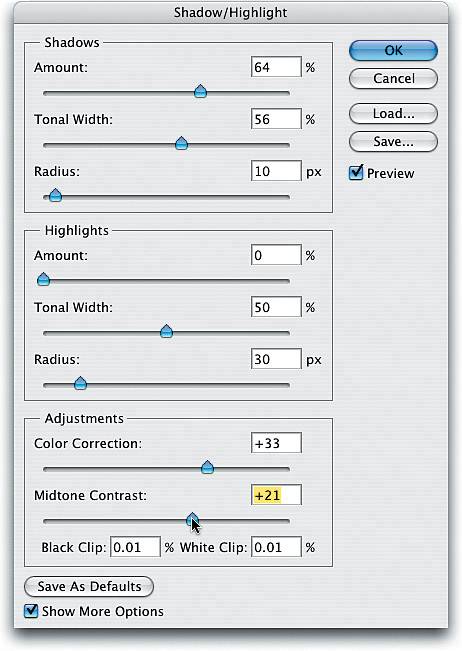
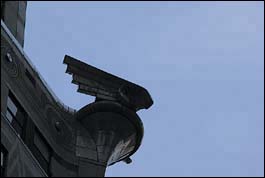
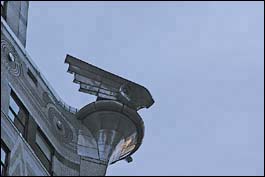
| Back in Photoshop CS, Adobe introduced a very slick new way to open up shadow areas (or pull back highlight areas) calledaptly enoughShadow/Highlight. This lighting correction command can be as simple as moving a slider or you can tweak each little nuance of your photo's shadow and highlight areas by revealing its many options. It's ideal to use in situations where you wish you had used a fill flash (think of it as a highly flexible digital fill flash) and need to bring out detail lost in the shadows or to reduce your highlights. Step OneOpen a photo containing shadow or highlight areas that need adjusting (in this case, it's a photo of part of the Chrysler Building in New York). In this example, the light is coming from the side and slightly behind our subject, so ideally we'd like to open up the shadows on this side. Needless to say, I couldn't get my flash to reach up 30 or 40 stories, but heythat's why they invented Photoshop, right?  Step TwoGo under the Image menu, under Adjustments, and choose Shadow/Highlight. Step ThreeWhen the Shadow/Highlight dialog appears, by default the shadow areas are lightened by 50%. You can increase the amount for additional lightening, or you can decrease the amount if the shadows appear too light. (We're adjusting shadows in this image, but if you were adjusting highlights, you'd increase the Highlights Amount to decrease the highlights in the photo.) 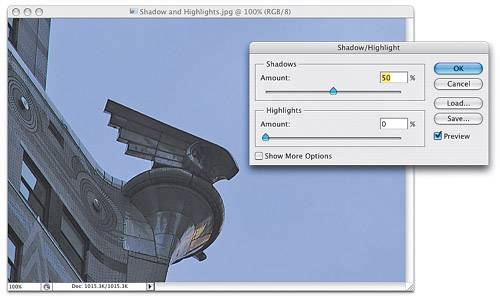 Step FourIn this example, the 50% default setting for shadows wasn't quite enough, so I dragged the Shadows Amount slider to the right to open up the shadow areas even more. When you click OK, your shadow lightening correction is applied to your photo. 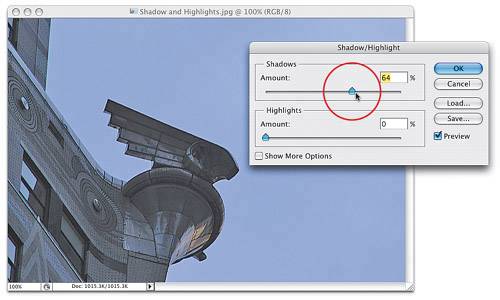 Step FiveIf you want more control than these two sliders offer, click on the Show More Options checkbox in the bottom left-hand corner of the dialog. Once you click the checkbox, you get the "full monty" (as shown in Step 6). Don't let all those sliders intimidate you, because chances are you'll be tweaking either the shadows or the highlightsnot bothso you can ignore half the sliders altogether. Step SixI generally use these expanded options if I tried to open the shadow areas on a photo and the adjustment looked too artificial or "milky," which the Shadows Amount slider tends to do, especially on people. In that particular case, try lowering the Shadows Amount to around 25%, then increasing the Shadows Tonal Width and Radius sliders (by dragging them to the right) to get a more realistic look. This is what the sliders here do: If you're tweaking shadows, lowering the Tonal Width lets you affect only the darkest shadow areas; increasing it affects a wider range of shadows. Increase it a bunch, and it'll start to affect the midtones as well. It works similarly for the Highlights. The Radius amount determines how many pixels each adjustment affects, so to affect a wider range of pixels, increase the amount. If you increase the shadow detail, the colors may become too saturated. If that's the case, reduce the Color Correction amount (which basically only affects the area you're adjusting). You can also adjust the contrast in the midtones using the Midtone Contrast slider. Before After (opening up the shadows with Shadow/Highlight) Step SevenOkay, so we've opened up shadows, but what about pulling back highlights? Well, in the photo we just worked on, there's not much of a shadow problem, but the photo here has plenty. So go under the Image menu, under Adjustments, and pull up Shadow/Highlight again. Lower the Shadow amount to 0%. 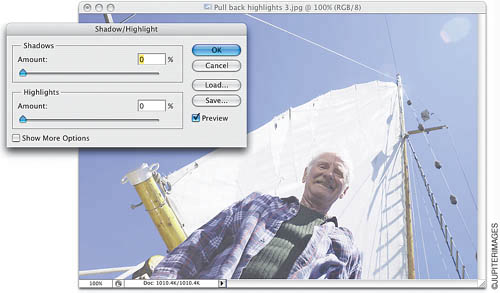 Step EightNow drag the Highlights Amount slider to the right, and as you do, the highlights are pulled back. This is pretty much the opposite of the way every other dialog in Photoshop works. Usually if you drag a slider to the right, you get more of somethingbut in this case, increasing the Highlights Amount gives you less highlights. 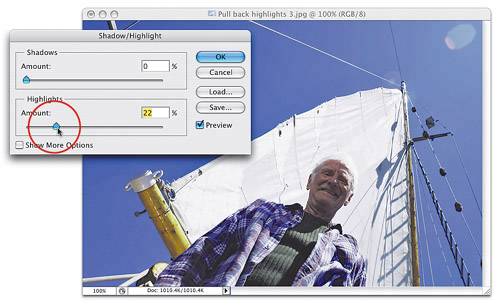 |
|
EAN: N/A
Pages: 187