Compensating for Too Much Flash
|
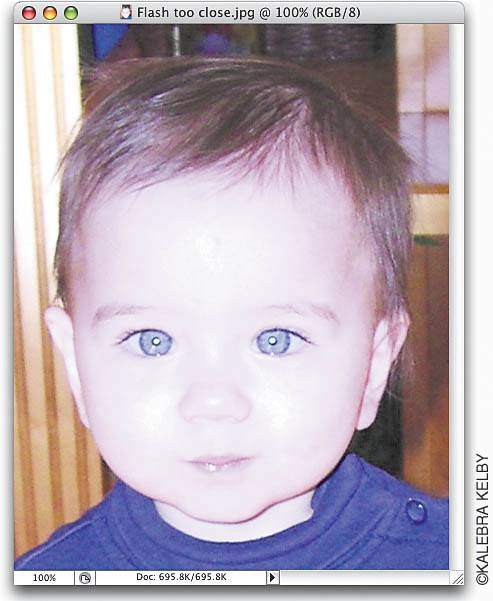
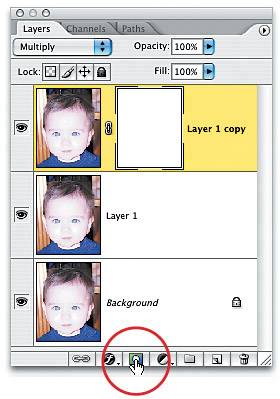
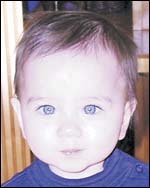
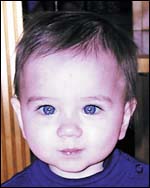
Compensating for "Too Much Flash"Don't ya hate it when you open a photo and realize that: (a) the flash fired when it shouldn't have; (b) you were too close to the subjects to use the flash and they're totally "blown out"; or (c) you're simply not qualified to use a flash at all, and your flash unit should be forcibly taken from you, even if that means ripping it from the camera body? Here's a quick fix to get your photo back from the "flash graveyard," while keeping your reputationand cameraintact. Step OneOpen the photo that is suffering from "flashaphobia." In the example shown here, the flash, which was mounted on the camera body, washed out the entire subject (although the background behind her looks okay). Step TwoMake a copy of the photo layer by dragging it to the Create a New Layer icon at the bottom of the Layers palette. Then, change the layer blend mode of this duplicate layer from Normal to Multiply, which has a "multiplier" effect, bringing back a lot of the original foreground detail the flash "blew out." She's still a little bit "blown out," so you'll probably need to repeat this process at least once more to get additional detail and tone back. 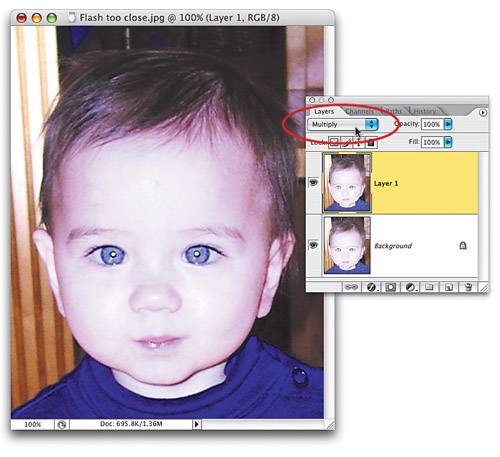 Step ThreePress Command-J (PC: Control-J) to duplicate this Multiply layer again. This does a nice job of bringing back more detail and balancing the tone in her face, but now her hair and the background behind her head are a little too dark. Here's how to deal with that: Click on the Add Layer Mask icon at the bottom of the Layers palette. Step FourPress the letter X to toggle your Foreground color to black, press B to get the Brush tool, and in the Options Bar, click on the Brush thumbnail and choose a soft-edged brush from the Brush Picker. Start painting over her hair and the background behind her head. As you paint, it will reveal the lighter version of her hair from the layer beneath it. You might want to lighten up her shirt as well. When you're done, the amount of flash is properly balanced. Note: If you make a mistake while you're painting, you can press X to switch your Foreground color to white, paint over those areas, and they'll return to how they looked before you started paintingthat's the beauty of layer masks. Before After |

|
EAN: N/A
Pages: 187