Using the Lightness Channel
|
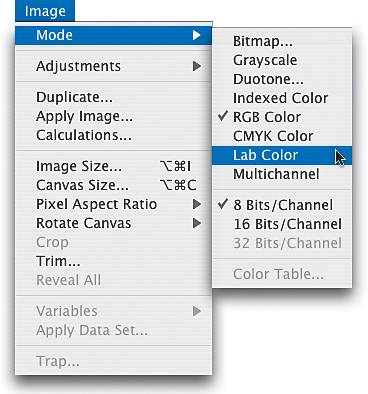
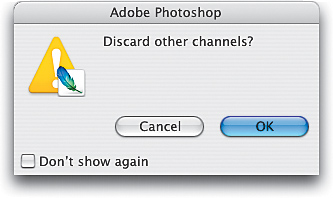
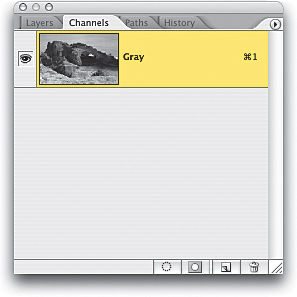
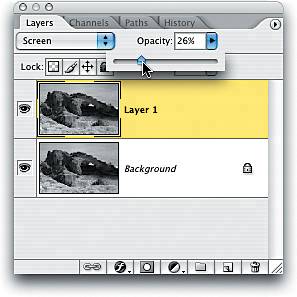
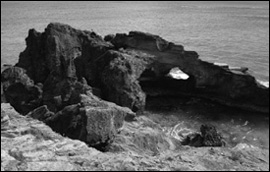
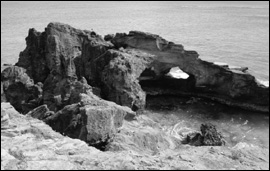
| This is one of the most popular methods for converting from color to grayscale, as it lets you isolate just the luminosity in the photo, separating out the color; and by doing so, you often end up with a pretty good grayscale image. However, since this uses the Lightness channel, we also add one little twist that lets you "dial in" a perfect grayscale photo almost every time. The most important thing for you to do in this chapter is to try all the different grayscale methods to decide which one you like best. Step OneOpen the color RGB photo that you want to convert to grayscale using the Lightness channel method. 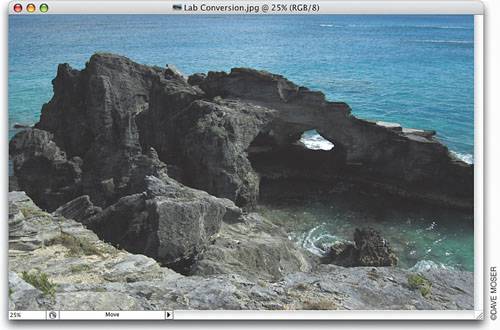 Step TwoGo under the Image menu, under Mode, and choose Lab Color to convert your RGB photo into Lab Color mode. You won't see a visual difference between the RGB photo and the Lab Color photothe difference is in the channels that make up your color photo (as you'll see in a moment). Step ThreeGo to the Channels palette (found under the Window menu), and you'll see that your photo is no longer made up of a Red, a Green, and a Blue channel. Instead, the luminosity (the Lightness channel) has been separated from the color data, which now resides in two channels named "a" and "b." Regular RGB image  Converted to Lab Color 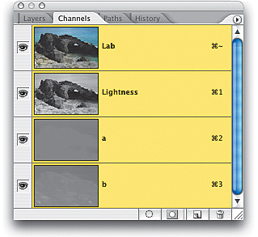 Step FourWe're interested in the grayscale image that appears in the Lightness channel, so click on the Lightness channel in the Channels palette to make it active. Your photo will now look grayscale onscreen too, as it displays the currently active channel. 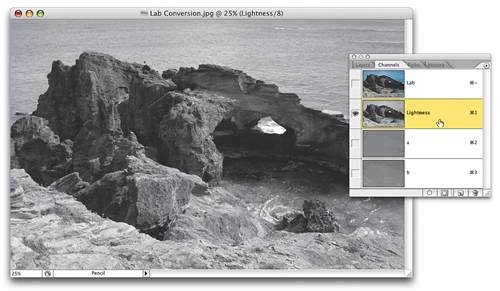 Step FiveNow, go under the Image menu, under Mode, and choose Grayscale. Photoshop will ask if you want to discard the other channels. Click OK. If you look in the Channels palette, you'll now see only a Gray channel. Step SixGo to the Layers palette, click on the Background layer, and then press Command-J (PC: Control-J) to duplicate the Background layer. Take a look at your image now. If it looks a little too dark, switch the layer blend mode of this duplicated layer from Normal to Screen, and you'll see the photo become much lighter. If the photo looks too light, choose Multiply as your blend mode instead. In the example shown here, changing the top layer to Screen made the photo too light, but don't sweat itthat's just a starting point. 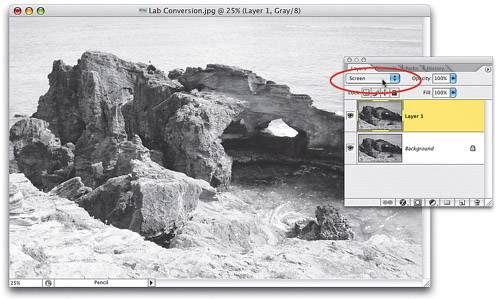 Step SevenThis is where you get to "dial in" your ideal tone (and fix that "too-light" look from the Screen layer). Just lower the Opacity of your layer in the Layers palette until you have the tonal balance you've been looking for. Using the Lab Color method gives you much more control and depth than just choosing the Grayscale mode from the Image menu's Mode submenu. Standard grayscale conversion Lab Lightness channel conversion |
|
EAN: N/A
Pages: 187
