Cropping Photos
|
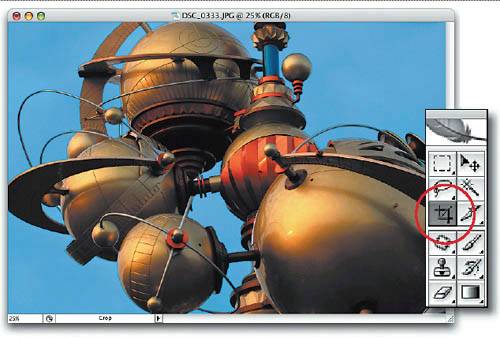
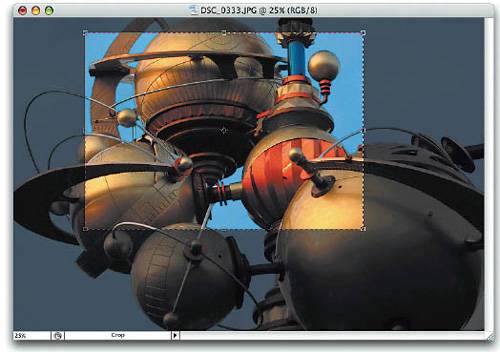
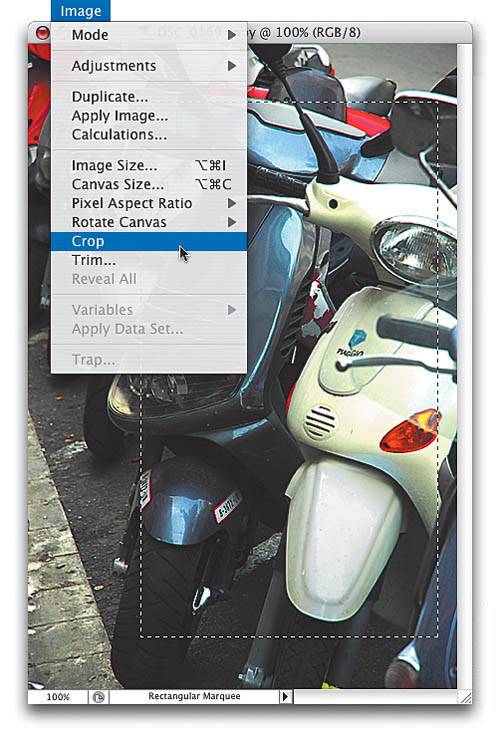
| After you've sorted your images in the Adobe Bridge, one of the first editing tasks you'll probably undertake is cropping a photo. There are a number of different ways to crop a photo in Photoshop CS2. We'll start with the basic garden-variety options, and then we'll look at some ways to make the task faster and easier. Step OnePress the letter C to get the Crop tool (you could always select it directly from the Toolbox, but I only recommend doing so if you're charging by the hour). Step TwoClick within your photo and drag out a cropping border. The area to be cropped away will appear dimmed (shaded). You don't have to worry about getting your crop border right when you first drag it out, because you can edit the border by clicking-and-dragging the points that appear in each corner and at the center of each side. Tip If you don't like seeing your photo with the cropped-away areas appearing shaded (as in the previous step), you can toggle this shading feature off/on by pressing the Backslash key on your keyboard. When you press the Backslash key, the border remains in place, but the shading is turned off. 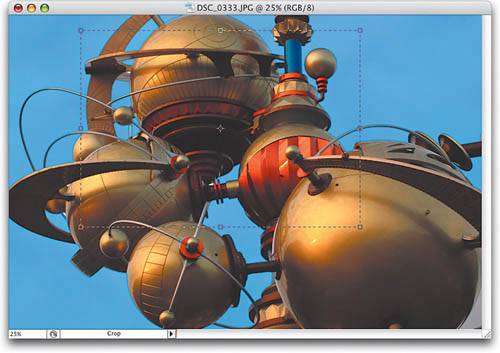 Step ThreeWhile you have the crop border in place, rotate it by moving your cursor outside the border (when you do, the cursor will change into a double-headed arrow). Just click-and-drag and the cropping border will rotate in the direction you choose (this is a great way to save time if you have a crooked image, because it lets you crop and rotate at the same time). 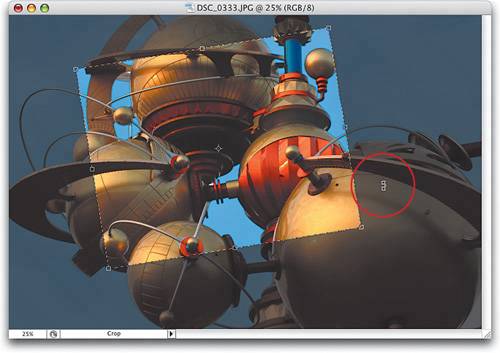 Step FourAfter you have the cropping border where you want it, just press the Return (PC: Enter) key to crop your image.  Tip If you've dragged out a cropping border, and then decide you don't want to crop the image, you can either press the Escape key on your keyboard, click on the "No" symbol in the Options Bar, or just click on a different tool in the Toolbox, which will bring up a dialog asking if you want to crop the image. Click on the Don't Crop button to cancel your crop. Another Tip Another popular way to crop is to skip the Crop tool altogether and just use the Rectangular Marquee tool (M) to put a selection around the area of your photo you want to keep. With your selection in place, go under the Image menu and choose Crop. The areas outside your selection will be cropped away instantly. Press Command-D (PC: Control-D) to deselect. |
|
EAN: N/A
Pages: 187