Using CS2 s Smart Sharpen Filter
|
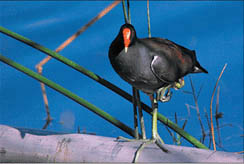
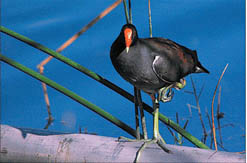
Using CS2's Smart Sharpen FilterA lot of people (myself included) are predicting that Photoshop CS2's new Smart Sharpen filter will actually replace Unsharp Mask as the sharpening filter of choice. Here's why: (1) It does a better job of avoiding those nasty color halos, so you can apply more sharpening without damaging your photo; (2) it lets you apply sharpening to just the highlights or just the shadows; (3) you can save and reuse your favorite settings; (4) it has a "More Accurate" feature that applies multiple iterations of sharpening; and (5) it's easier to use and has a larger preview. Step OneOpen the photo you want to sharpen using this new Smart Sharpen filter. (By the way, although most of this chapter focuses on the Unsharp Mask filter, I only do that because it's the current industry standard. If you find you prefer the Smart Sharpen filter, from here on out, when I say to apply the Unsharp Mask filter, you can substitute the Smart Sharpen filter instead. Don't worry. I won't tell anybody.)  Step TwoGo under the Filter menu, under Sharpen, and choose Smart Sharpen. In the resulting dialog, the filter is in Basic mode by default, so there are only two sliders: Amount (which controls the amount of sharpeningsorry, I had to explain that) and Radius, which determines how many pixels the sharpening will affect. I generally leave this setting at 1 pixel, but if a photo is visibly blurry, I'll pump it up to 2. (Very rarely do I ever try to rescue an image that's so blurry that I would have to use a 3- or 4-pixel setting.) 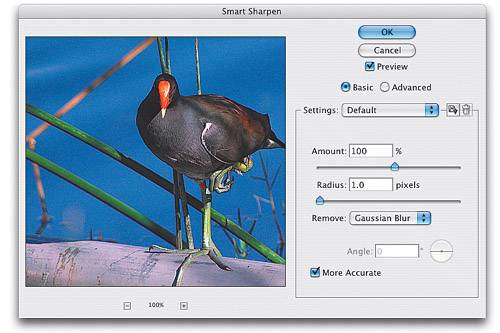 Step ThreeBelow the Radius slider is the Remove pop-up menu, which lists the three types of blurs you can reduce using Smart Sharpen. Gaussian Blur (the default) applies a brand of sharpening that's pretty much like what you get using the regular Unsharp Mask filter (it uses a similar algorithm). Another Remove menu choice is Motion Blur, but unless you can determine the angle of blur that appears in your image, it's tough to get really good results with this one. So, which one do I recommend? The other choiceLens Blur. It's better at detecting edges, so it creates less color halos than you'd get with the other choices, and overall I think it just gives you better sharpening for most images. The downside? Choosing Lens Blur makes the filter take a little longer to "do its thing." 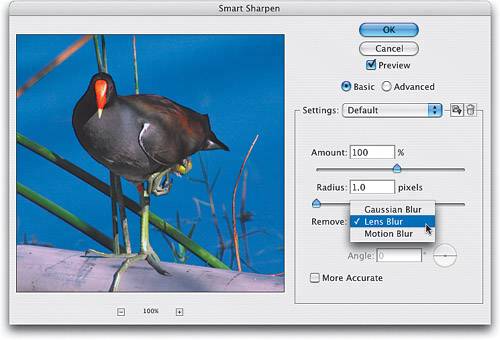 Step FourAt the bottom of the dialog, there's a checkbox named "More Accurate." It gives you (according to Adobe) more accurate sharpening by applying multiple iterations of the sharpening. I leave More Accurate turned on nearly all the time. (After all, who wants "less accurate" sharpening?) Note: If you're working on a large file, the More Accurate option can cause the filter to process slower, so it's up to you if it's worth the wait. 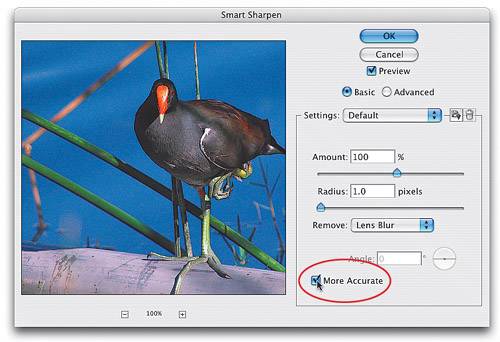 Step FiveI've found with the Smart Sharpen filter that I use a lower Amount setting than with the Unsharp Mask filter to get a similar amount of sharpening (as I did in this example), especially if I'm working with low-res images. 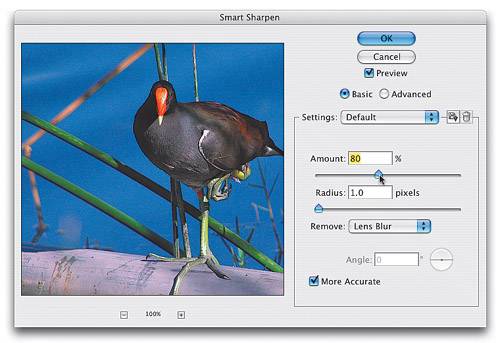 Tip If you find yourself applying a setting such as this over and over again, you can save those settings by clicking on the floppy disk icon to the right of the Settings pop-up menu. (Why a floppy disk icon? I have no idea.) This brings up a dialog for you to name your saved settings, so name your settings and click OK. Now, the next time you're in the Smart Sharpen filter dialog and you want to instantly call up your saved settings, just choose your saved settings from the Settings pop-up menu. 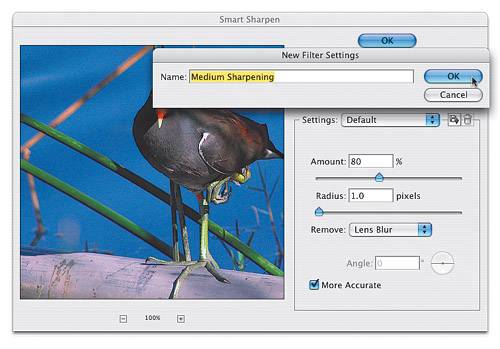 Step SixAnother advantage of using Smart Sharpen is that you can limit how much sharpening is applied to the Shadow and Highlight areas. You do this by first applying your regular sharpening, then click on the Advanced radio button. Two additional tabs will appear with controls for reducing the sharpening in just the Shadow or just the Highlight areas. When you tweak the settings in this Advanced section, you're really further adjusting the settings you chose in the Basic section. That's why in the Shadow and Highlight tabs, the top slider says "Fade Amount" rather than just "Amount." So, when you drag the Fade Amount slider to the right, you're really reducing the amount of sharpening already applied, rather than increasing it. 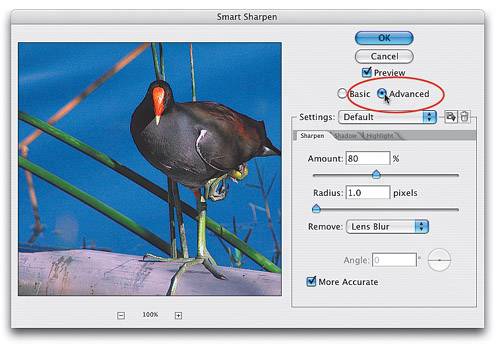 Step SevenClick on the Highlight tab to view those options. Now drag the Fade Amount slider to the right to reduce the amount of sharpening in the highlight areas of the photo (this can help reduce halos in the highlights). By the way, without increasing the amount of fade, you can't tweak the Tonal Width and Radius amounts. They only "kick in" when you increase the Fade Amount. 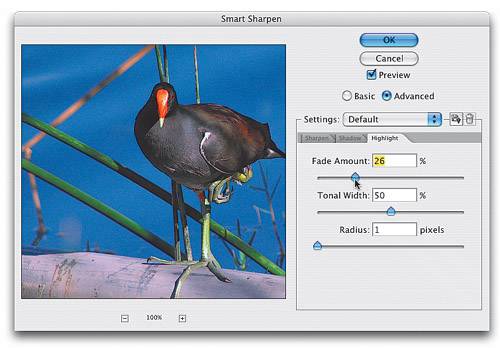 Step EightThe Shadow tab works the same wayclick on it to make the shadow options visible, and then increase the Fade Amount to lessen the sharpening in the shadow areas. You can then tweak those settings using the Tonal Width and Radius sliders. 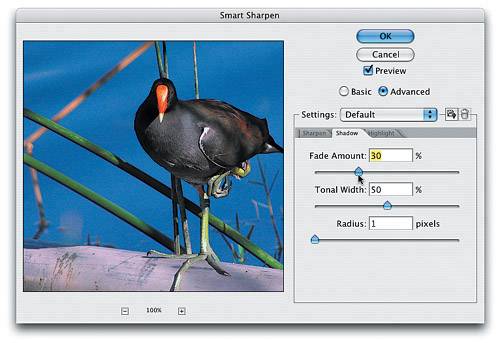 Before After (using the Basic sharpening mode) |
|
EAN: N/A
Pages: 187