Luminosity Sharpening
|
| This is another sharpening technique popular with professionals, and one that sparks debate among photographers who prefer it to the Lab Color sharpening technique. Both sharpen just the luminosity (rather than the color data), so theoretically they do the same thing, but you'll hear pros argue that one method produces better results than the other. That's why I'm including both in the book, so you can decide which you like best (and then argue about it with other photographers. This is what we do for fun). Step OneOpen an RGB photo that needs some moderate sharpening. Go under the Filter menu, under Sharpen, and choose Unsharp Mask. Apply the filter directly to your RGB photo (don't switch to Lab Color, etc.). (Note: If you're looking for some sample settings for different types of images, look at the "Basic Sharpening" tutorial at the beginning of this chapter; however, I used Amount 225%, Radius 0.5 pixels, and Threshold 0.) When you have the image looking the way you want, click OK to apply the Unsharp Mask filter. 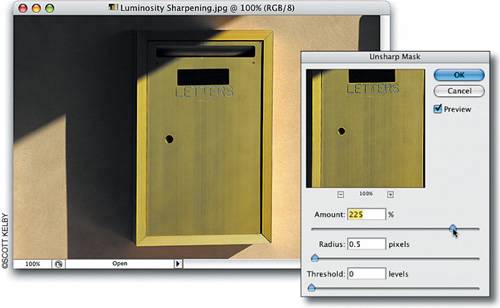 Step TwoGo under the Edit menu and choose Fade Unsharp Mask. When the Fade dialog appears, change the Mode pop-up menu from Normal to Luminosity. When you click OK, the sharpening is applied only to the luminosity of the photonot to the color data. This enables you to apply a higher amount of sharpening without getting unwanted halos that often appear. 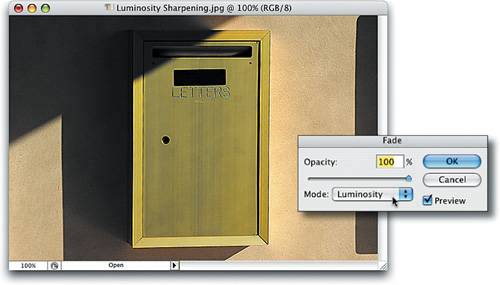 |
|
EAN: N/A
Pages: 187