Fixing Underexposed Photos
| This is a tonal correction for people who don't like making tonal corrections (more than 60 million Americans suffer from the paralyzing fear of MTC [Making Tonal Corrections]). Since this technique requires no knowledge of tonal corrections (like using Levels), it's very popular; and even though it's incredibly simple to perform, it does a pretty incredible job of fixing underexposed photos. Step One©SCOTT KELBY 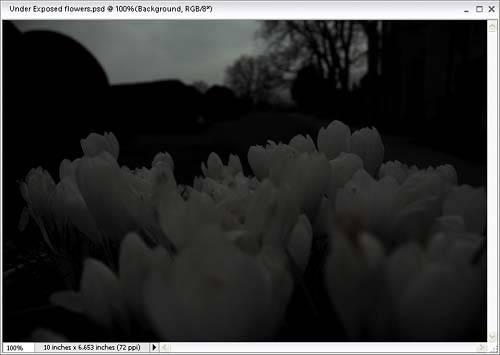
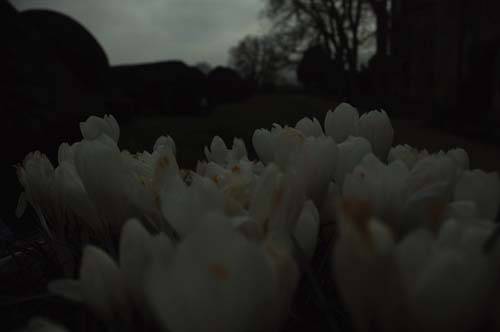
Open an underexposed photo that could've used either a fill flash or a better exposure setting. Step Two
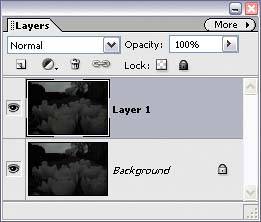
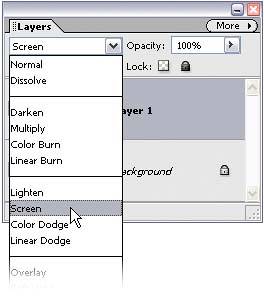
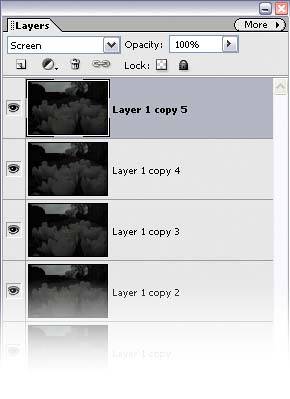
Make a copy of the Background layer by pressing Control-J. This will create a layer titled "Layer 1." In the Layers palette, change the blend mode of this new layer from Normal to Screen to lighten the entire photo. Step Three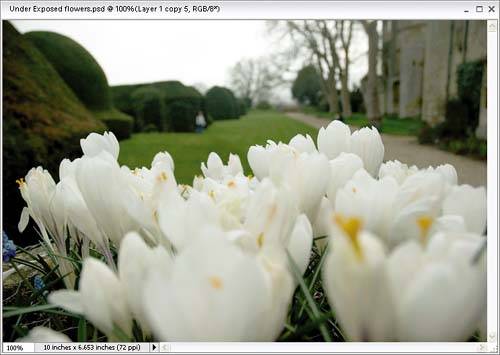
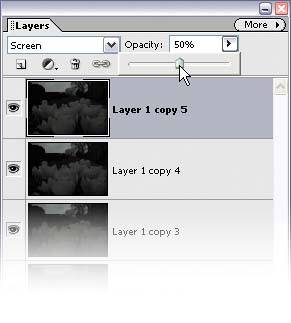
If the photo still isn't properly exposed, press Control-J again to duplicate this Screen layer, and keep duplicating it until the exposure looks about right (this may take a few layers, but don't be shy about itkeep going until it looks good). Step FourThere's a good chance that at some point you'll duplicate the Screen layer again and the image will look overexposed. What you need is "half a layer"half as much lightening. Here's what to do: Lower the Opacity of your top layer to "dial in" the perfect amount of light, giving you something between the full intensity of the layer (at 100%) and no layer at all (at 0%). For half the intensity, try 50%. (Did I really even have to say that last line? Didn't think so.) Once the photo looks properly exposed, click the More flyout menu at the top right of the Layers palette and choose Flatten Image.
Before
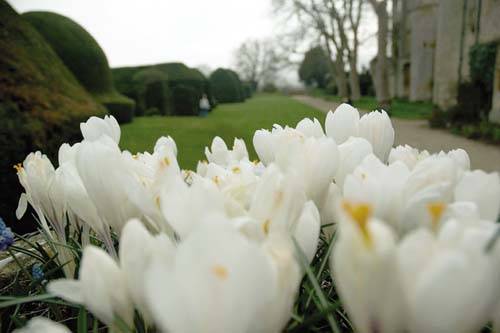
After
|
EAN: 2147483647
Pages: 201