Warming Up (or Cooling Down) a Photo
| Back in the day, when we needed to adjust our camera to a particular lighting situation (let's say the image would come out too blue or too warm because of the lighting), we would use color filters that would screw onto the end of our lens. Now we "warm up" or "cool down" a photo digitally using Elements 4.0's Photo Filter adjustment layer. Here's how: Step One©SCOTT KELBY
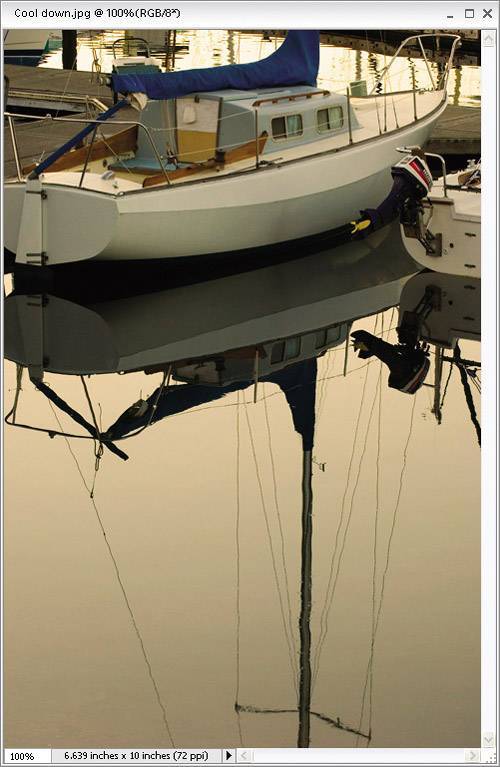
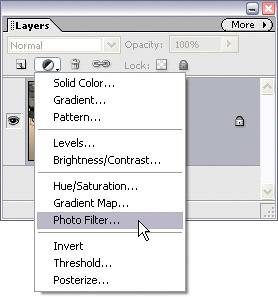
Open the photo that needs cooling down (or warming up). In the example shown here, the photo is too warm and has a yellowish tint, so we want to cool it down and make it look more natural. Go to the Layers palette and choose Photo Filter from the Create Adjustment Layer pop-up menu at the top of the palette (its icon looks like a half-black/half-white circle). Step Two
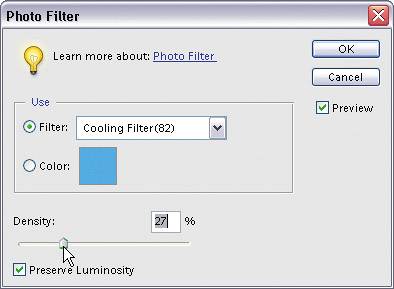
When the Photo Filter dialog appears, choose Cooling Filter (82) (or choose a Warming Filter if your image is too cool) from the Filter pop-up menu (this approximates the effect of a traditional screw-on lens filter). If the effect isn't cool enough for you, drag the Density slider to the right to cool the photo some more. Then click OK. Step Three
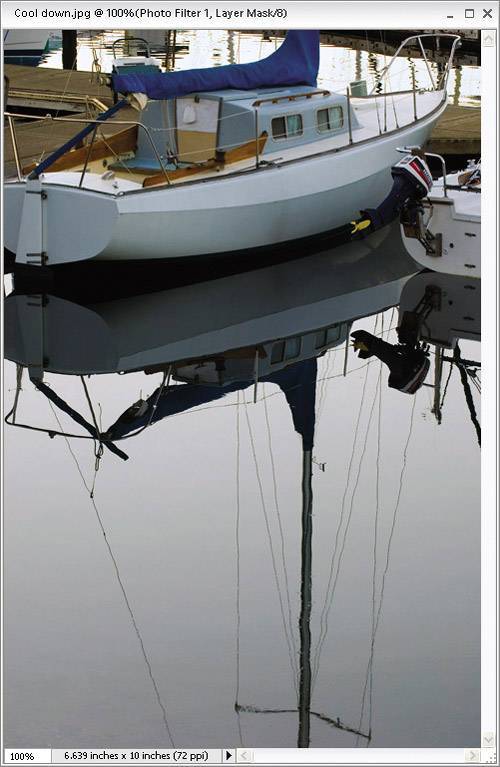
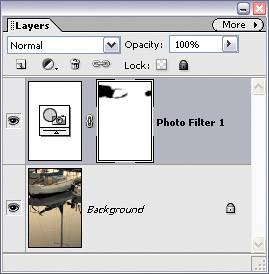
Because this Photo Filter is an adjustment layer, you can edit where the cooling is applied, so press B to switch to the Brush tool, and in the Options Bar, click on the down-facing arrow next to the Brush thumbnail and choose a soft-edged brush in the Brush Picker. Then, press X until you have black as your Foreground color, and begin painting over any areas that you don't want to be cool (for example, if you wanted parts of the boat or the dock to stay warm, you'd paint over those areas). The original color of the image will be revealed wherever you paint. |
EAN: 2147483647
Pages: 201