Covering Unwanted Elements
| If there are just one or two annoying things that are messing up your otherwise lovely photo, here's a quick way to get rid of them while maintaining maximum texture and authenticity (because you're using another part of the photo to cover what you don't want visible, so the grain, texture, and welleverythingis right on the money). Step One©SCOTT KELBY
In this example, we have another charming "old-world" door, but the "6" house number pulls the charming "old-world" feel right out of the photo. So…the number has to go. We could use the Clone Stamp tool, but this method makes the removal perfect because you're actually going to cover the "6" with a chunk of the wall close to it, which is an even more realistic fix and is as fast as, if not faster than, the alternative. Step Two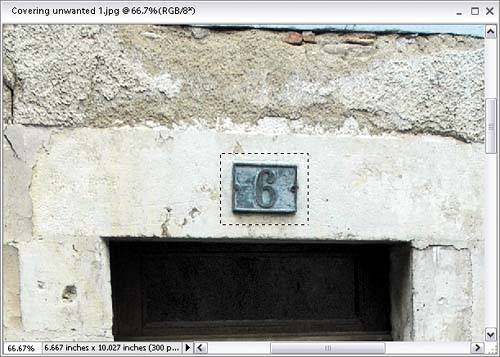 Press Z to get the Zoom tool and zoom in on the area with the offensive number. (I bet they got that at Euro-Home Depot.) Now press M to get the Rectangular Marquee tool, and drag out a selection around the "6." Step Three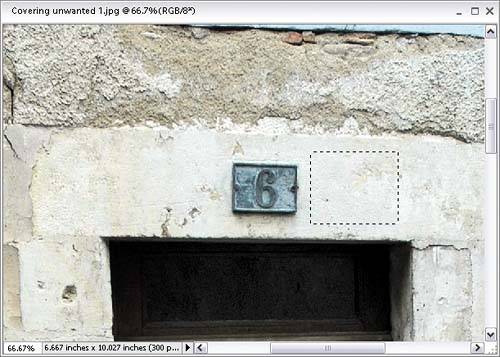
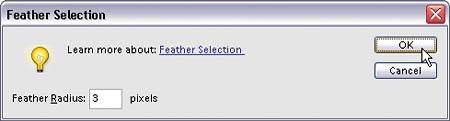
Click within the selection and drag it directly to the right of the number, so your selection is on the white wall space. You'll need to put a feather on your selection so the edges will be soft and blend in perfectly, hiding the fact that you did anything to the photo at all. So, go under the Select menu and choose Feather. When the Feather Selection dialog appears, enter 1-3 pixels (depending on your percentage of zoom) for the Feather Radius and click OK. Step Four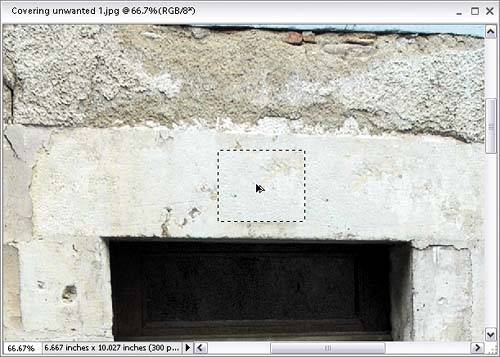 Pressing-and-holding the Alt and Control keys, drag the selected area to the right of the "6." This makes a copy of the selected area, so you're really dragging along a copy of the rectangular chunk of the wall. That area fits perfectly over the number (it fits perfectly because you first created that selection by dragging it over the number, remember?). By the way, you won't see any harsh edges to give you away because you feathered those edges in the previous step. Step FiveBefore
After
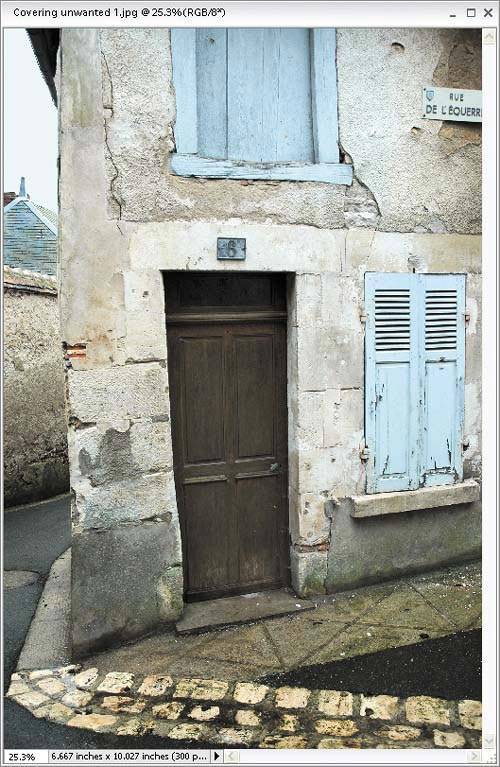
Now, when you press Control-D to deselect, the number will be gone, and your removal will be right on the money. Here's a before and after. You can see what a difference removing that one little area made. I went one step further and zoomed in on the sign in the top-right corner. Then, using the same technique, I removed the sign using chunks of surrounding wall. That way, I removed any hint to the possibility that an area was "cloned." TIP If you press-and-hold Alt-Control and the Shift key, your selected area will remain perfectly in line as you drag. Also, you may want to Alt-drag several copies of your selection to cover your object or hide any repeating patterns. Step SixBefore
After ©SCOTT KELBY
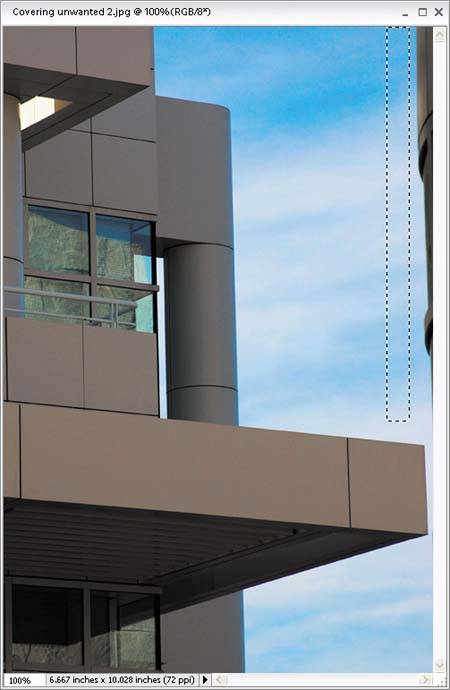
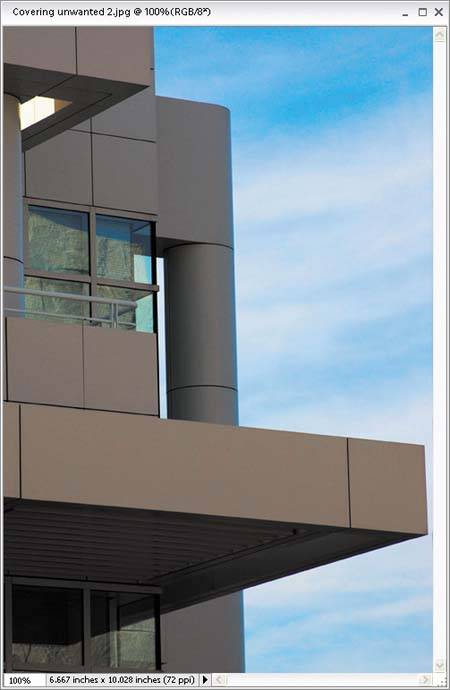
Here's another application of the same technique. On the right side of the photo there's a distracting building, and the easiest fix (without re-cropping and shrinking the width of the photo) is to extend the sky to cover the building. Get the Rectangular Marquee tool, draw a tall, thin rectangular selection around some of the sky, and then feather your selection (under the Select menu). |


EAN: 2147483647
Pages: 201