Project: Business Card
| We'll be creating a business card in 10 easy steps: STEPS
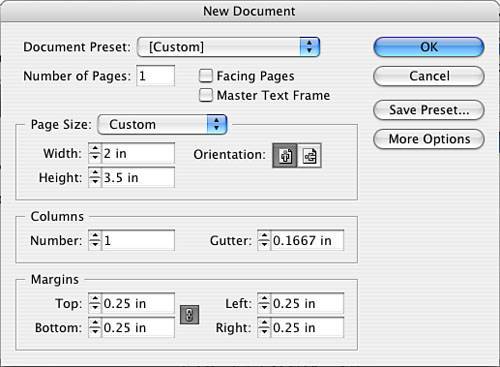
Step 1: Setting Up Your Document FormatAssuming InDesign is already launched, go to the File pull-down menu and select New, Document, as indicated in Figure 4.10. Figure 4.10. Please fill out your Document window as indicated and, yes, this will create a vertically oriented business card! Note
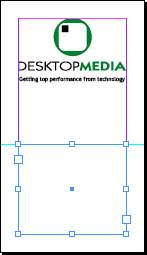
Step 2: Importing Art FilesGo to the File pull-down menu and select Place. Then, navigate to your 04Project_Files folder. Find the logo named DMLOGOtag.eps, select it, and click Open. An icon in the shape of a paintbrush appears. Click anywhere on the page to make the logo, in its actual size, appear on the page (see Figure 4.11). Do not click and drag because that has a cropping effect on the logo. Figure 4.11. The initially placed image with the correct graphic frame size.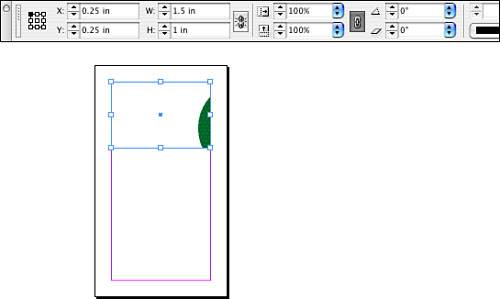 Step 3: Positioning a Graphic ElementPosition the logo frame to fit the upper-left corner of the margins. Resize the frame to fit the right margin. The box should measure 1.5" wide by 1" highuse your control palette to type in the dimensions. Step 4: Transforming a Graphic ElementGo to the Object pull-down menu and select Fitting. Then select Fit Content Proportionally. Figure 4.12 demonstrates the results. Figure 4.12. You should see your logo resize. Tip
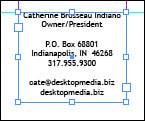
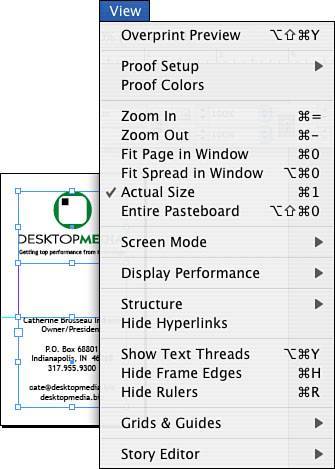
Step 5: Placing a Ruler Guide and Creating a Text ElementClick in the horizontal ruler across the top of your window and drag a ruler guide down to the 2" mark. You can monitor the ruler guide placement by watching the y coordinate in the Control palette. If you hold down the Shift key while dragging, the ruler guide will snap to the ruler increments. Next, select the Text tool from the Tool palette and drag a text box to fit the intersection of the ruler guide and the left, right, and bottom margins (see Figure 4.13). Figure 4.13. The ruler guide and text frame in place. Step 6: Formatting TextInformation on a business card is a subjective decision. How much should you include? What is necessary? The information on your business card is essentially a combination of a marketing tool as well as a tool to distribute contact information. I've included all my contact information, which required an adjustment of the type size to accommodate it all. After I got all the information into the text box, I was ready to change the font and size of the characters. Choosing the font and size can be accomplished using the Type menu or using the type and size feature in the Control palette. Make sure the character button (the letter A) is selected on the left side of the Control palette. As with my letterhead, I selected my text and centered the text within the text box using the Paragraph button on the Control palette and then the Centered Alignment button. I chose Trebuchet for the font because it matches the company's tag line. I assigned a font size of 8 points for all the information (see Figure 4.14). Figure 4.14. Add whatever information is appropriate as a marketing tool for your card. Step 7: Viewing OptionsGo to the View pull-down menu (see Figure 4.15). Then select Actual Size. It is helpful to turn off Frame Edges and Guides on the View pull-down menu. Turn them on when you need to see these visual boundaries again. Figure 4.15. The View pull-down menu. Tip
Step 8: Saving Your FileGo to the File pull-down menu and select Save As. Navigate to the 04Finished_Projects folder. Name your file something appropriate and then click the Save button. Take a look at your finished product with guides and frame edges left on, as in Figure 4.16. Figure 4.16. This is how your project should look when it's finished. Step 9: Printing a Composite ProofLet's print a content proof. Go to the File pull-down menu and select Print. Choose the appropriate settings for the printer that is available to you. Then go to the File pull-down menu and select Print (see Figure 4.17). Figure 4.17. Fill out the dialog box appropriate for your local output device.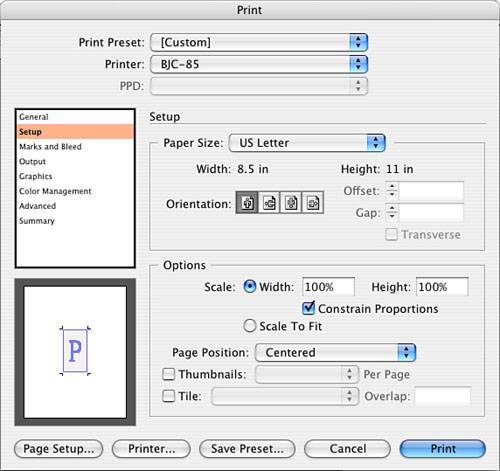 Similar to the letterhead project, choose the appropriate settings for the printer available to you; if possible, print a color composite output for your work. Additionally, for layouts that are smaller than letter size, it is also helpful to turn your page position under the Setup tab to Centered and to turn on crop marks, found under the Marks and Bleed tab. Review your proof, make any necessary adjustments, and save your changes. Then print it again. Step 10: Creating a TemplateIn this step, we introduce the concept of saving a template. Any of these collateral projects could benefit from creating a template. When a new business card needs to be produced, bringing up the template with all elements in place means you only have to type over and adjust the name and position of the employee. To create your template, go to the File pull-down menu and select Save As. You should find that you are in the same folder you were just in during the previous save. Pull down the Format menu and select Template (see Figure 4.18). Figure 4.18. Call your template something generic but memorable, such as company business card template.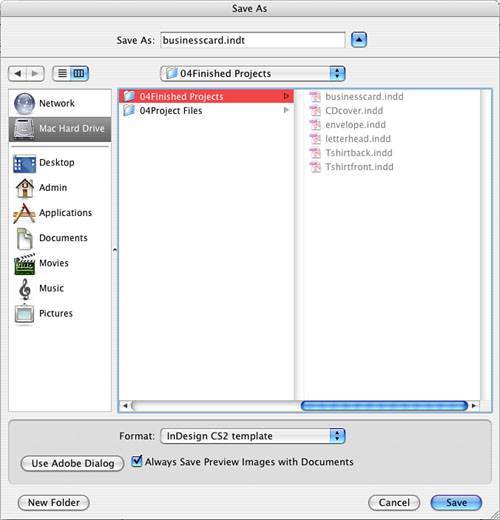 Save and close your file. Note
|


EAN: 2147483647
Pages: 148