Designing with Layers
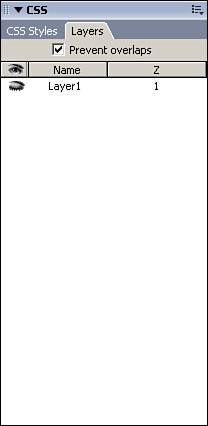
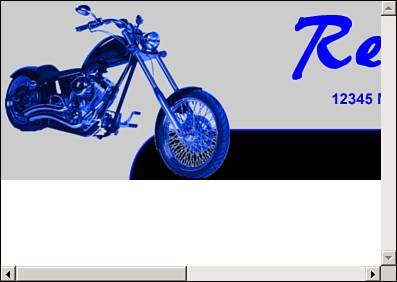
| Now that you are comfortable with building a page layout with tables or frames, let's add one more tool to your toolbox. Layers are a third design tool, and they provide you with the most flexibility of any of the three. Using layers, you can "draw" out your design in a manner similar to that you would use in the Table Layout view, except that with layers you can lay objects on top of one another, creating a "layering" effect. The only downside to the use of layers is that some older browsers (Netscape in particular) aren't capable of rendering layers correctly. When an older browser tries to render layers, it fails miserably and your entire design is compromised. For this reason, layers haven't supplanted tables as the most popular method of page design. As browser support grows, however, layers will play an important role in adding the third dimension of depth to web pages. Creating a LayerCreating a layer is very easy. Open any page and ensure that the Insert toolbar is visible by choosing Windows, Insert. On the Insert toolbar click the Standard mode and then click the Draw Layer button. Dreamweaver turns the cursor into a crosshair that enables you to click anywhere in the page and drag the cursor to create a square or rectangular layer. After you let go of the mouse button, the layer is created in your page (see Figure 26.23). Figure 26.23. A layer has been added to the page.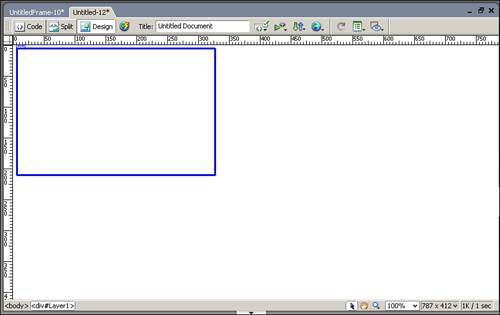 After the layer has been added to the page, you can view and manage that layer via the Layers panel, located in the CSS panel group and shown in Figure 26.24. Figure 26.24. The Layers panel enables you to manage the layers in your page. Using the Layers panel, you can select, hide, rename, and even choose the order in which your layers are stacked. Naming the LayerTo rename a layer, double-click on the layer name in the Layers panel and the layer name becomes an editable text field. Type your new name, press the Enter key, and the new name is applied to the layer. Note It's a good practice to name your layers something meaningful instead of leaving them set to the default names given to them by Dreamweaver. By giving a layer a name like "myNavBar," you ensure that you can easily identify the code that controls that layer when viewing your page code. Setting VisibilityIf you are working on your page design and need to work on layers that are stacked on top of one another, a handy tool is the visibility icon in the Layers panel, indicated by an eye. Clicking in the visibility column next to any layer adds an icon that looks like a shut eye and hides the layer (see Figure 26.25). Clicking the icon again changes the icon to an open eye and makes the layer visible again. Figure 26.25. A shut eye icon indicates that the layer is not visible. Note Visibility doesn't just affect the design view. If you make your layer invisible, it doesn't show up on your web page when viewed in a browser either. Setting the Stacking OrderIf you are going to use layers to create objects that overlap one another, you need to be sure that the stacking order is correct. To adjust the stacking order, go to the Layers panel, click the number in the Z column, and type a new value. Keep in mind that if you make a layer invisible, its stacking order doesn't matter. Selecting, Moving, and Resizing a LayerTo select a layer, click on it in the Design view or the Layers panel. After the layer is selected, the Property inspector displays the attributes for the layer that can be adjusted, including the left and top positions of the layer and the height and width. With these four attributes, you can fix the layer at any point in the page. You can also resize or move a layer by using your mouse. To move a layer, click and hold the handle in the top-left corner of the layer and move the layer to its destination. If you want to resize the layer with the mouse, click on any of the handles in the corners or sides of the layer and click and drag. As shown in Figure 26.26, clicking on a corner handle resizes the height and width of the layer proportionally. Figure 26.26. Click on the corner handle of a layer to resize the height and width proportionally.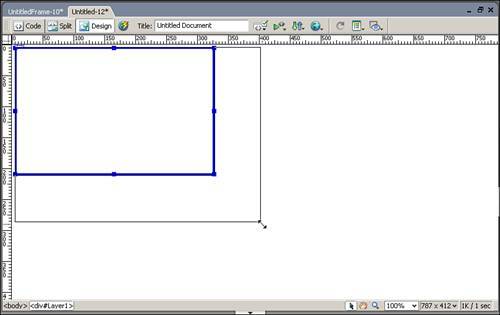 Adding Content to a LayerYou can add content to layers just as if you were adding it directly to the page. Text can be typed in layers, images can be inserted, and media such as Flash movies and videos can be added as well. One consideration when designing with layers, however, concerns images. Unlike tables that expand to fit the size of the image, layers give you full control over how the layer behaves when the content is larger than the layer. This is done by setting the value of the Overflow field in the Property inspector. When the Overflow field is set to Visible, a set of scroll bars enables you to scroll to see the rest of the image. If, however, the Overflow field is set to Hidden, then any portion of the image that is not displayed in the layer is inaccessible. For instance, suppose you place an image in your layer that is larger than the height and width properties of the layer. By default, the layer uses the Visible setting and is resized to fit the size of the object. If, however, you don't want the layer resized, you can use the Hidden value, which makes it appear that the image has been cropped to the size of the layer, as shown in Figure 26.27. Figure 26.27. The Hidden value hides any part of the image that doesn't fit within the layer.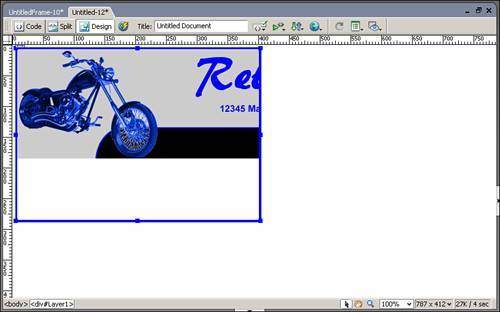 Tip The Hidden value is particularly useful when you are displaying a series of different images in a layer and the images are all slightly different sizes. To make sure that each image displays correctly, set the size of the placeholder image to be the size of the smallest image in the series. Then the layer displays only the portion of each image that fits in the layer. The third Overflow setting you can control is Scroll. This setting acts similar to the Hidden value, with the exception that scrollbars are added to the layer so that the user can scroll to see the rest of the image (see Figure 26.28). Figure 26.28. The Scroll value hides any part of the image that doesn't fit within the layer, but also gives scrollbars so the rest of the image can be viewed. The final Overflow setting is the Auto setting. Auto behaves like the Scroll setting except that the scrollbars are visible only if they are necessary. Note When using the Scroll or Auto settings, the scroll bars are not visible in Dreamweaver. To see what they will look like in your design, you need to preview them in a browser. |

EAN: 2147483647
Pages: 337