Enabling Security Features on a D-Link DI-624 AirPlus 2.4GHz Xtreme G Wireless Router with 4-Port Switch
|
| < Day Day Up > |
|
Although Linksys has a sizable share of the home access point market, D-Link also has a large market share. D-Link products are also sold at most big computer and electronics stores such as Best Buy and CompUSA. This section details the steps you need to take to enable the security features on the D-Link 624 AirPlus 2.4GHz Xtreme G Wireless Router with 4-Port Switch. The DI-624 is an 802.11g access point with a built-in router and switch similar in function to the Linksys WRT54G.
Setting a Unique SSID
The first security measure to enable on the D-Link DI-624 is setting a unique SSID.
First, you need to log into the access point. Point your browser to 192.168.0.1. Use the username admin with a blank password to access the initial setup screen (see Figure 10.31).

Figure 10.31: The D-Link DI-624 Initial Setup Screen
Next, click the Wireless button on the left side of the screen to bring up the Wireless Settings screen, as shown in Figure 10.32.
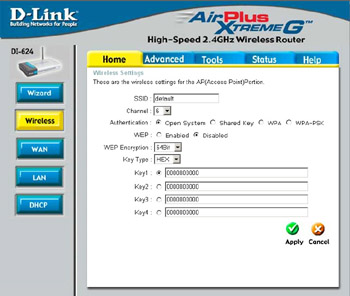
Figure 10.32: The Wireless Settings Screen
In the SSID textbox, enter a unique SSID, as shown in Figure 10.33, and click Apply to save and enable the new SSID.
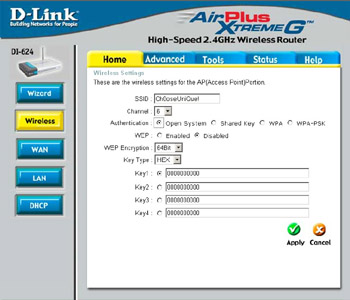
Figure 10.33: Set a Unique SSID
Enabling Wired Equivalent Privacy
After you have set a unique SSID, you will need to enable 128-bit WEP encryption.
First, choose the Enabled radio button next to WEP, as shown in Figure 10.34.
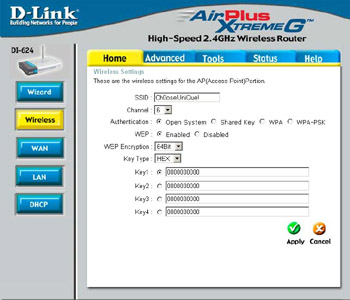
Figure 10.34: Enable WEP
Next, choose 128Bit from the WEP Encryption drop-down box, as shown in Figure 10.35.
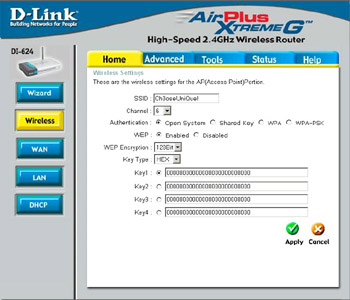
Figure 10.35: Require 128-Bit WEP Encryption
Then, you will need to assign a 26-character hexadecimal number to at least Key1 (see Figure 10.36). A 26-digit hexadecimal number can contain the letters A–F and the numbers 0–9.

Figure 10.36: Assign WEP Keys
Finally, after you have assigned your WEP keys, click Apply to save your settings. Any wireless clients that connect to the DI-624 must be configured to use this WEP key.
Filtering by Media Access Control (MAC) Address
After you have set a unique SSID and enabled 128-bit WEP encryption, you should filter access to the wireless network by MAC address.
First, click the Advanced tab, as shown in Figure 10.37.
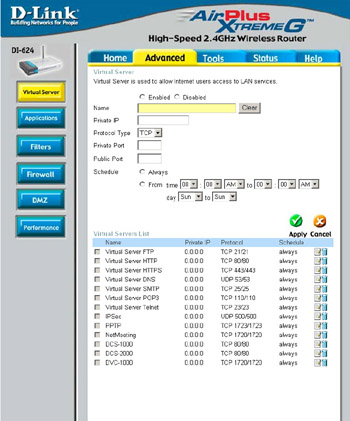
Figure 10.37: The Advanced Options Screen
Next, click the Filters button on the left side of the screen, as shown in Figure 10.38.
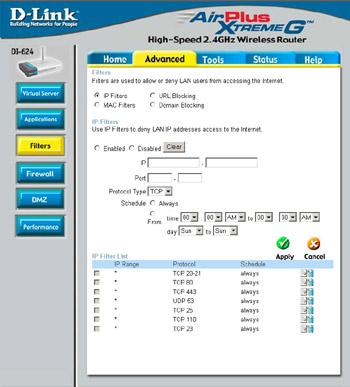
Figure 10.38: The Advanced Filters Options
Then choose the MAC Filters radio button. This makes the MAC Filtering options visible, as shown in Figure 10.39.
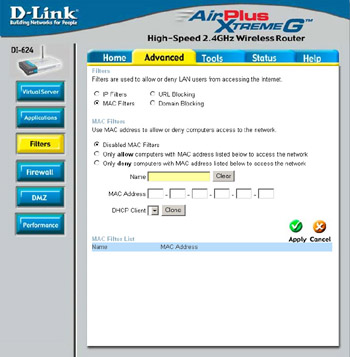
Figure 10.39: The MAC Filtering Options
Finally, select the Only Allow Computers With MAC Address Listed Below To Access The Network radio button and enter the MAC address of each client card that is allowed to access the network. You must also enter a descriptive name, of your choice, for each client in the Name textbox (see Figure 10.40). Note that you must click Apply after each MAC address entered.
Disabling SSID Broadcast
After you have set a unique SSID, enabled 128-bit WEP, and filtered access by MAC address, you need to disable SSID broadcast.
From the Advanced Features screen, click the Performance button, as shown in Figure 10.41.
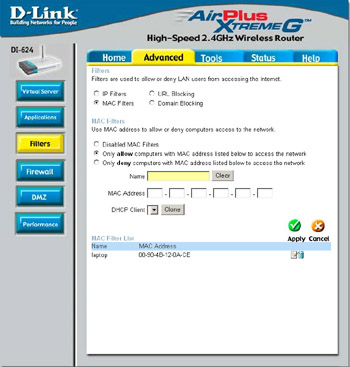
Figure 10.40: Filter by MAC Address
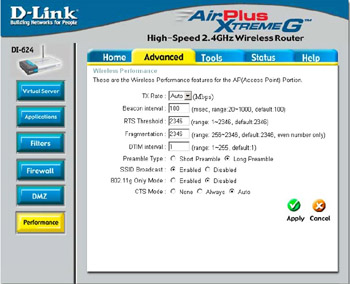
Figure 10.41: The Advanced Performance Options
Select the Disabled radio button next to SSID Broadcast and click Apply to save your settings, as shown in Figure 10.42.

Figure 10.42: Disabling SSID Broadcast
|
| < Day Day Up > |
|
EAN: 2147483647
Pages: 125