Saving an Image File
| After the user has worked on a file, the Graphicizer would certainly let him down if he couldn't save his changes back to a file. Imagine doing a lot of work on an image and not being able to store the results. That's why this application has a Save As… menu item, which, when selected, displays a File Save dialog box, created by setting the dialog object's mode to FileDialog.SAVE: public void actionPerformed(ActionEvent event) { . . . if(event.getSource() == menuitem2){ dialog.setMode(FileDialog.SAVE); dialog.setVisible(true); . . . } This displays the File Save dialog you see in Figure 3.3. Figure 3.3. Saving an image file.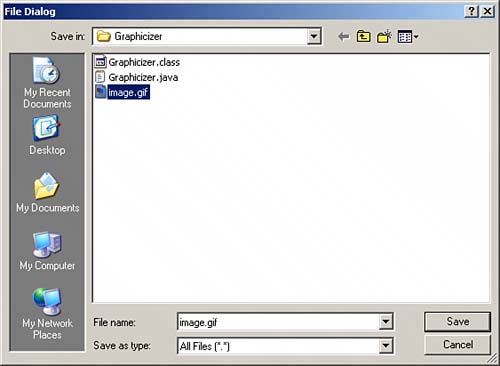 This dialog box's job is to get the name of the file the user wants to store the image file to. When you have that name, you can use the ImageIO class's write method to actually write the file. If the user doesn't specify a file, or if he clicks the Cancel button, you'll get an empty string back from the dialog box's getFile method. Otherwise, you should try to create a File object using the name and path the user has given you. Just be sure to enclose everything in a try/catch block, as shown here: public void actionPerformed(ActionEvent event) { . . . if(event.getSource() == menuitem2){ dialog.setMode(FileDialog.SAVE); dialog.setVisible(true); try{ if(!dialog.getFile().equals("")){ String outfile = dialog.getFile(); File outputFile = new File(dialog.getDirectory() + outfile); . . . } } catch(Exception e){ System.out.println(e.getMessage()); } } If you've been able to create the File object corresponding to the output file, you can use the ImageIO class's write method to write the bufferedImage object to the file. You pass the BufferedImage object you want to write to the write method, followed by the type of image you want to write ("JPG" or "PNG") and the output File object. How do you determine the three-letter type of image file to write? You can pass a value such as "PNG" or "JPG" to the write method, and in the Graphicizer, the code will simply take the type of the file to write from the extension of the filename (for example, "image.png" would yield "png"). NOTE If you want to be more careful, you can add code to check the format type and make sure it's "JPG" or "PNG". If it's not, you can then display a warning dialog box asking the user to select again. Here's how the output image file is written to disk, using the ImageIO class's write method: File outputFile = new File(dialog.getDirectory() + outfile); ImageIO.write(bufferedImage, outfile.substring(outfile.length() - 3, outfile.length()), outputFile); . . . Okay, at this point, Graphicizer can now load and save images. Very cool; that means it can function as an image converter, converting between various formats. But what about actually doing something with an image when it has been loaded? That's coming up next. |
EAN: 2147483647
Pages: 128