Section 2.1. OS X
2.1. OS XThe easiest way to get started on OS X is to use Locomotive (Figure A-3), which is very similar to Instant Rails on Windows, except that it uses the Lighttpd for the web server (instead of Apache) and SQLite for the database (instead of MySQL). For more details about Locomotive, go to its home page at http://locomotive.raaum.org. Figure A-3. RadRails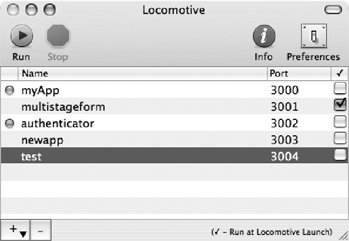
That's all there is to it! 2.1.1. TextMate and RadRailsThe commercial text-editor-on-steroids TextMate (Figure A-4) is very popular with Rails developers on OS X. Locomotive provides some minimal built-in support for TextMate. You can right-click a Rails app in Locomotive and choose to open its directory in TextMate. Figure A-4. TextMate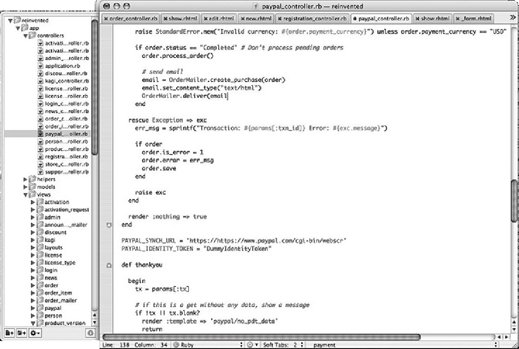 TextMate is inexpensive, but not free. You can find out more about TextMate here: http://macromates.com. If you want more than a pumped-up text editor, you'll be happy to know that the excellent RadRails IDE also runs on OS X. See the section "RadRails," earlier in this chapter. Once installed, you can configure RadRails to work with your Locomotive installation by following the same steps shown in the Windows section of this appendix. |
- Article 350 Liquidtight Flexible Metal Conduit Type LFMC
- Article 504 Intrinsically Safe Systems
- Notes for Tables 11(A) and 11(B)
- Example No. D5(b) Optional Calculation for Multifamily Dwelling Served at 208Y/120 Volts, Three Phase
- Example No. D8 Motor Circuit Conductors, Overload Protection, and Short-Circuit and Ground-Fault Protection