Creating Mail Merge Letters and Faxes With Data Sources Using AutoPilots
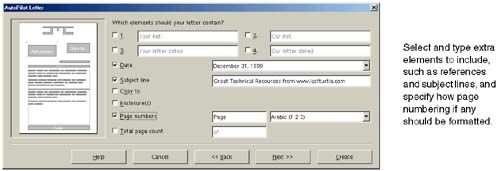
Creating Mail Merge Letters and Faxes With Data Sources Using AutoPilotsUse these procedures to create and print any letter, fax, agenda, or memo with different data in every copy. Examples include personally addressed letters to everyone on your customer list and envelopes to match; labels for everyone on your holiday gift list. Choose File > AutoPilot; you'll see that you can make a letter, fax, agenda, or memo. Use AutoPilots for just formattingThe AutoPilots let you specify a lot about a documentformatting, what elements to put in, and what data source to use, if any. You can click Create in any window; you don't have to stay on for the whole ride if all you want is the basic document for an Elegant Fax, for instance. Use AutoPilots as an easy way to hook up to a data sourceWhile hooking up to a data source is pretty easy in general, it's definitely simple in the AutoPilots. It's a great way to create a letter individually addressed to each recipient. Creating a Letter Using the Letter AutoPilot
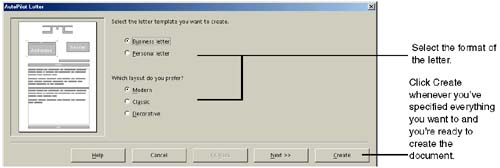
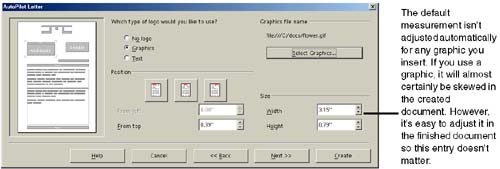
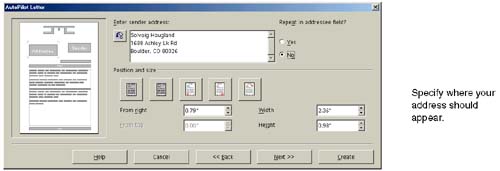
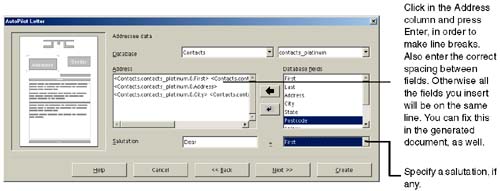
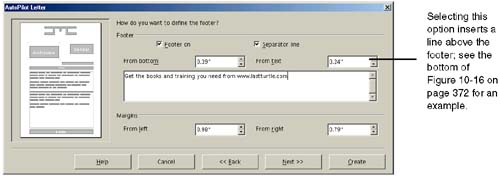
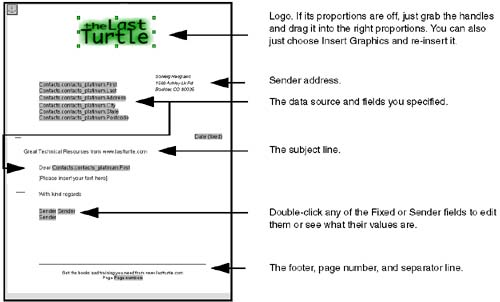
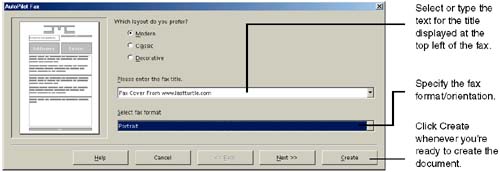
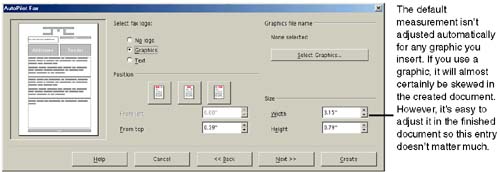
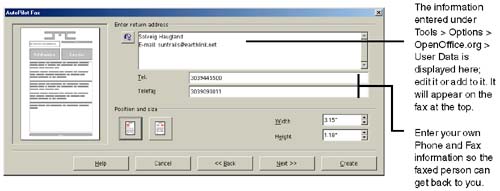
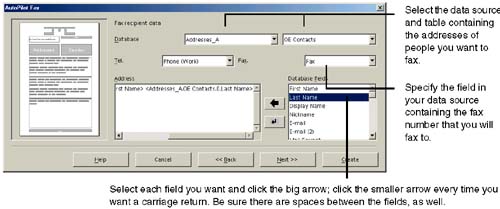
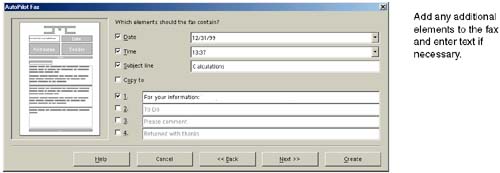
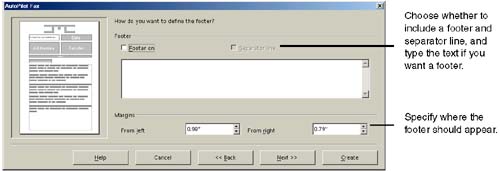
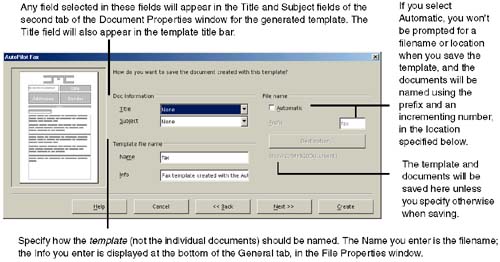
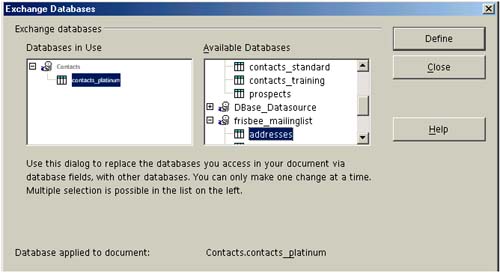
To print what you've created, if you used data source fields, see Printing on page 399. Creating a Fax Using the Fax AutoPilotNote To set up faxing, see Creating UNIX Printers and Faxes on page 54. Choose File > AutoPilot > Fax. Enter the appropriate options; use Figure 10-17 through Figure 10-24 for guidance. Figure 10-17. Selecting a letter type and layout Figure 10-24. The process is done; click Create. Figure 10-18. Selecting a logo and logo location Figure 10-19. Specifying your contact information Figure 10-20. Specifying who to fax to Figure 10-21. Adding other elements Figure 10-22. Setting up a footer Figure 10-23. Specifying save options To fax what you've created, if you used data source fields, see Printing on page 399. Switching to a Different Data Source for a Mail Merge DocumentImagine you've created the world's greatest holiday newsletter, and you've set it up as a mail merge to print a copy for everyone on your usual list. But you've just met a bunch of great people through your winter Ultimate Frisbee hot tub league and now you want to send the newsletter to everyone in the Ultimate online registration dBase database, too. What do you do? Just use the same newsletter document, but switch data sources. Using the Exchange Database WindowBoth databases must show matching field names and field types, so that after the exchange, the fields for inserting field names still display meaningful results.
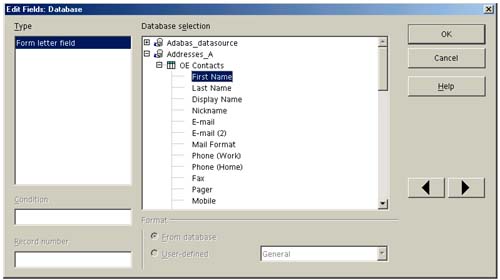
Selecting a Different Data Source in the Form Letter WindowYou can easily switch from one data source to another just by selecting a different data source and table when you're in the Form Letter window, ready to print. (Choose File > Form Letter; see Printing on page 399.) However, the field names must be exactly the same or a lot of data won't get printed. Manually Switching Data Source or FieldsYou can switch from one table to another easily as long as it has exactly the same field names. See Printing on page 399. If not, use this procedure.
|

EAN: 2147483647
Pages: 407