Storyboards are often used to bring a script to life. They use pictures and wordslike a comic stripto tell the story that the video will ultimately film. Keynote can be the perfect vehicle for creating a storyboard presentation. It even includes a template for creating storyboards, which you'll use here.
You'll prepare a storyboard for the script you prepared in the preceding exercise. You'll start by copying the script so you can use it in your work in Keynote.
1. | In your 10TDC Draft Script.pages file, drag to select all of the audio information in column 2. Copy the text to the clipboard.
If you didn't complete all the steps in the previous task, you can open 10TDC Script Final.pages in the Lesson 10 folder and copy the audio information from there.
 |
2. | Launch Keynote.
|
3. | In the Theme Chooser, select the Storyboard template and click Choose.
 A new untitled document based on the theme opens.
|
| |
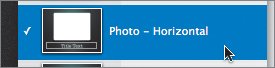
4. | In the toolbar, click the View button and choose Outline. Then click the Masters button and choose the Photo Horizontal design.
When you preselect the slide master, Keynote uses it for all new slides. When you paste text in outline view, a new slide is created every time Keynote detects a paragraph break.
 |
5. | Click next to the slide 1 icon in the slide organizer. Then choose Edit > Paste and Match Style.
The text is added, and a new slide is created for each line of text. Now you need to add artwork.
|
6. | Save your work. Name the file TDC Storyboard and save it on your hard drive.
|
7. | In the slide organizer, click slide 1 to select it.
|
8. | Open the Storyboard Art folder in the Lesson 10 folder and drag the file 01.jpg into the cutout window on slide 1.
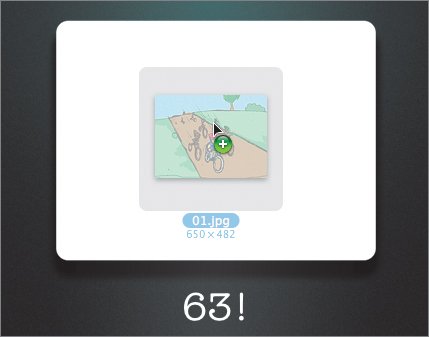 The storyboard artwork is added in the photo cutout.
|
| |
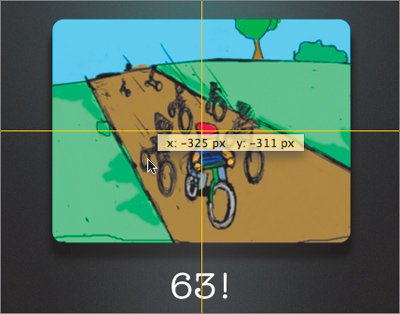
9. | Reposition the image using the alignment guides.
 |
10. | Drag the file 02.jpg into the image cutout on slide 2 and reposition it using the alignment guides.
|
11. | Repeat step 8 for the remaining 16 images. If the text is cut off on a slide, make the text box larger or reduce the size of the text.
 |
12. | In the toolbar, click the View button and choose Navigator. In the slide organizer, click slide 1.
|
13. | Click the New button to add a blank slide.
A new slide is added after slide 1 based on the current master. You are going to build a custom introductory slate that features the client's logo. This will help brand the pitch.
|
14. | In the toolbar, click the Masters button and choose Title Top.
 |
| |
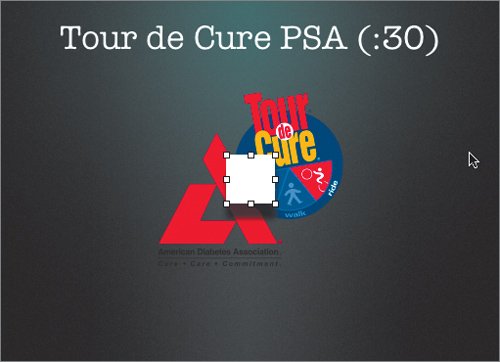
15. | Enter the title Tour de Cure PSA (:30).
Now you'll add a logo next to the title.
|
16. | Click an empty area of the slide and choose Insert > Choose; then navigate to the Lesson 10 folder and select the tour_logo.eps file.
The logo is added to the slide but is hard to read. Adding a white box behind it can improve this.
|
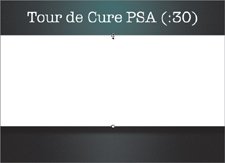
17. | In the toolbar, click the Shapes button and add a rectangle. In the Graphic Inspector, choose Color Fill from the Fill pop-up menu. The color white is selected by default.
 |
| |
18. | Resize the white square so that it is a rectangular bar that stretches from edge to edge of the slide and is slightly taller than the logo.
 Tip Hold down the Option key while dragging to scale equally in both directions. |
19. | Send the white rectangle behind the logo by choosing Arrange > Send to Back.
Many clients have logo standards that prevent the addition of glows or shadows to their logos. Placing the logo over a white bar ensures that it is easy to read and still within the client's guidelines.
 |
20. | Move slide 2 to the top of the list in the slide organizer so it becomes slide 1.
 Now you're going to add a transition between all of your slides.
|
21. | Press Command-A to select all of your slides in the slide organizer.
|
| |
22. | Open the Slide Inspector and click Transition. Choose 3D Effects: Fall from the Effects menu. The same transition will be applied to all of the selected slides. Set the duration to 1.50 s.
|
23. | In the toolbar, click the Play button to view your slides.
You can use the spacebar or mouse button to advance your slides and press the Esc key to exit the presentation.
You can compare your work to the file 10TDC Storyboard Final.key.
|