| Laying out pages with CSS can be frustrating because it can sometimes be difficult to tell which elements are where and why. Thankfully, Dreamweaver has a few handy features that make creating CSS-based layouts much simpler. Dreamweaver refers to these as Visual Aids. Figure 6.26 shows our example CSS-based page with all visual aids turned off. It's fine, but if we had a problem, it would be difficult to tell where each div begins and ends. That's where the visual aids shine . 
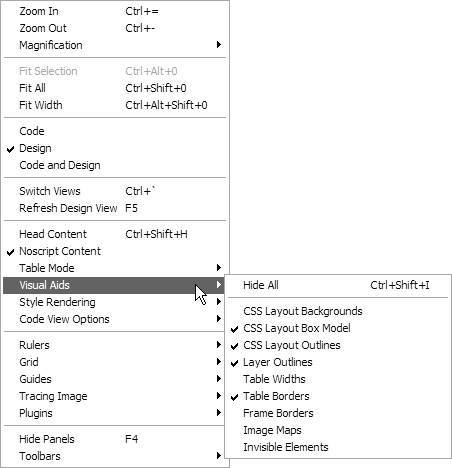
The visual aids can be found on the right side of the Document toolbar  . Although it looks like a button, that little downward facing arrow means that it's actually a pop-up menu. If you click on it, you'll get the options seen in Figure 6.27 . Or, you can choose View > Visual Aids, and then select any of the menu options ( Figure 6.28 ). . Although it looks like a button, that little downward facing arrow means that it's actually a pop-up menu. If you click on it, you'll get the options seen in Figure 6.27 . Or, you can choose View > Visual Aids, and then select any of the menu options ( Figure 6.28 ). 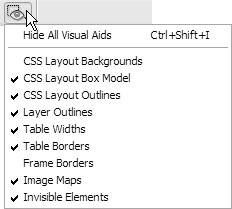
To turn each visual aid on or off, choose it from the menu to toggle its checkmark, or you can choose Hide All (Ctrl-Shift-I or Cmd-Shift-I) to turn them all off temporarily. For day-to-day use, we recommend keeping CSS Layout Backgrounds turned off, and CSS Layout Box Model and CSS Layout Outlines on. Here's a rundown of the CSS- related items in these menus : -
CSS Layout Backgrounds: Put on your sunglasses and turn on CSS Layout Backgrounds ( Figure 6.29 ). With this aid, Dreamweaver assigns a different background color for every layout block. If you've already set a background color , that will go away, as will background imagesnote that while you can see the header logo, you can't see the header background graphic.  Dreamweaver's documentation describes the color choices as "visually distinctive ," but we prefer to not beat around the bush: we just call them loud and bright. Sorry, but there's no way to change the color choices. On the other hand, the garishness makes it very clear which div is which. -
CSS Layout Box Model: You've seen the Layout Box Model aid ( Figure 6.30 ) used previously in this chapter. When enabled, it shows just the selected element, including its margin, borders, and padding. If you recall from Figure 6.18, the content div had a 1 pixel solid light blue left border, a 200 pixel left margin, and a padding of 1 em. When this visual aid is enabled, each of these is shown visually and uniquely on the document along with the dimensions of the div.  -
CSS Layout Outlines: The CSS Layout Outlines option simply puts a dashed line around the border of each layout block ( Figure 6.31 ). Again, you've seen it throughout most of this chapter. It can be tricky to see what your borders are set to when this is on, and you should also keep in mind that the dashed line includes the padding but excludes the margins.  |