Working with Server-Side Includes
| Similar to library items, server-side includes (SSIs) allow you to create pieces of functionality that can be shared between various web pages and be edited and updated centrally. In some ways, you can consider server-side includes the predecessor to library items because server-side includes have been with us long before the inception of Dreameaver's library items. The major differences between the two, however, are that library items have a familiar editing interface (they can be directly modified, managed, and updated in Dreamweaver's development environment at design time) whereas the server handles the updating of server-side includes at runtime (when the files are actually processed by the server for viewing by the user). Furthermore, server-side includes can also include server variables such as the current date and time, the date on which the file was last saved, and even the size of a file as compared to a second file. NOTE Not all servers support server-side includes because SSIs can pose a potential security risk. Check with your web hosting company before deciding to use server-side includes in your websites. At its foundation, server-side includes are used to include the contents of files within the scope of a second file, much like the way library items work. Typically, the code used to insert a server-side include resembles the following: <! #inlcude file="footer.htm" > As you can see from the code, the standard HTML opening and closing comment tag is used to wrap the server-side include directive. In this case, the directive is #include and contains the attribute file which specifies the document-relative file path to include in the web page. To include a file relative to the current site's root, the include changes to use the virtual attribute instead of the file attribute, as follows: <! #inlcude virtual="/images/header.gif" > Of course, working with server-side includes in Dreamweaver is a snap because Dreamweaver's translator makes server-side includes visible during the design process. As long as the Show Contents of Included File check box (located in the Invisible Elements category of the Preferences window) is selected, as shown in Figure 16.10, server-side includes display in your pages in Dreamweaver without problems. Figure 16.10. Make sure that the Show Contents of Included File option is selected in the Preferences window.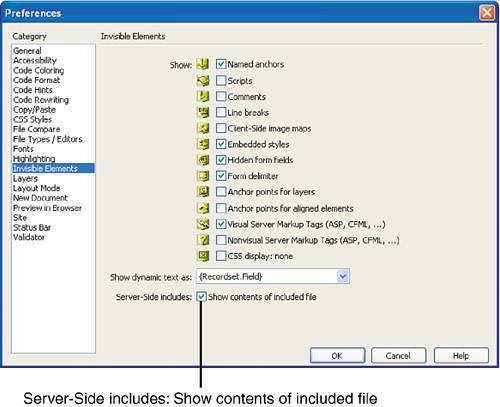 One of the major benefits to using server-side includes is that information coming in from the server can be included in the web page itself. For instance, the <! #echo > tag is used to define custom variables and environment variables that are to be returned when the page is called on the server. Environment variables are information available on the server, such as the date a file was last modified or its URL. Table 16.1 displays a list of server tags and a few of their more important attributes.
Now that you have an idea as to the flexibility that server-side tags and includes provide, let's examine how to add a server-side include to a web page. To do this, follow these steps:
Switch to the Split Code/Design view and notice that the server-side include tag is added to the code. To edit the server-side include, select the server-side include and click the Edit button in the Properties Inspector. Dreamweaver immediately launches a new Document window instance for the LBI file. TIP In our scenario, we used an existing LBI file as a server-side include. The beauty in server-side includes is that they're not limited to file extension types. For instance, you can use LBI, SSI, HTM, TXT, SHTML, ASP, ASPX, and more as included files. |
EAN: 2147483647
Pages: 237